Connect custom Strapi API to an Angular App

I recently decided to rebuild my portfolio with Angular. The problem is that I wanted to easily post and update my projects, I first thought about build an NodeJS/Express API connected with MongoDB but this can be time consuming for me knowing that I have others side projects with a lot of work to do.
I decided to take a look into headless CMS, that’s when I find out aboutStrapi. A young french start-up that gives the exact solution I was looking for.
What is Strapi in a few words ?
- Flexible, open-source Headless CMS
- Freedom, for developers
- Allows to easily manage and distribute API’s with custom data.
Now that you know what is Strapi let’s see how to connect my front-end (Angular) with a Strapi API.
I’ll use the example of a portfolio for this tutorial.
Starting by building our Strapi API
First, let’s change our current directory to an workspace directory and generate a Strapi project with the following command:\
npx create-strapi-app project-api --quickstart
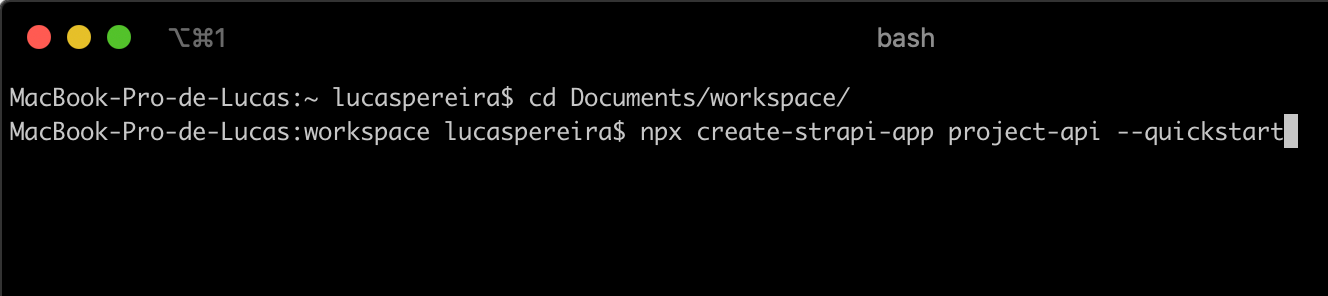
Generate a Strapi api
Once the project is setup, because you are using --quickstart strapi will run prompt you to your browser on http://localhost:1337/admin/
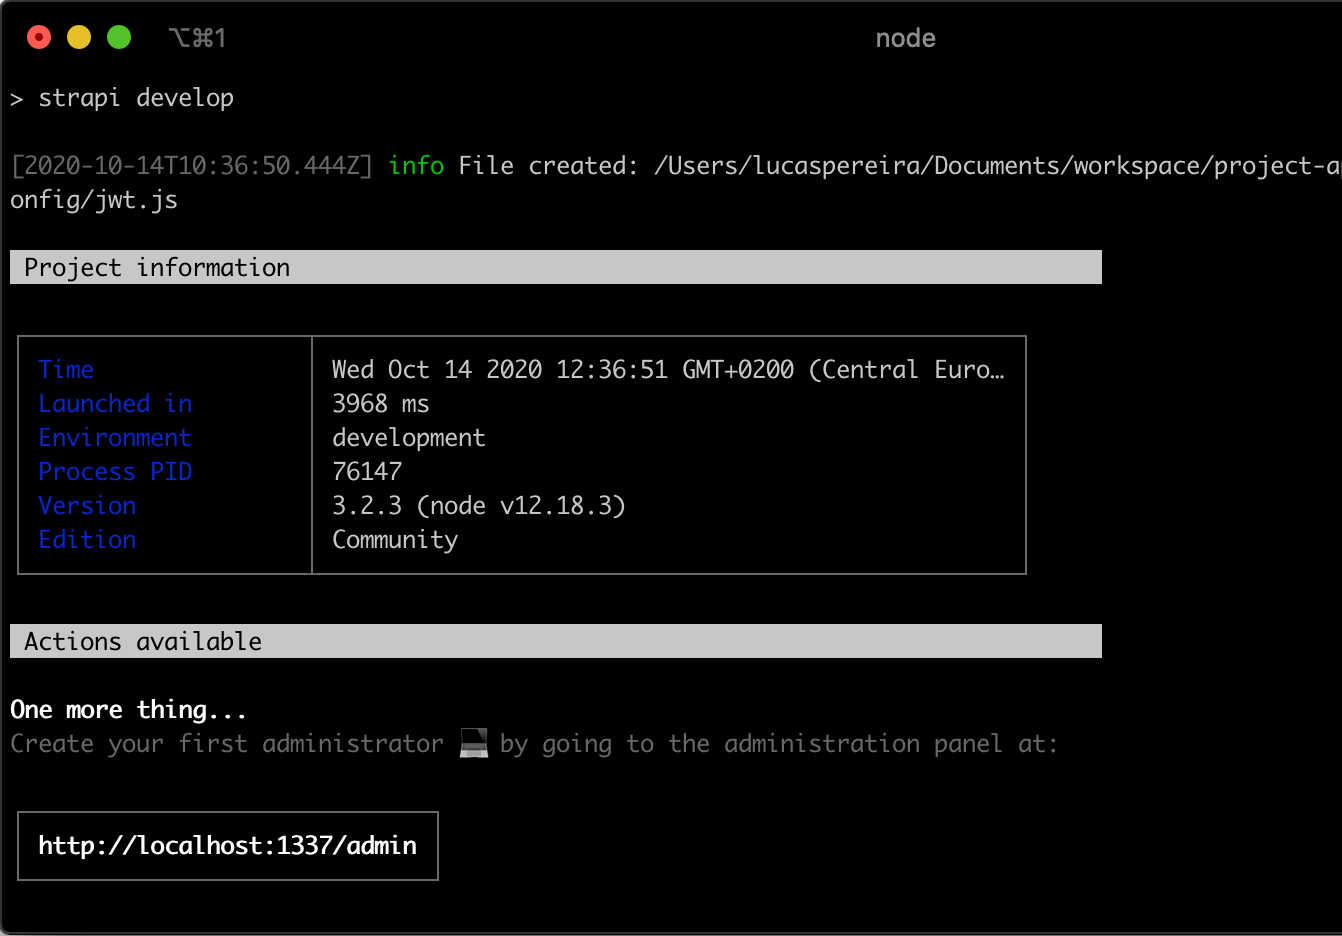
Here you can register an admin user and login to the admin panel.
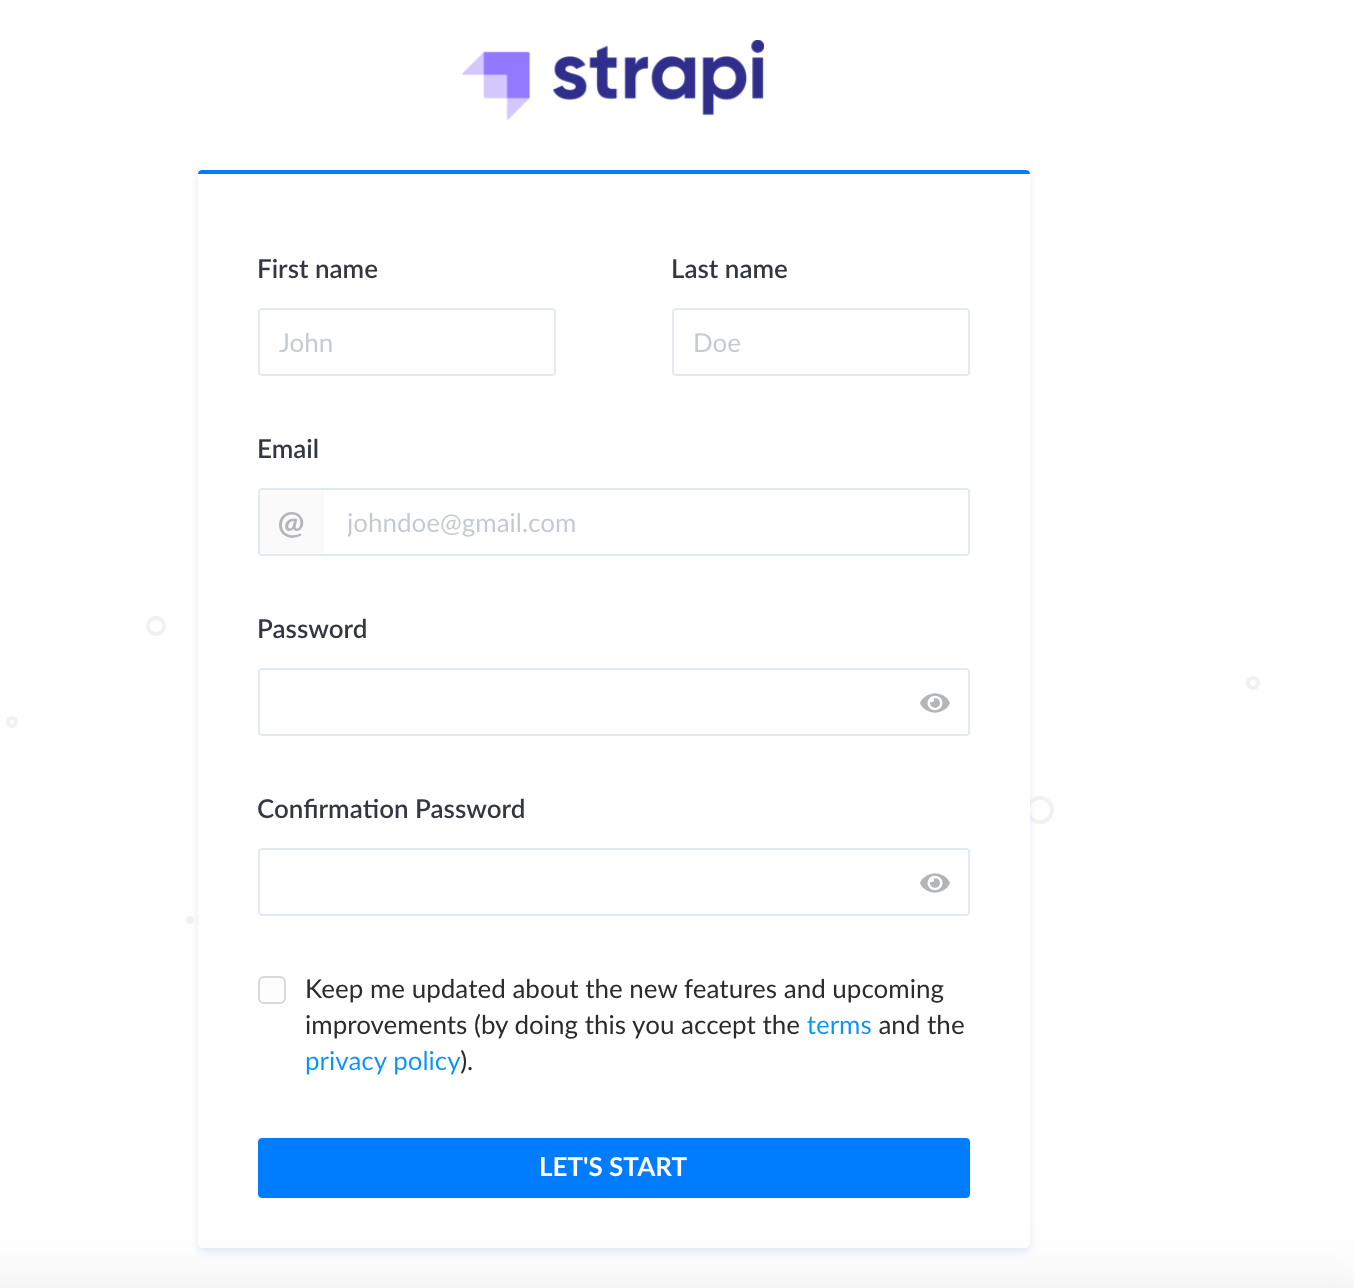
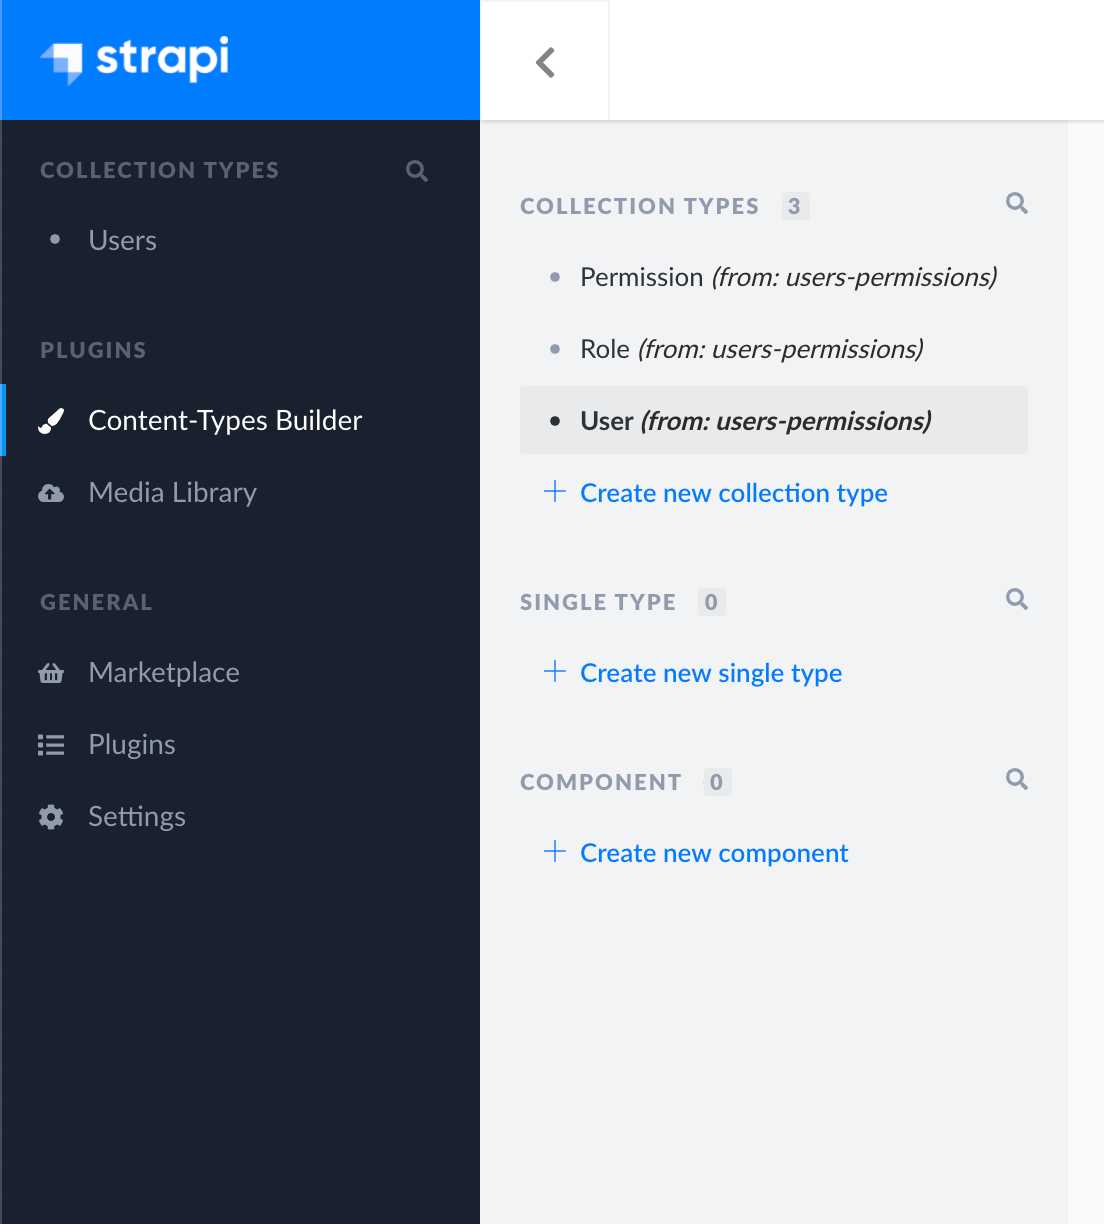
Welcome to Strapi Admin panel 🙂 . Now let’s create a collection type for our project data.
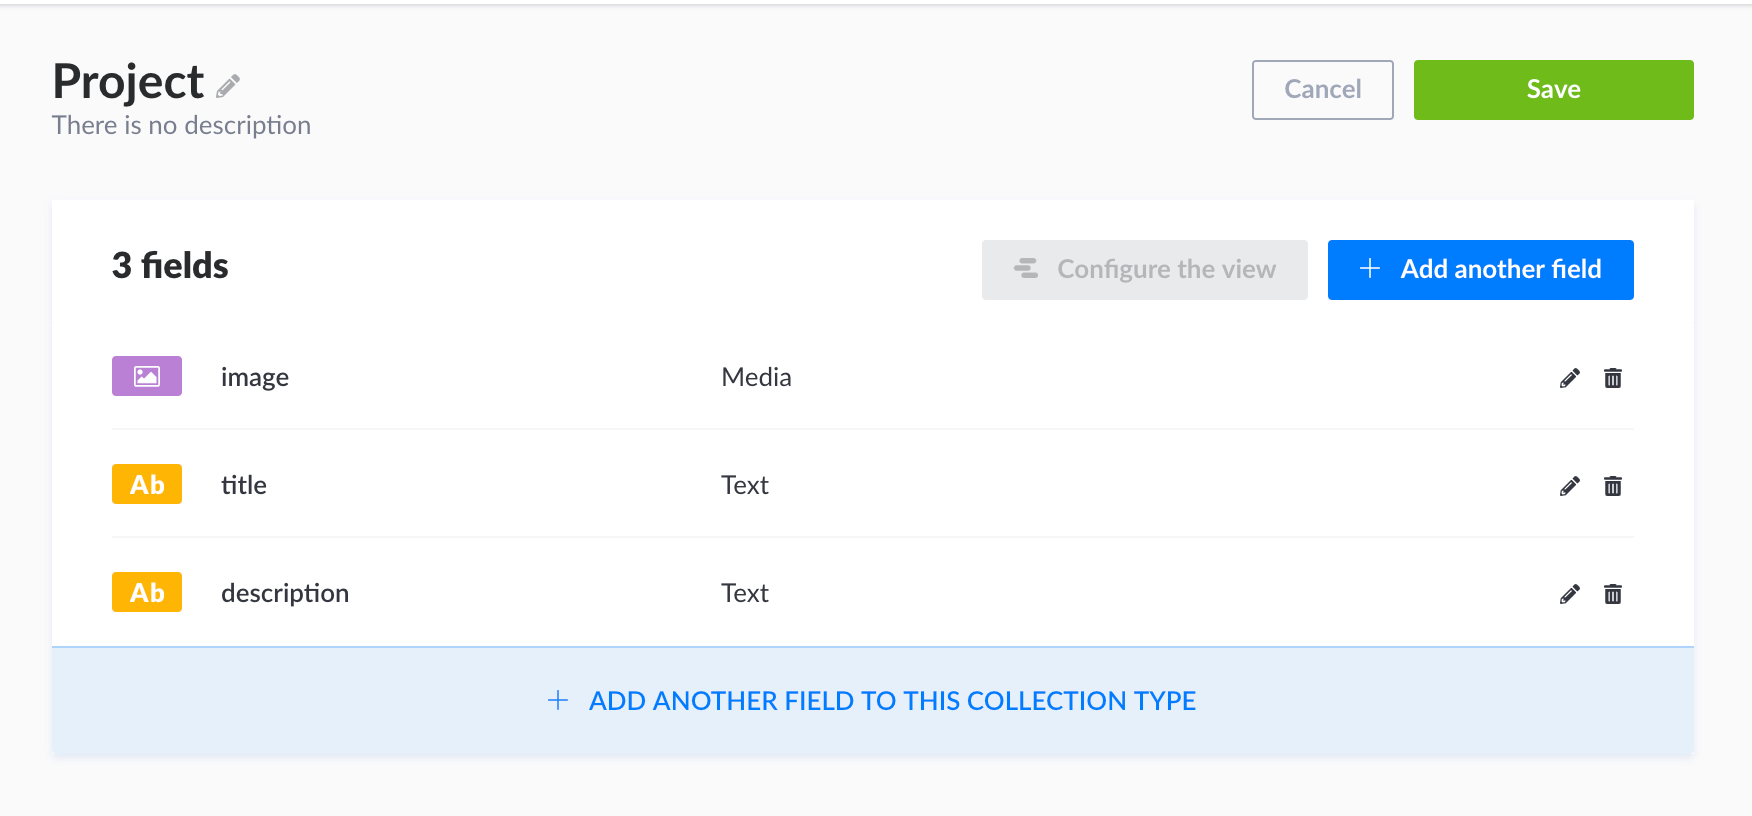
Go to Content-Types Builder and click on Create new collection type.
Enter a display name for your collection and then choose the fields you want and click Save. For my project fields I’ll be choosing an _image _(media), a title(text) and a _description _(text).
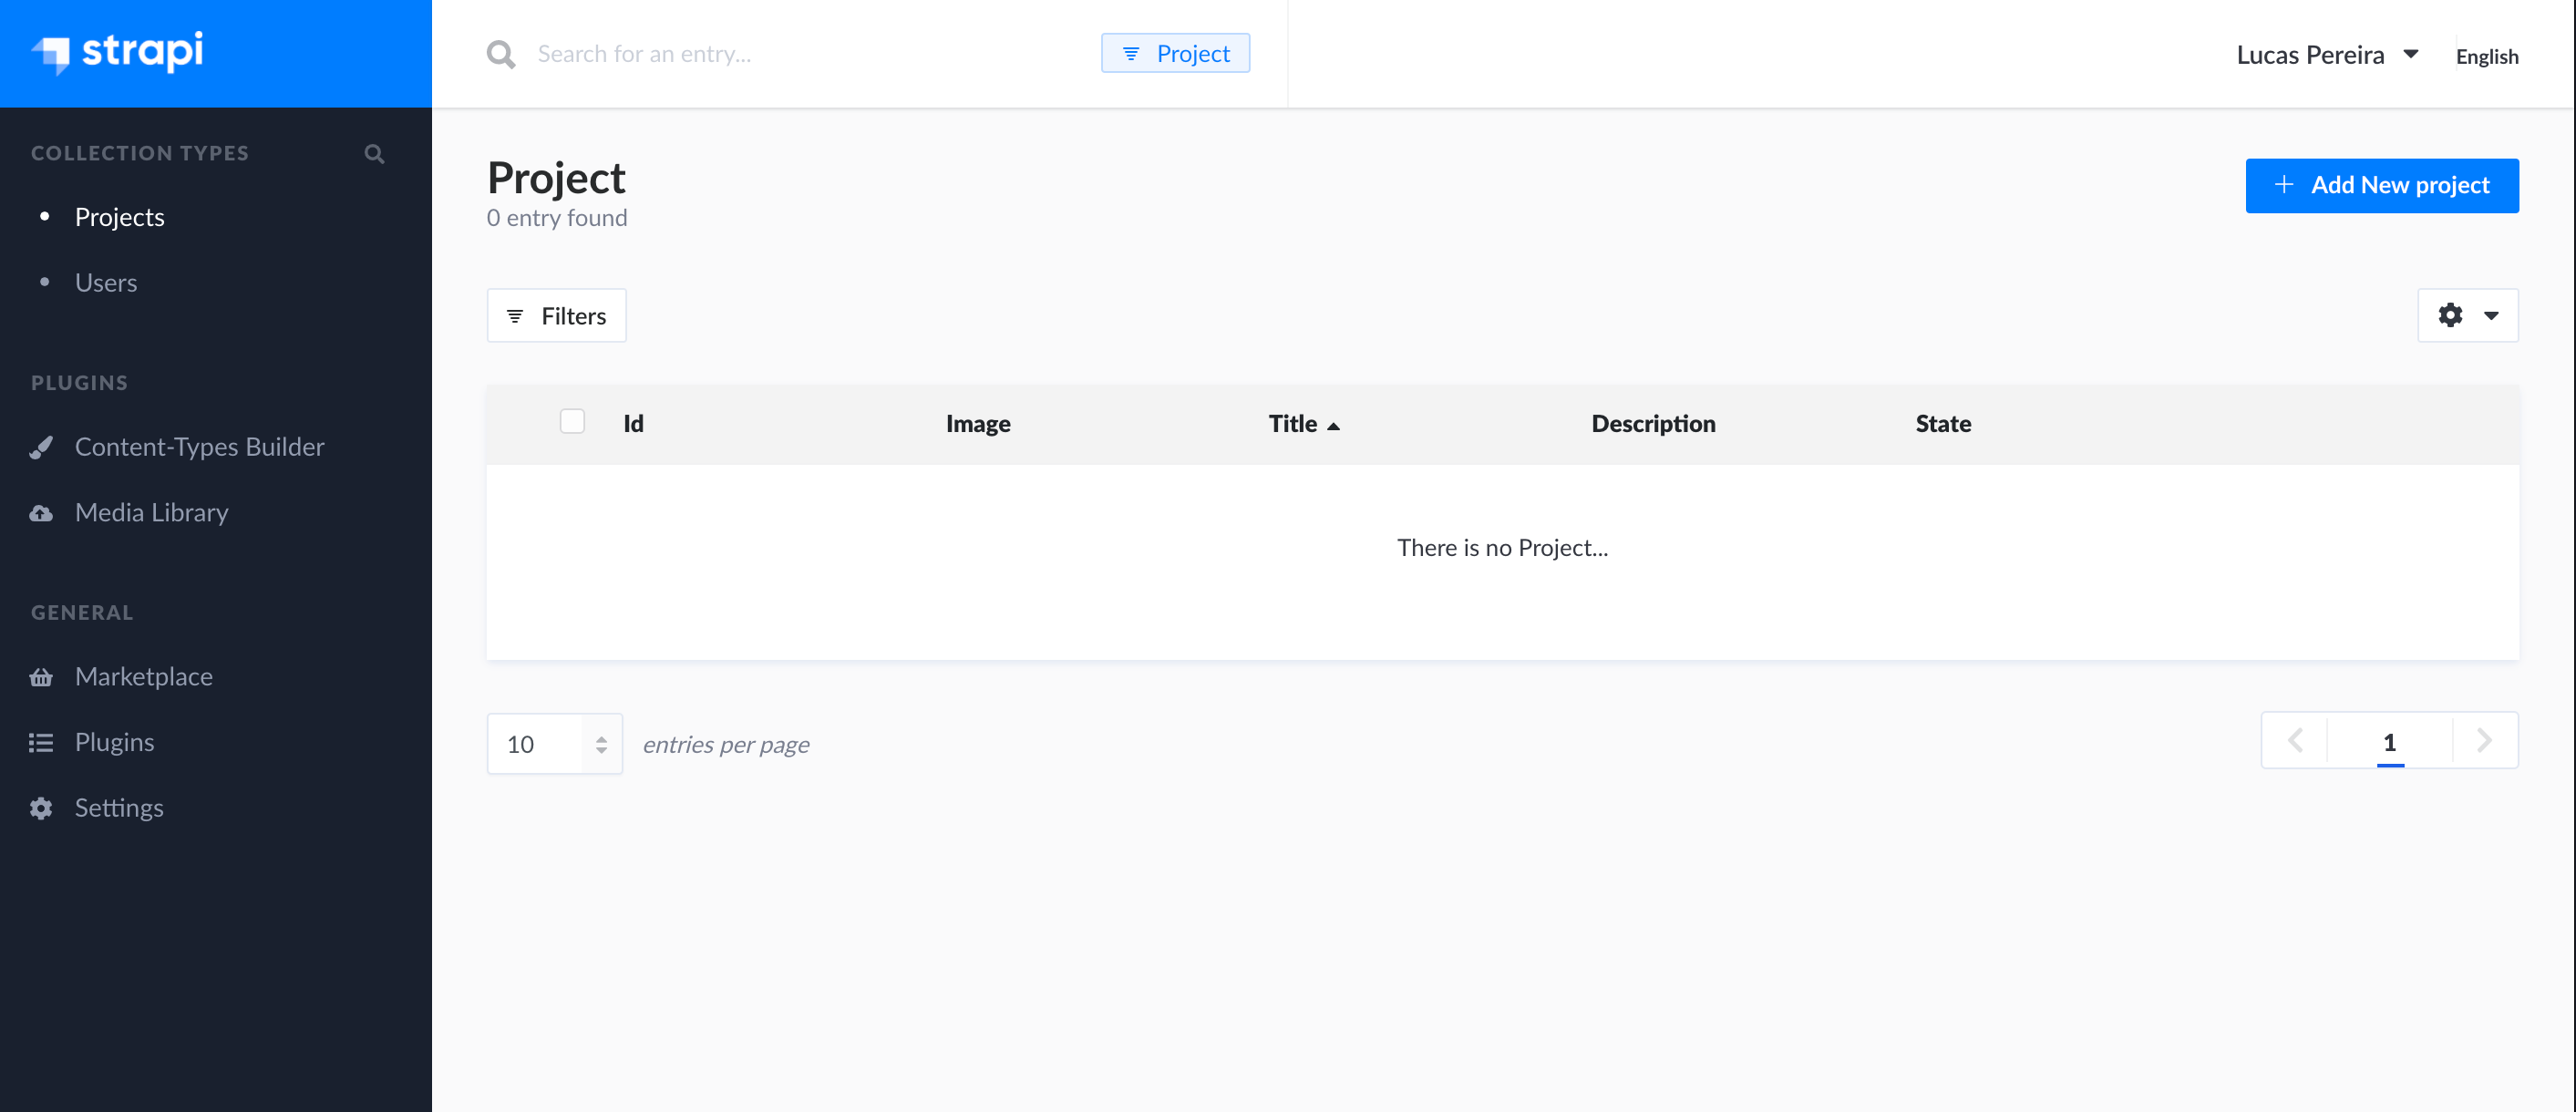
Okay, If we go back to our admin panel we’ll see projects added to our collection types. Let’s Add a New project.
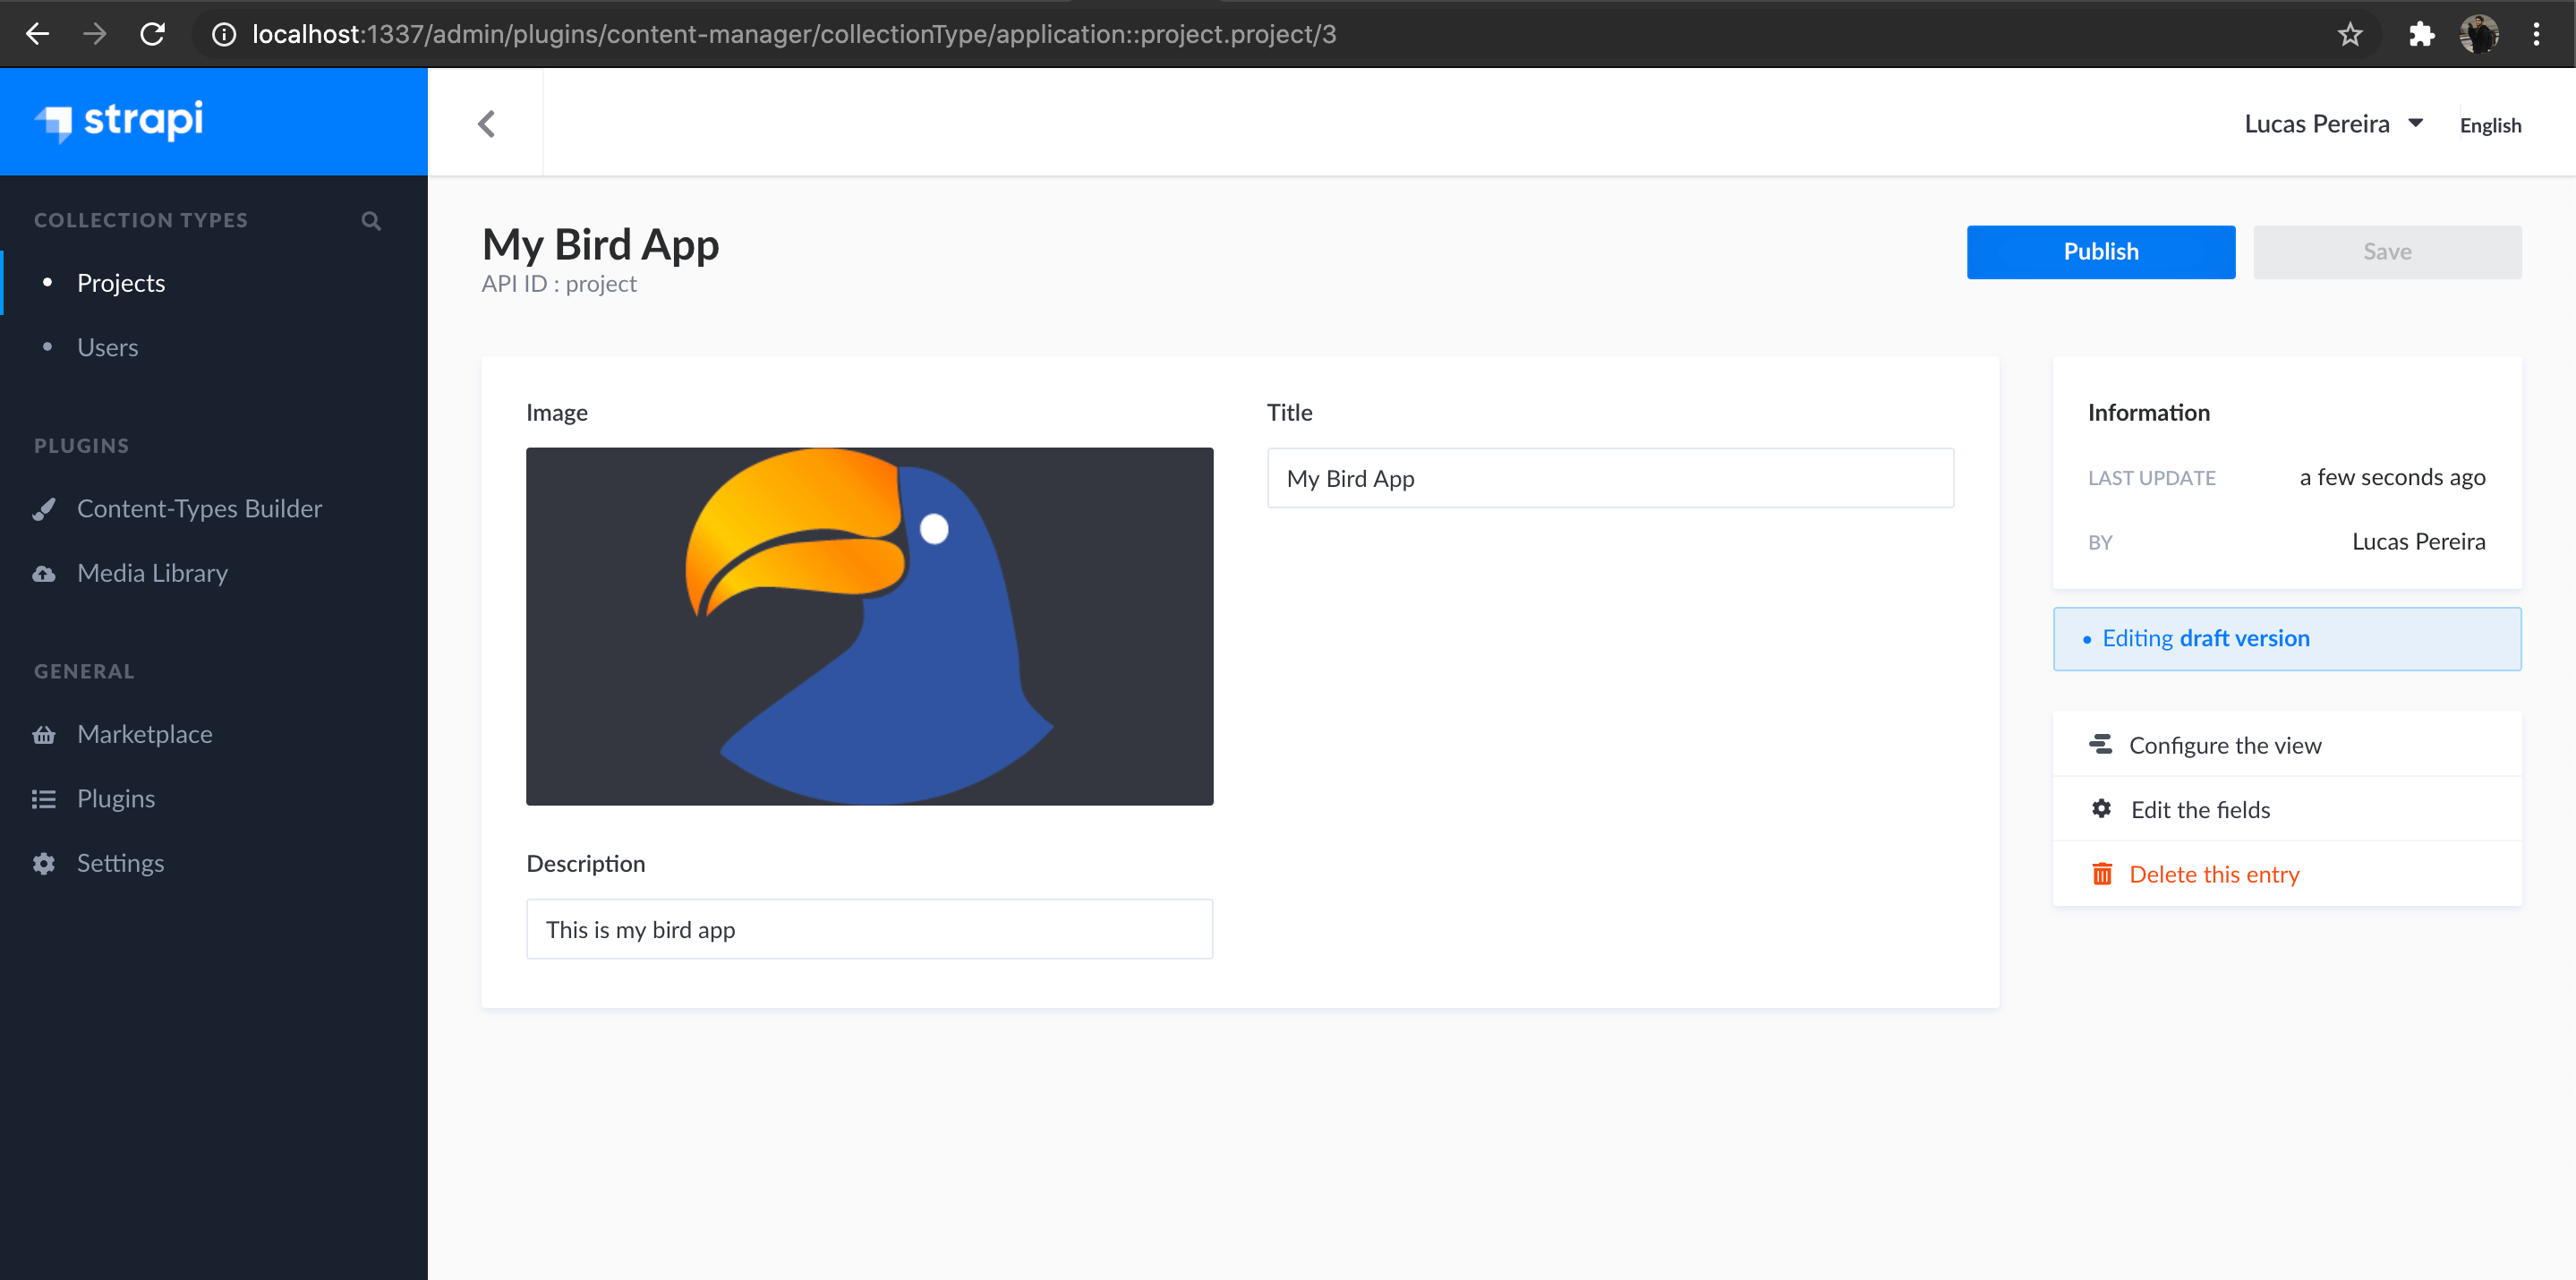
Here I have entered my data and I am now ready to save it.
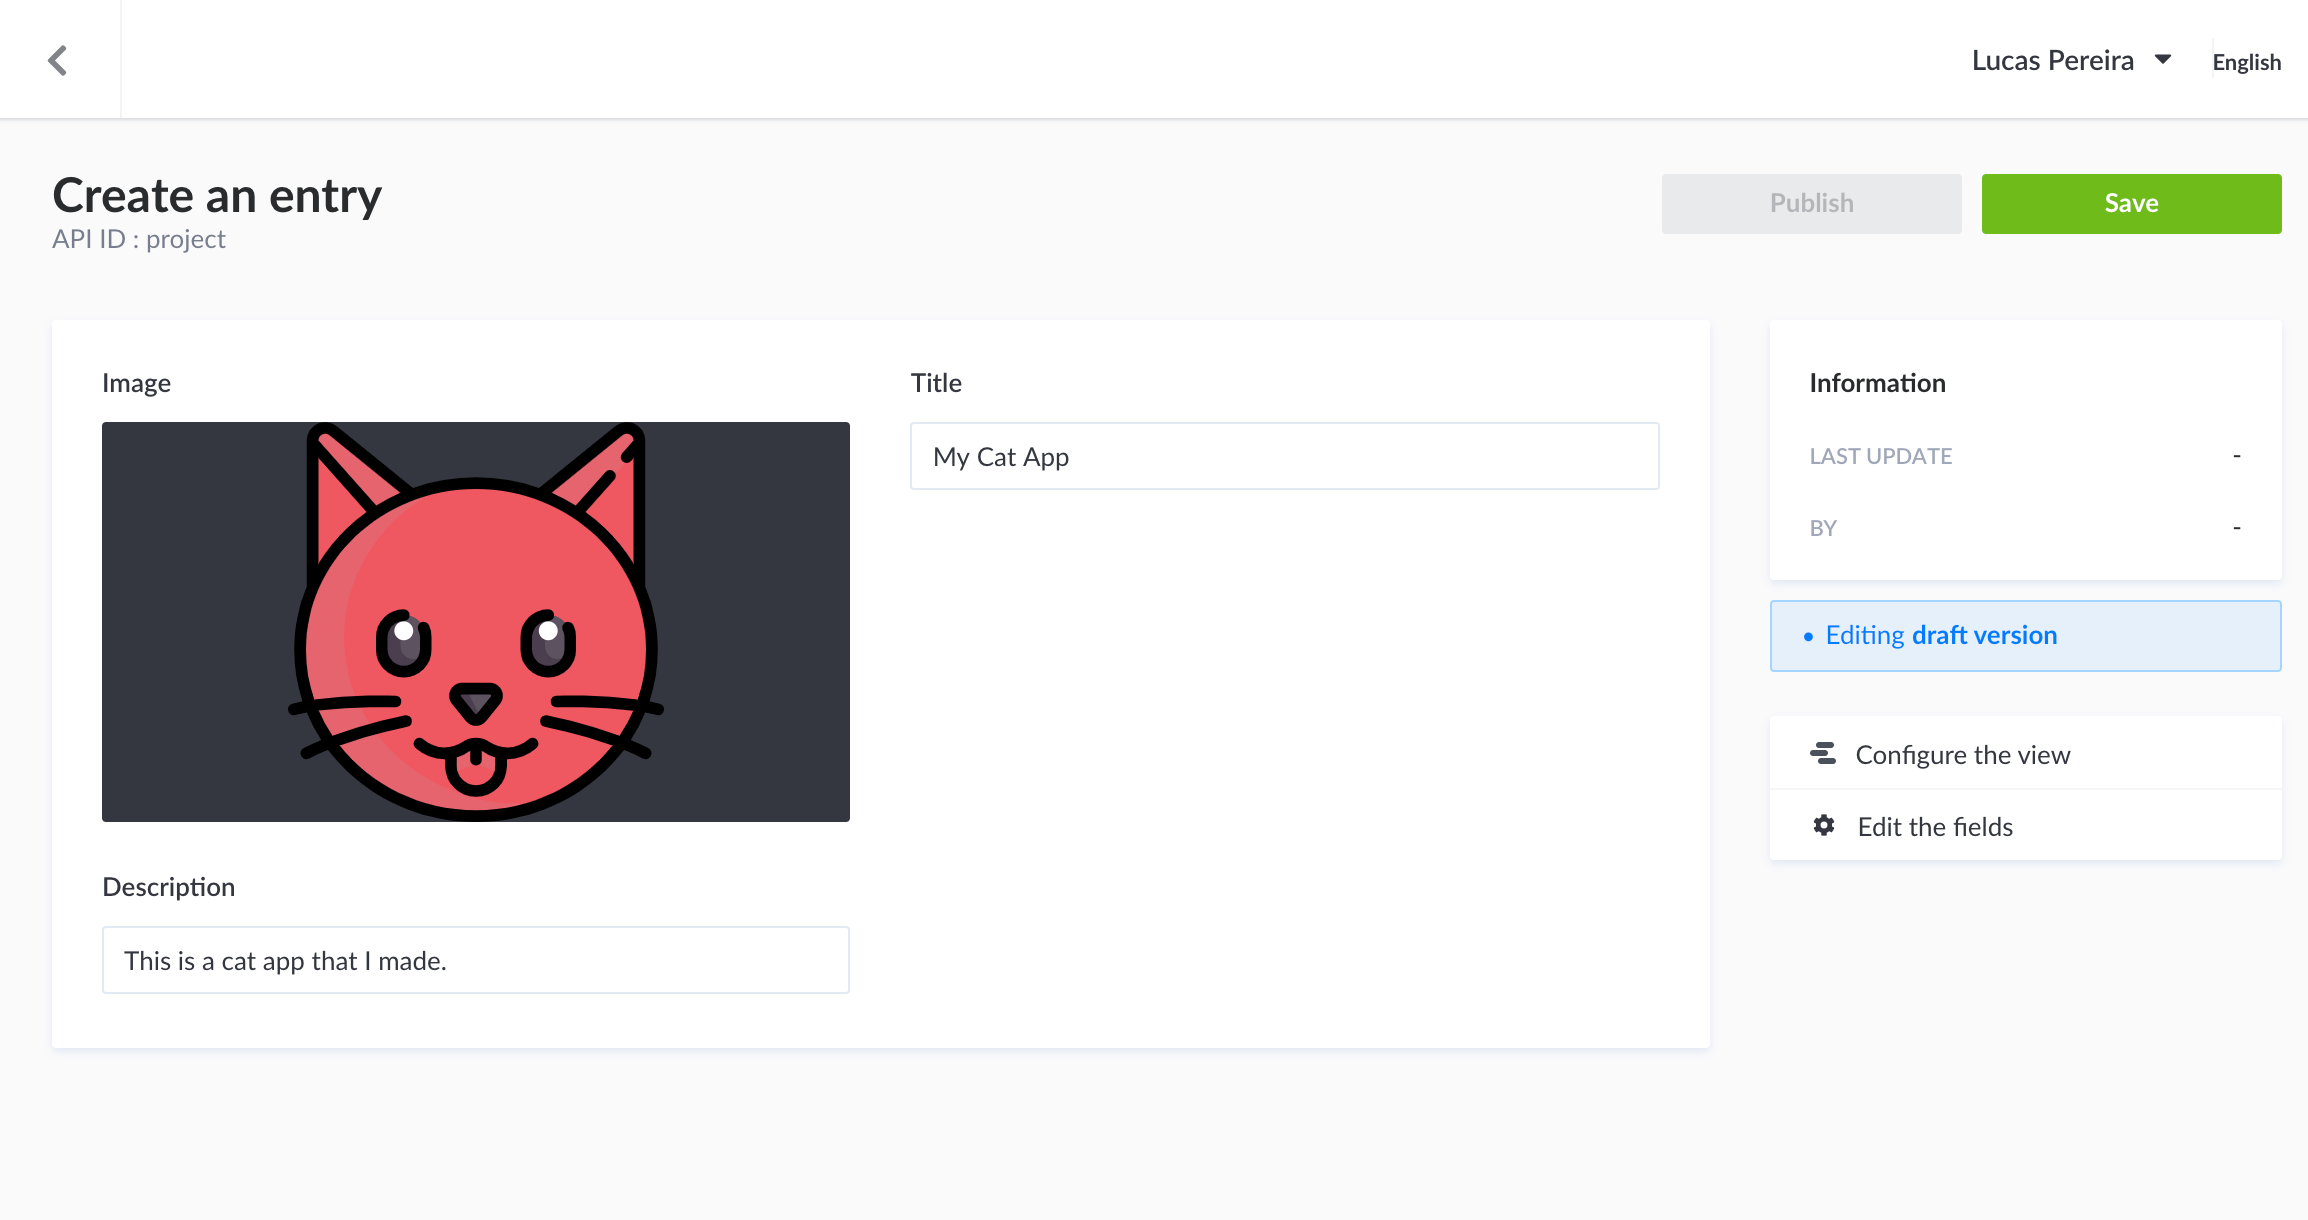
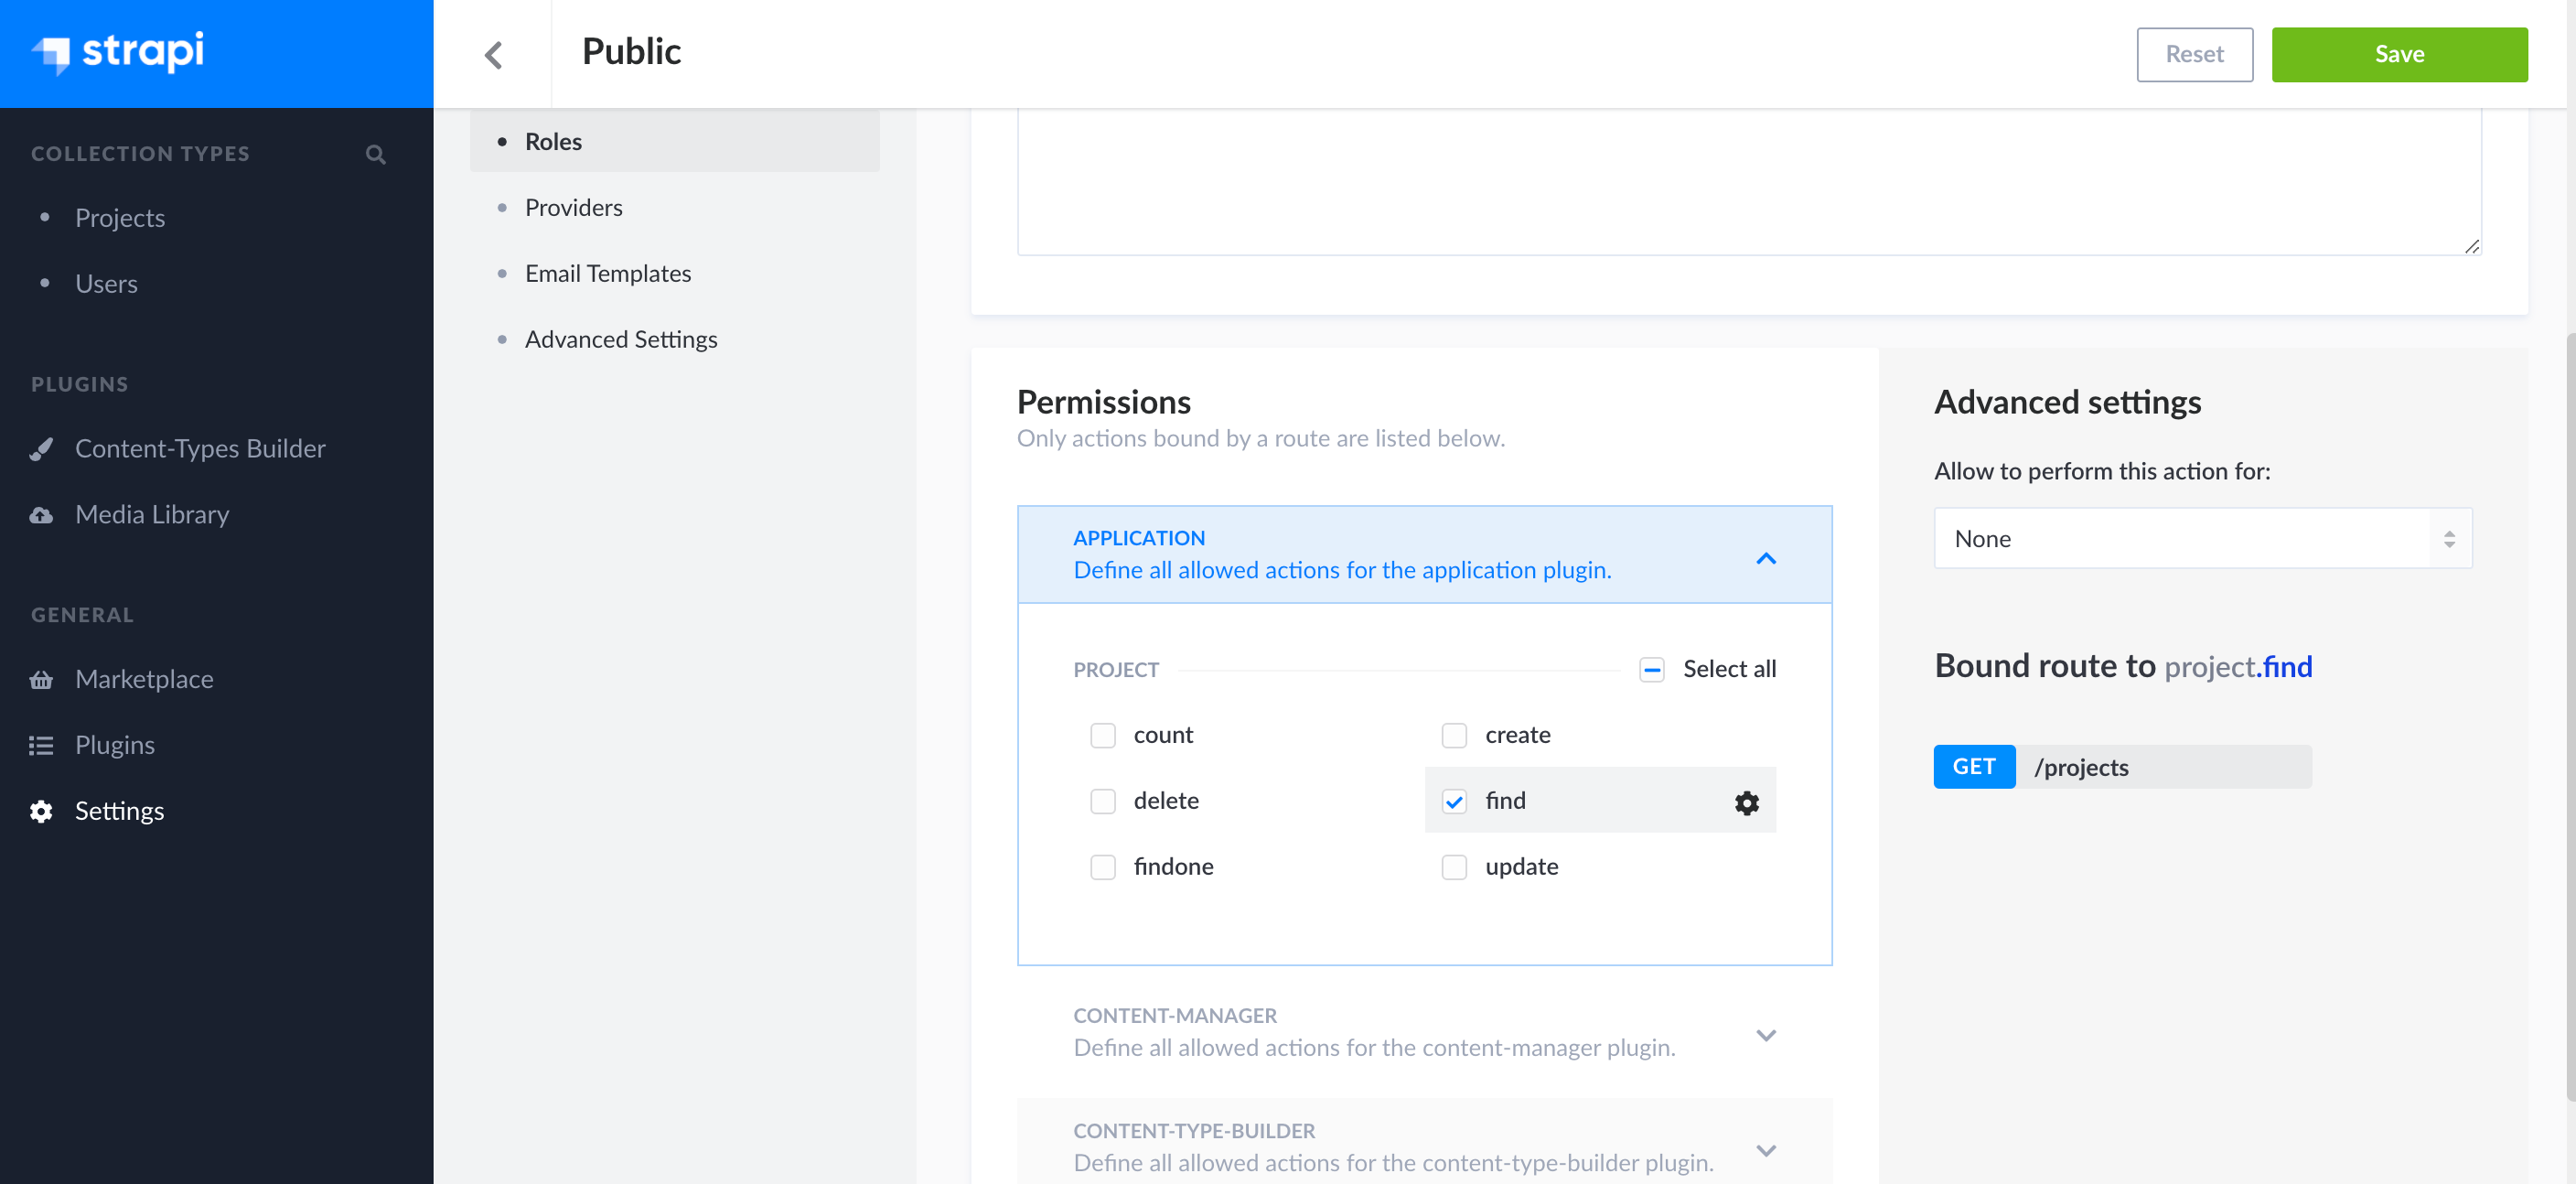
At the moment I saved my project as a draft but I don’t want to publish it yet. So don’t need to click the blue button Publish yet. Before that let’s go to Settings > Roles > Public.
We are not implementing authentification, so we need to define permissions on our API to unauthenticated users.
Here you can select all by I just need to find my projects so I’ll be choosing just find.
Okay, now that I have saved my permissions settings I can go back to my project that I have saved earlier and it that blue button Publish.

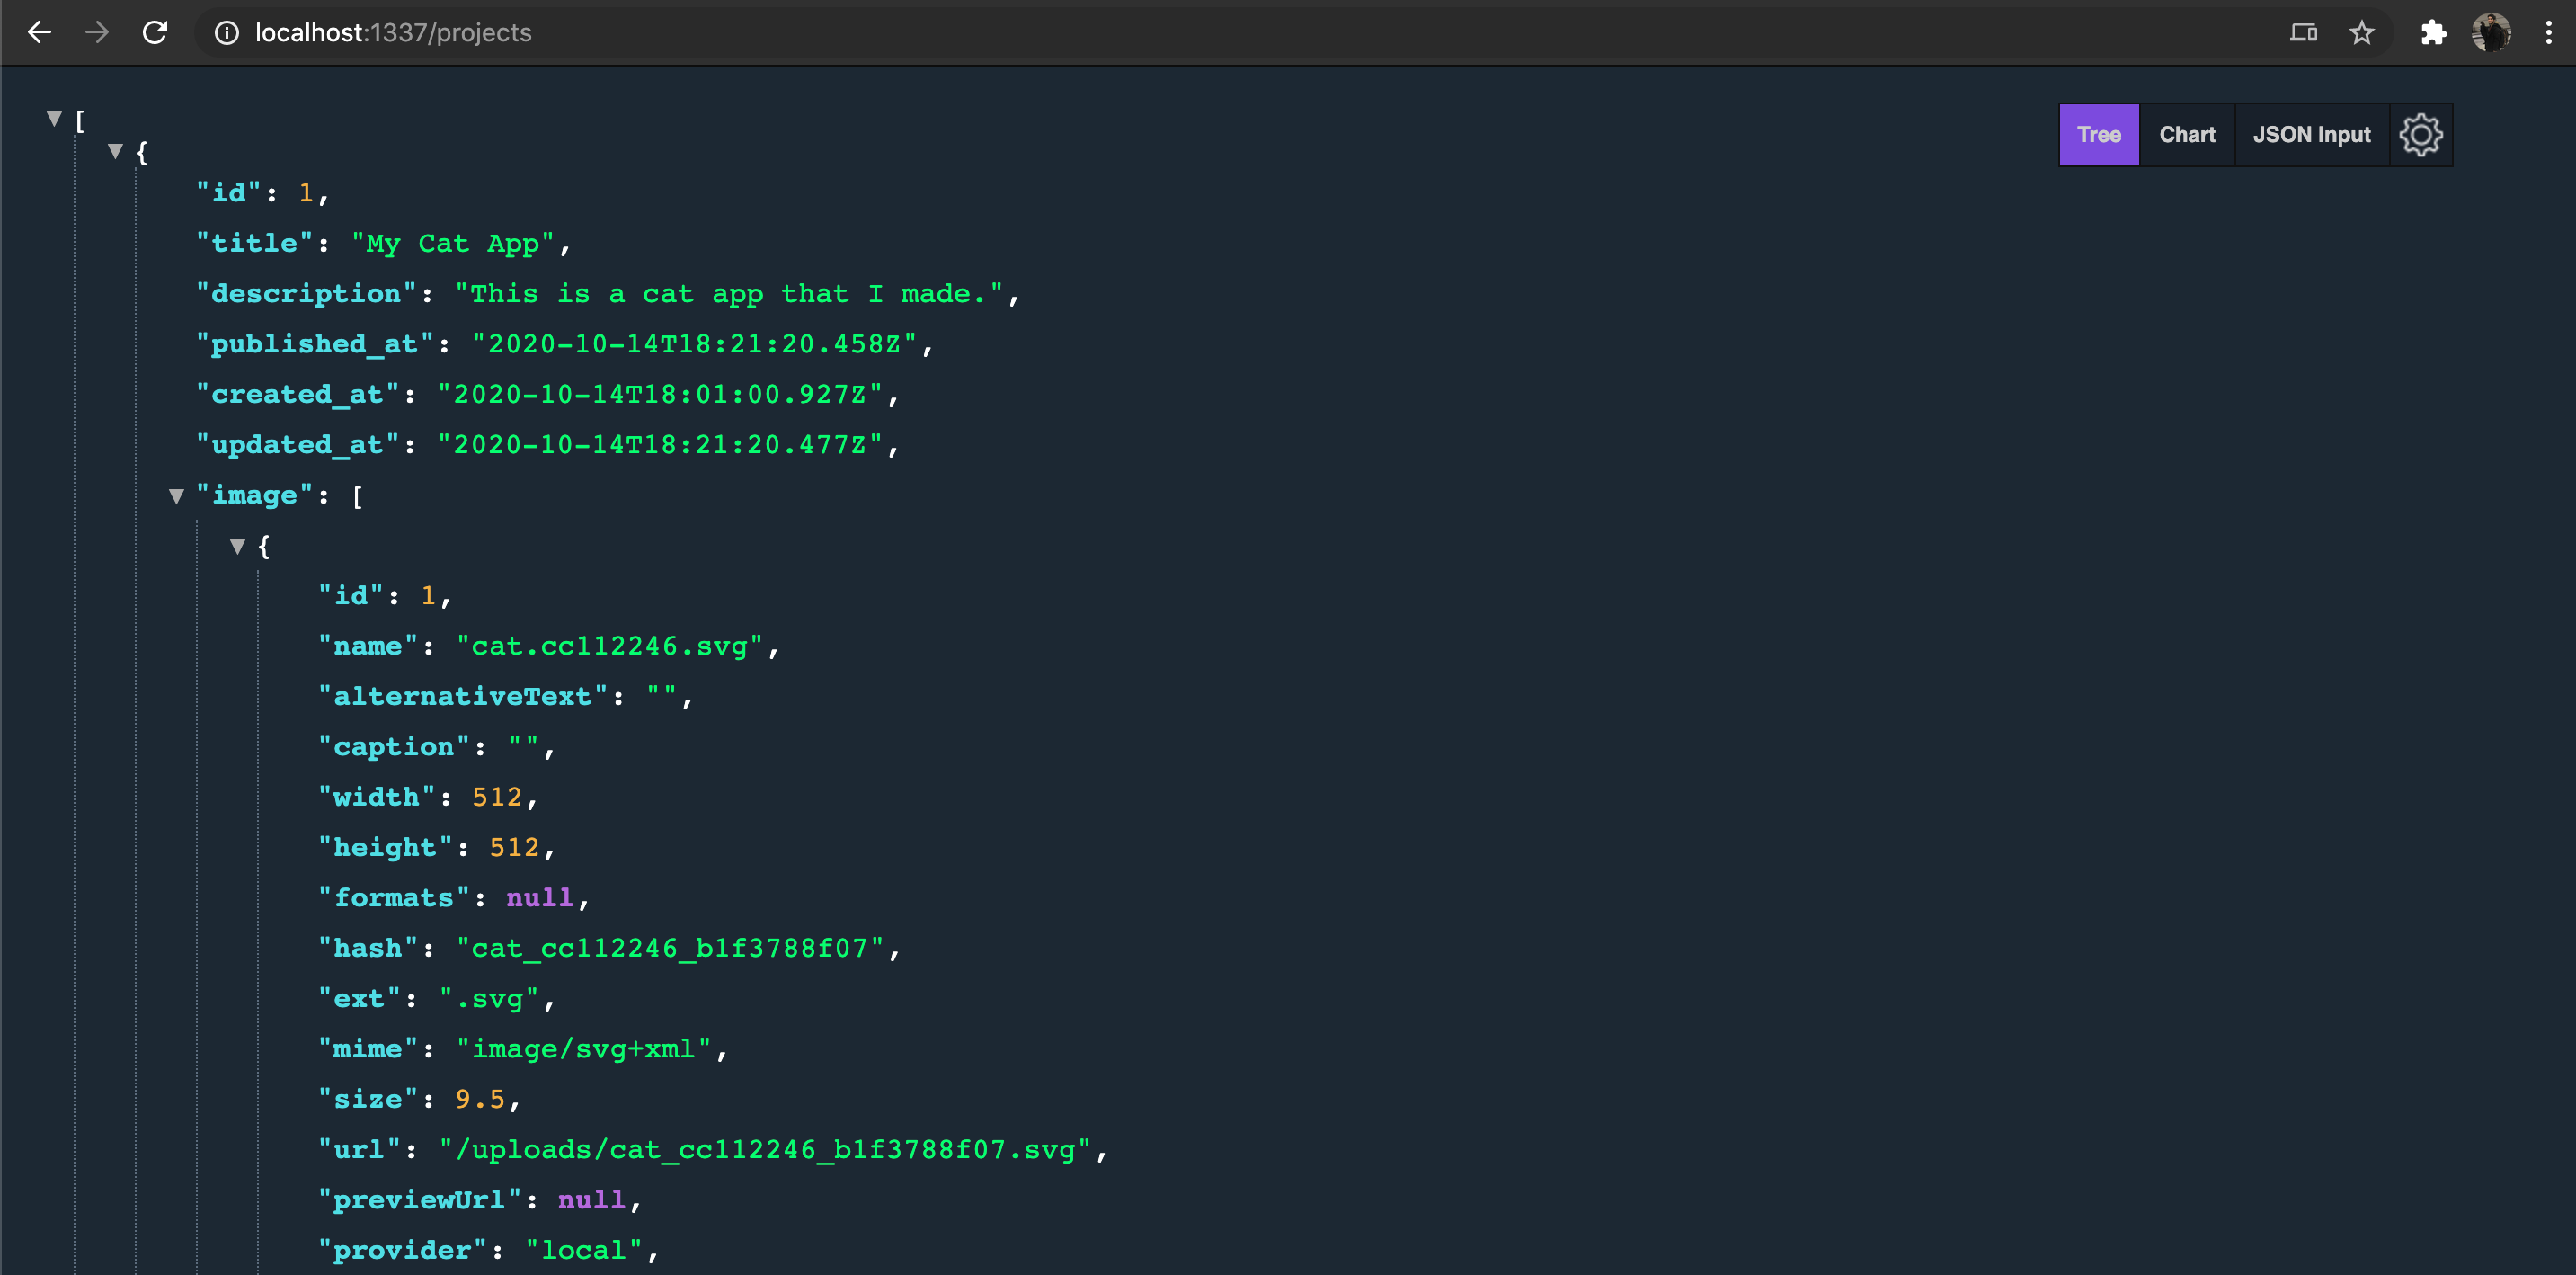
Looking good, we can start to test if it is working. You can use a tool like POSTMAN to make a get request or you can just go to http://localhost:1337/projects to see if it’s working.\
Let’s test this out 🙂
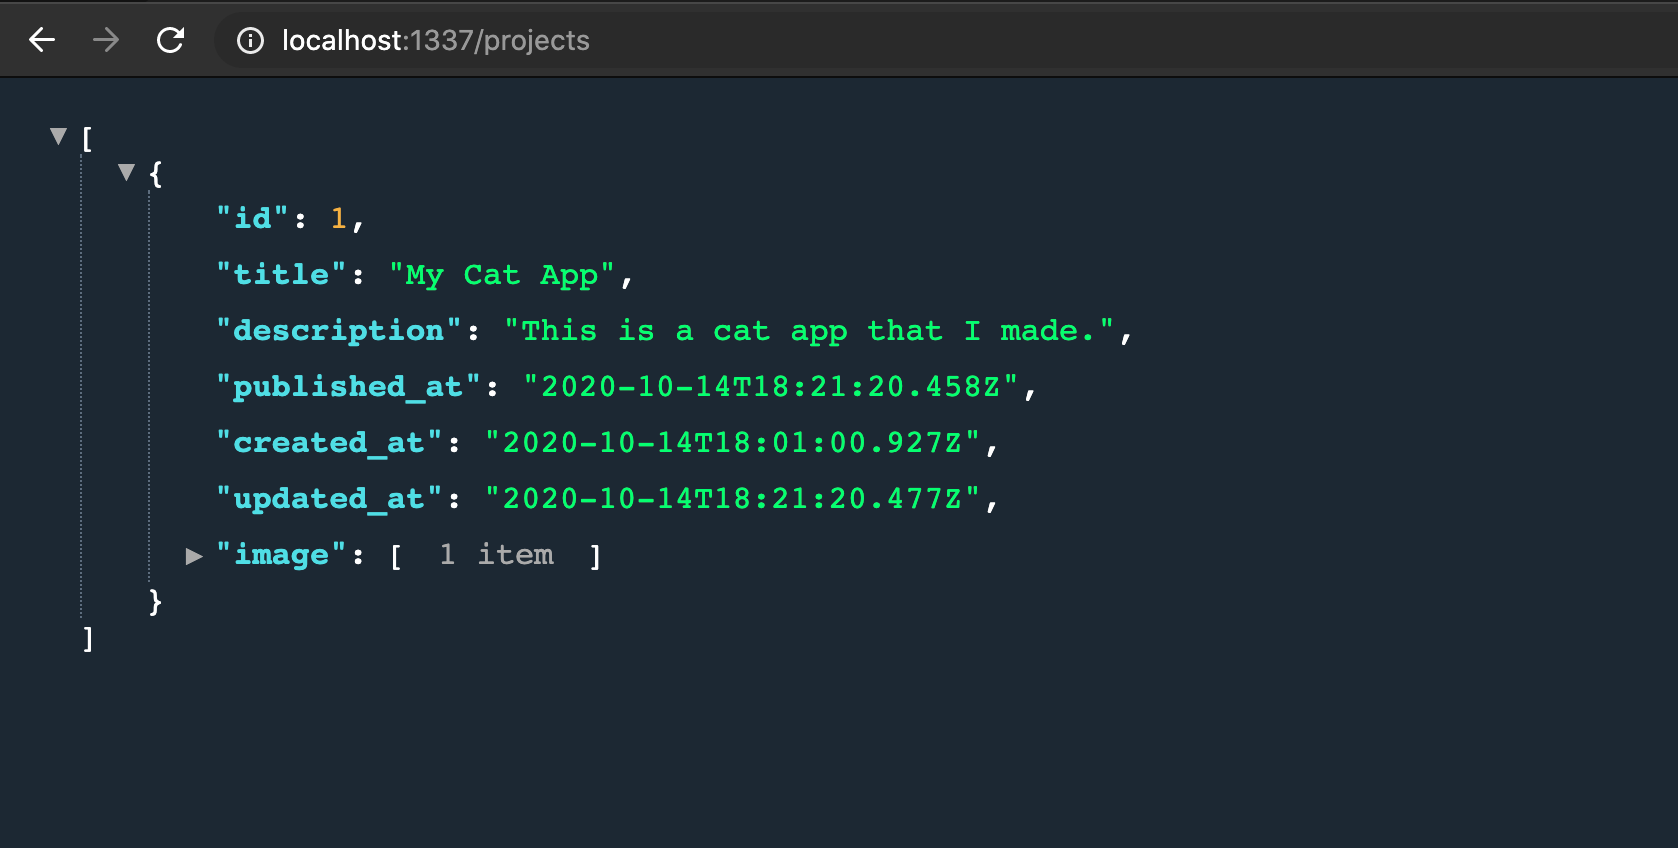
Perfect, we can now build our front end and fetch our API.
- Finishing by building our Angular App
We’ll enter once again in our workspace directory and generate an angular project with the *Angular CLI. *If you don’t have this tool you can install it on your machine by running:
npm install -g @angular/cli
Then do the following:

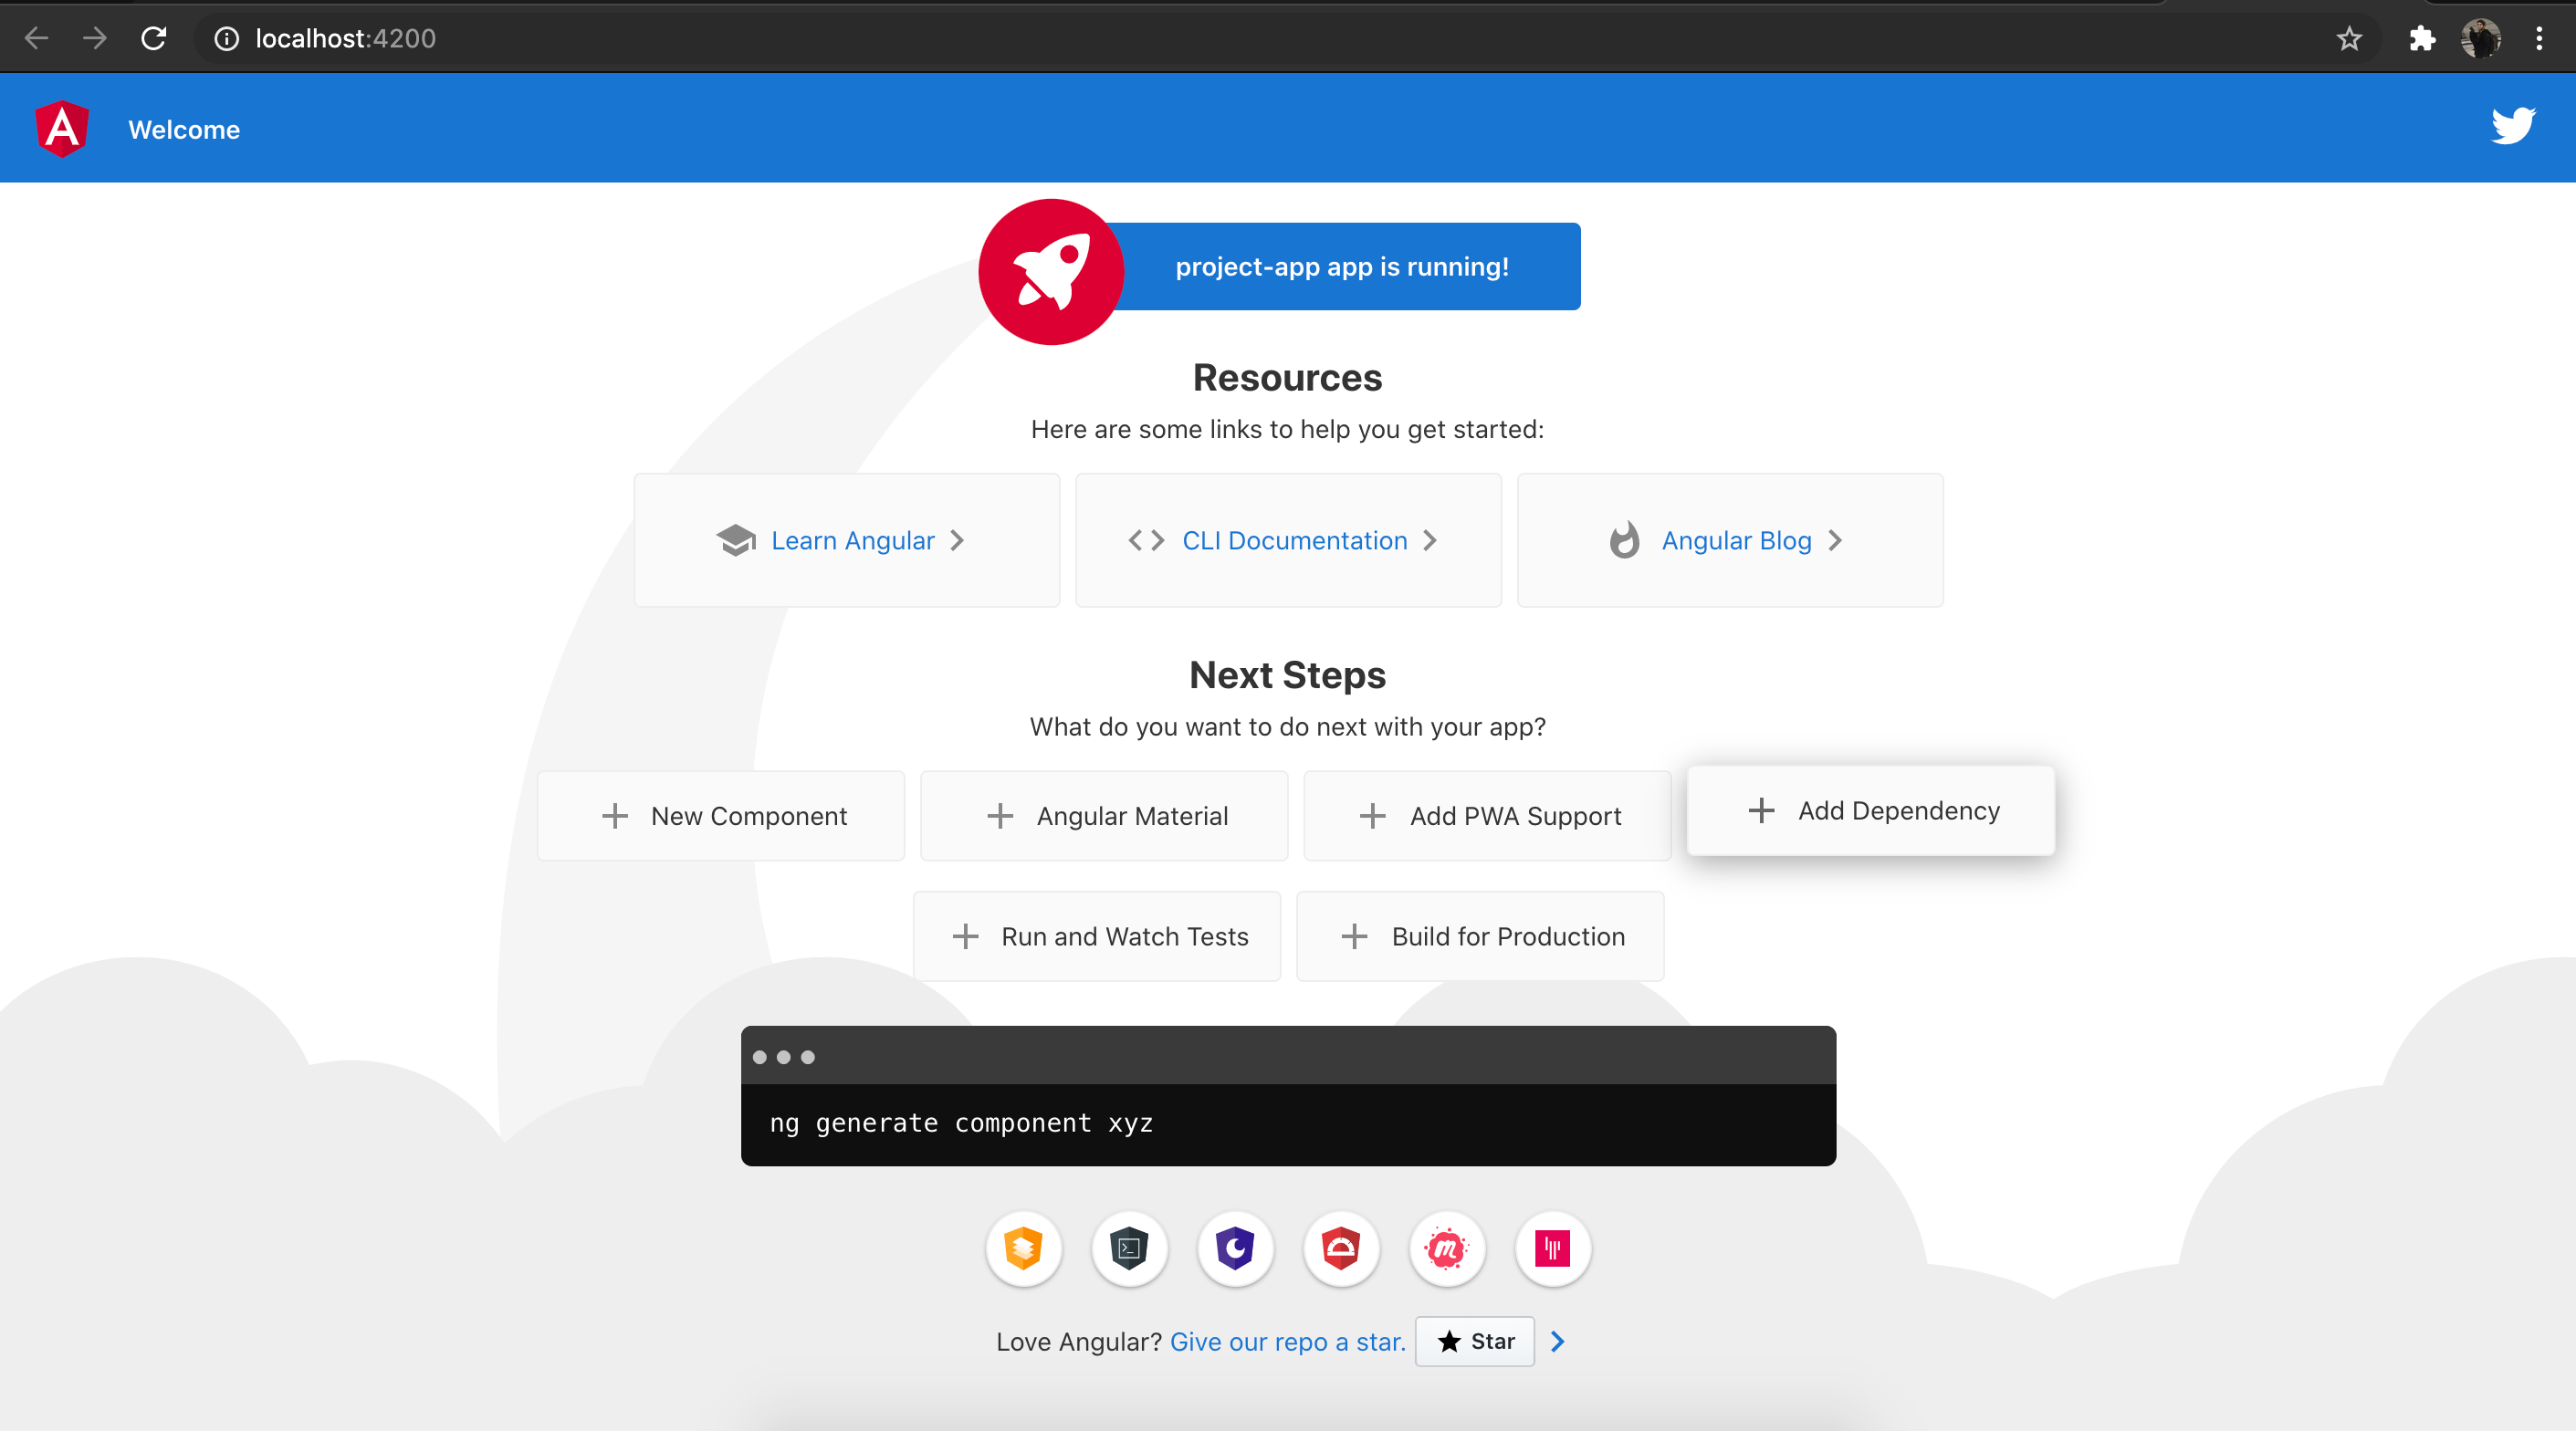
Choose the default values (no routing) and (css) or just setup the project as you please. Project is generated we can now change to it’s directory so cd project-app and run ng serve -o build the app and open it in the browser at http://localhost:4200
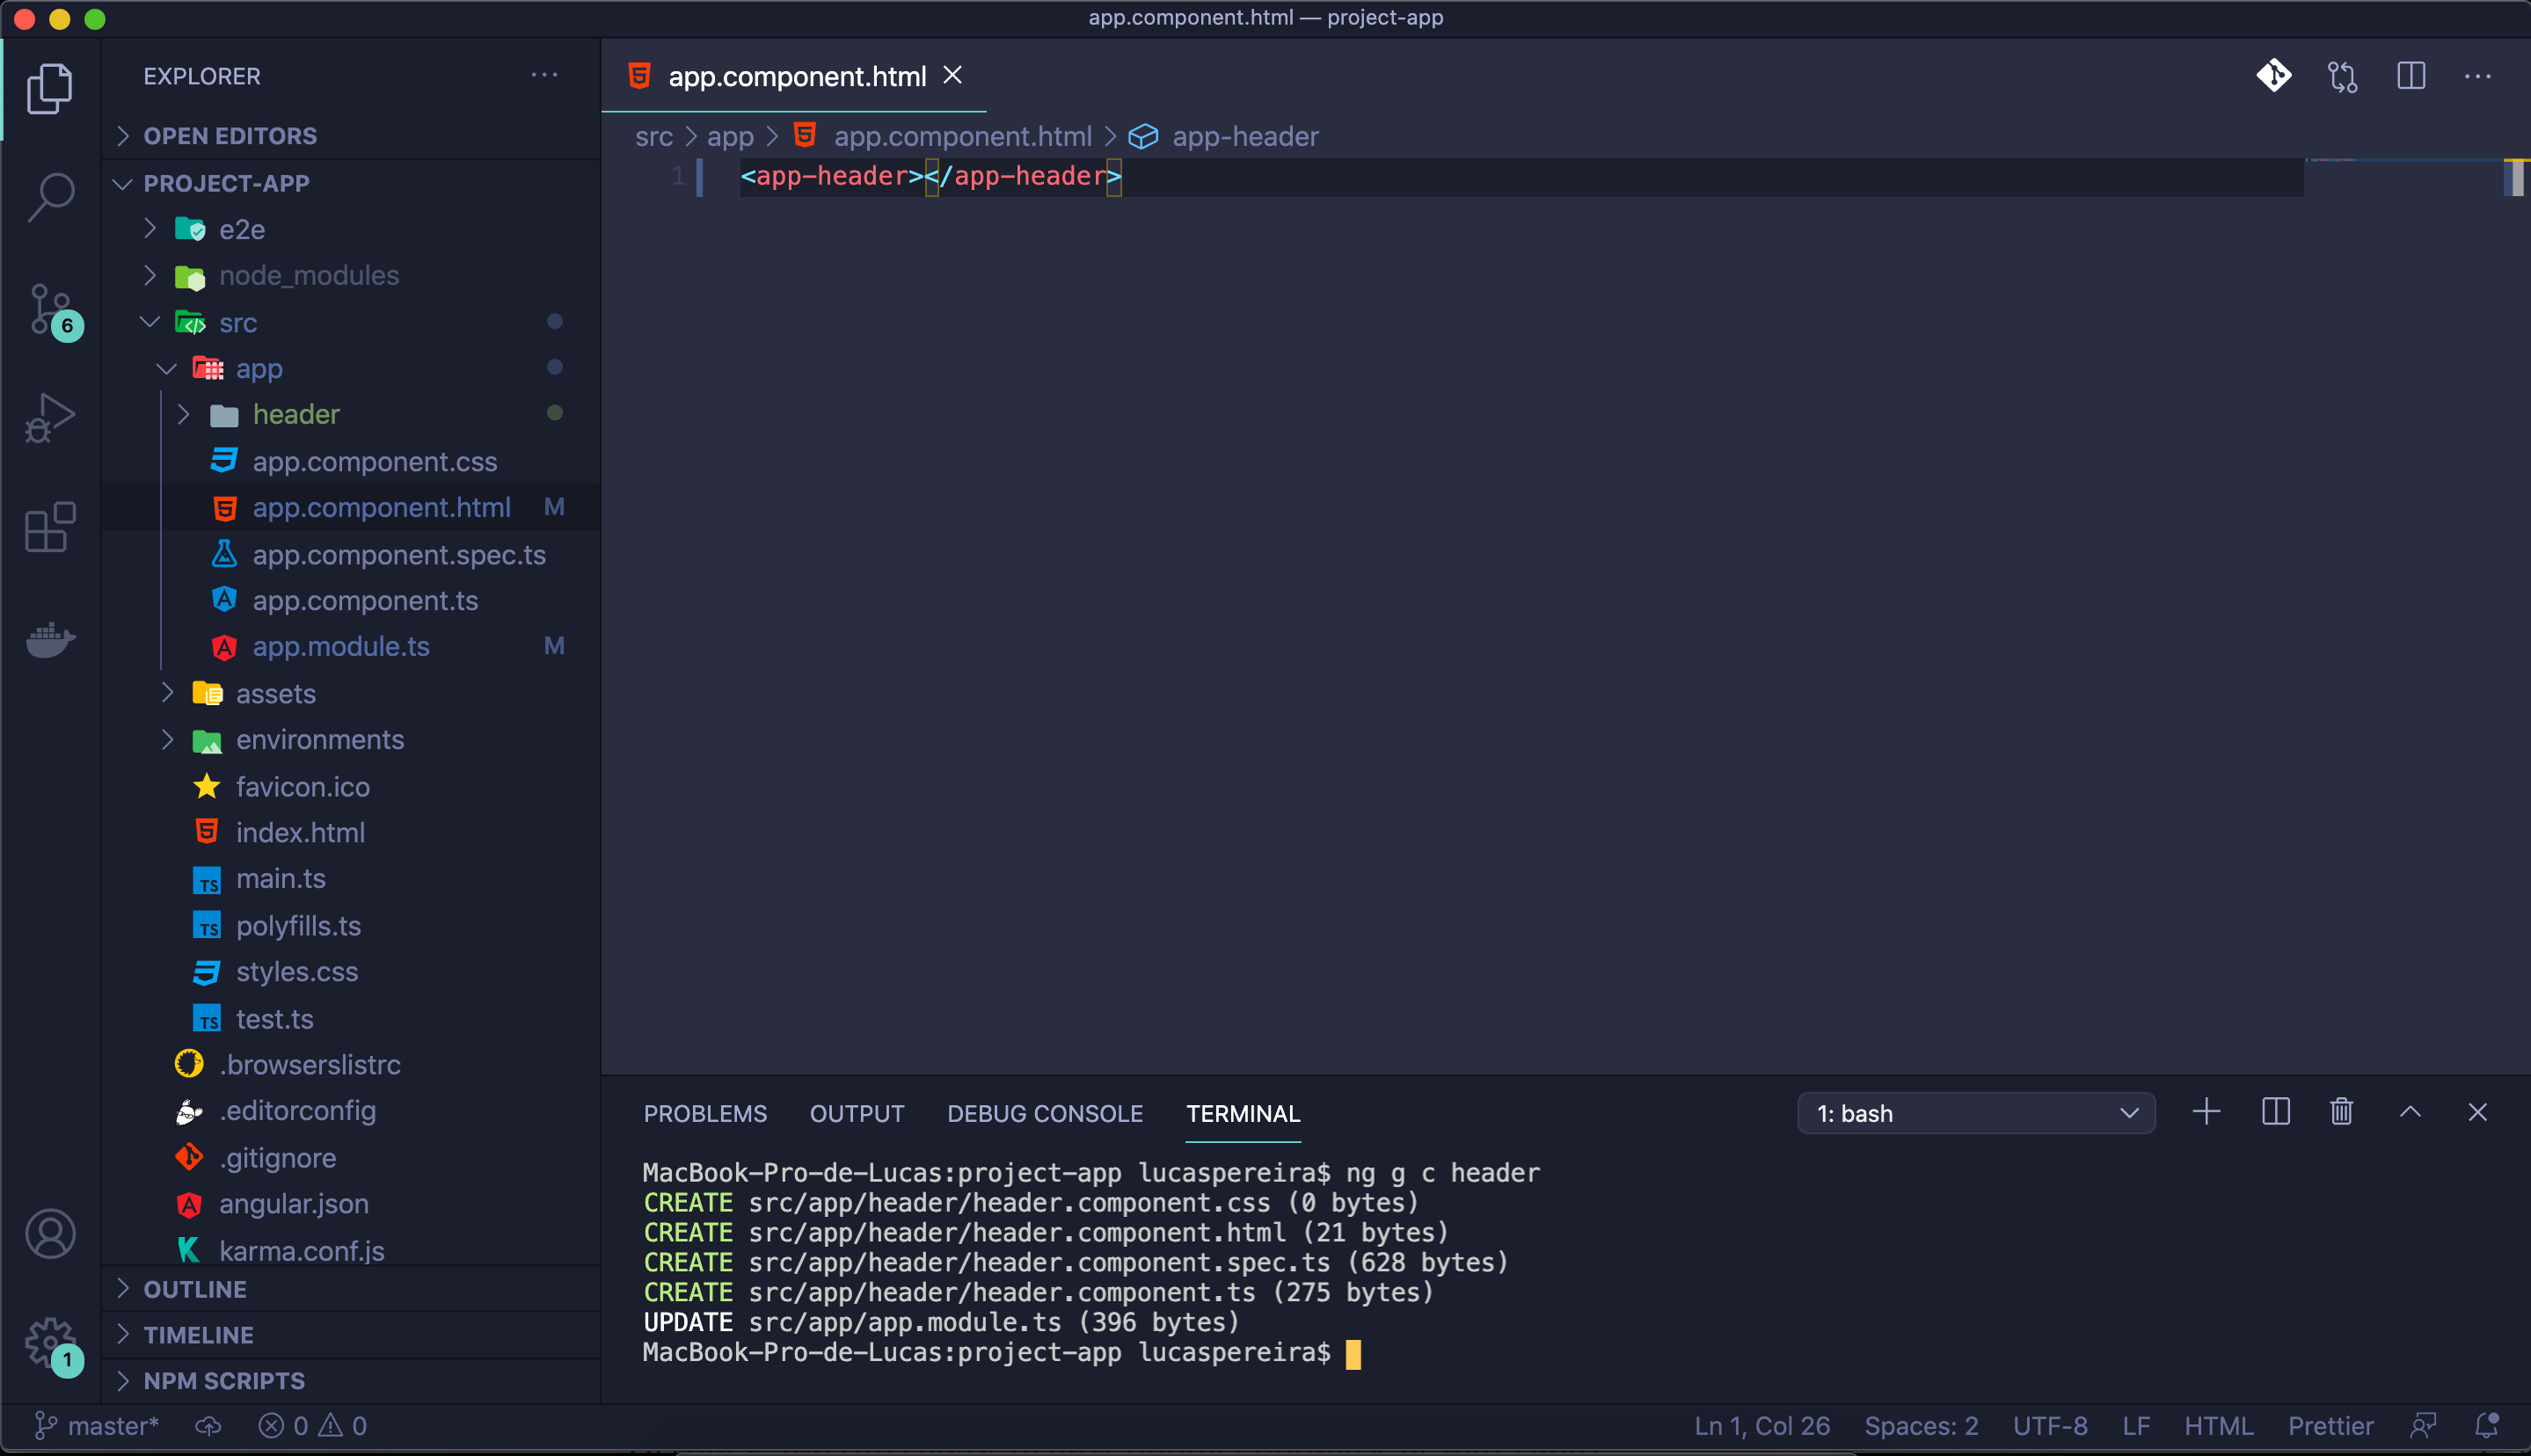
Next, open the project in your text editor, i’ll be using Visual Studio Code, and remove all html content in *app.component.html *and create a simple header component. You can generate it once again with the angular cli ng g c header , by the way you have a terminal integrated in Visual Studio Code hit cmd + J to open it. Once your component is generated you can add it’s selector (defined in header.component.ts) to your app.component.html
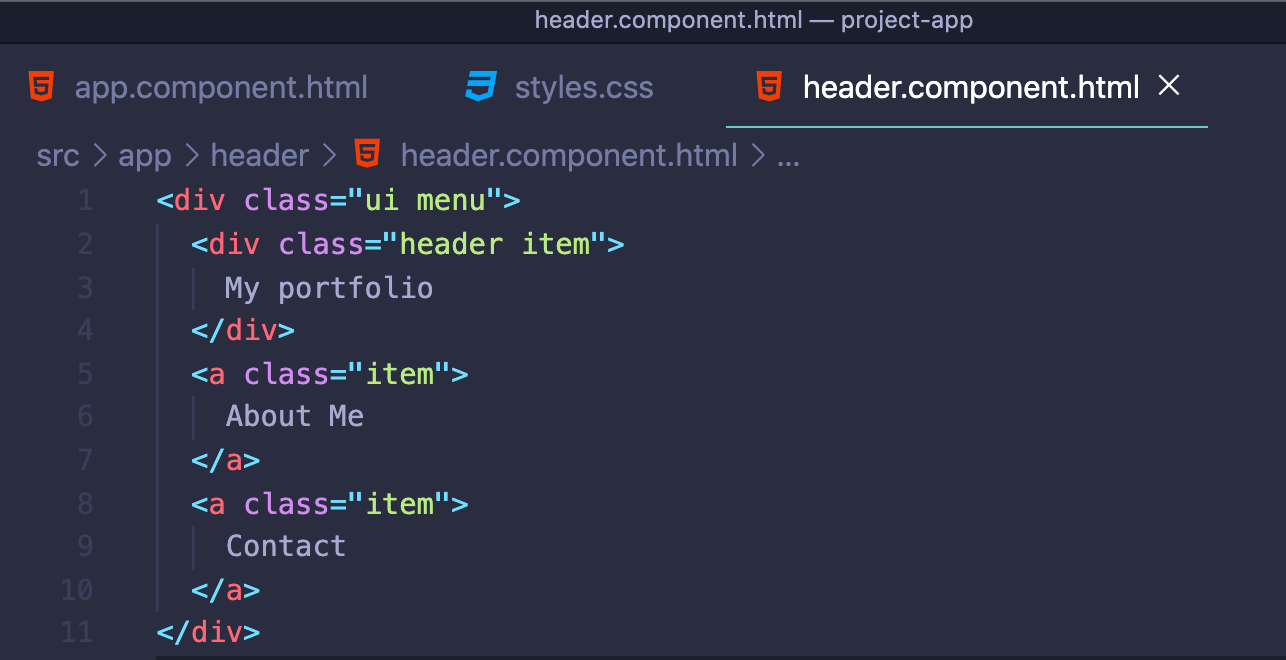
To have a bit of style in my app, I’ll install semantic-ui-css and then import it to my global styles file. npm i semantic-ui-css

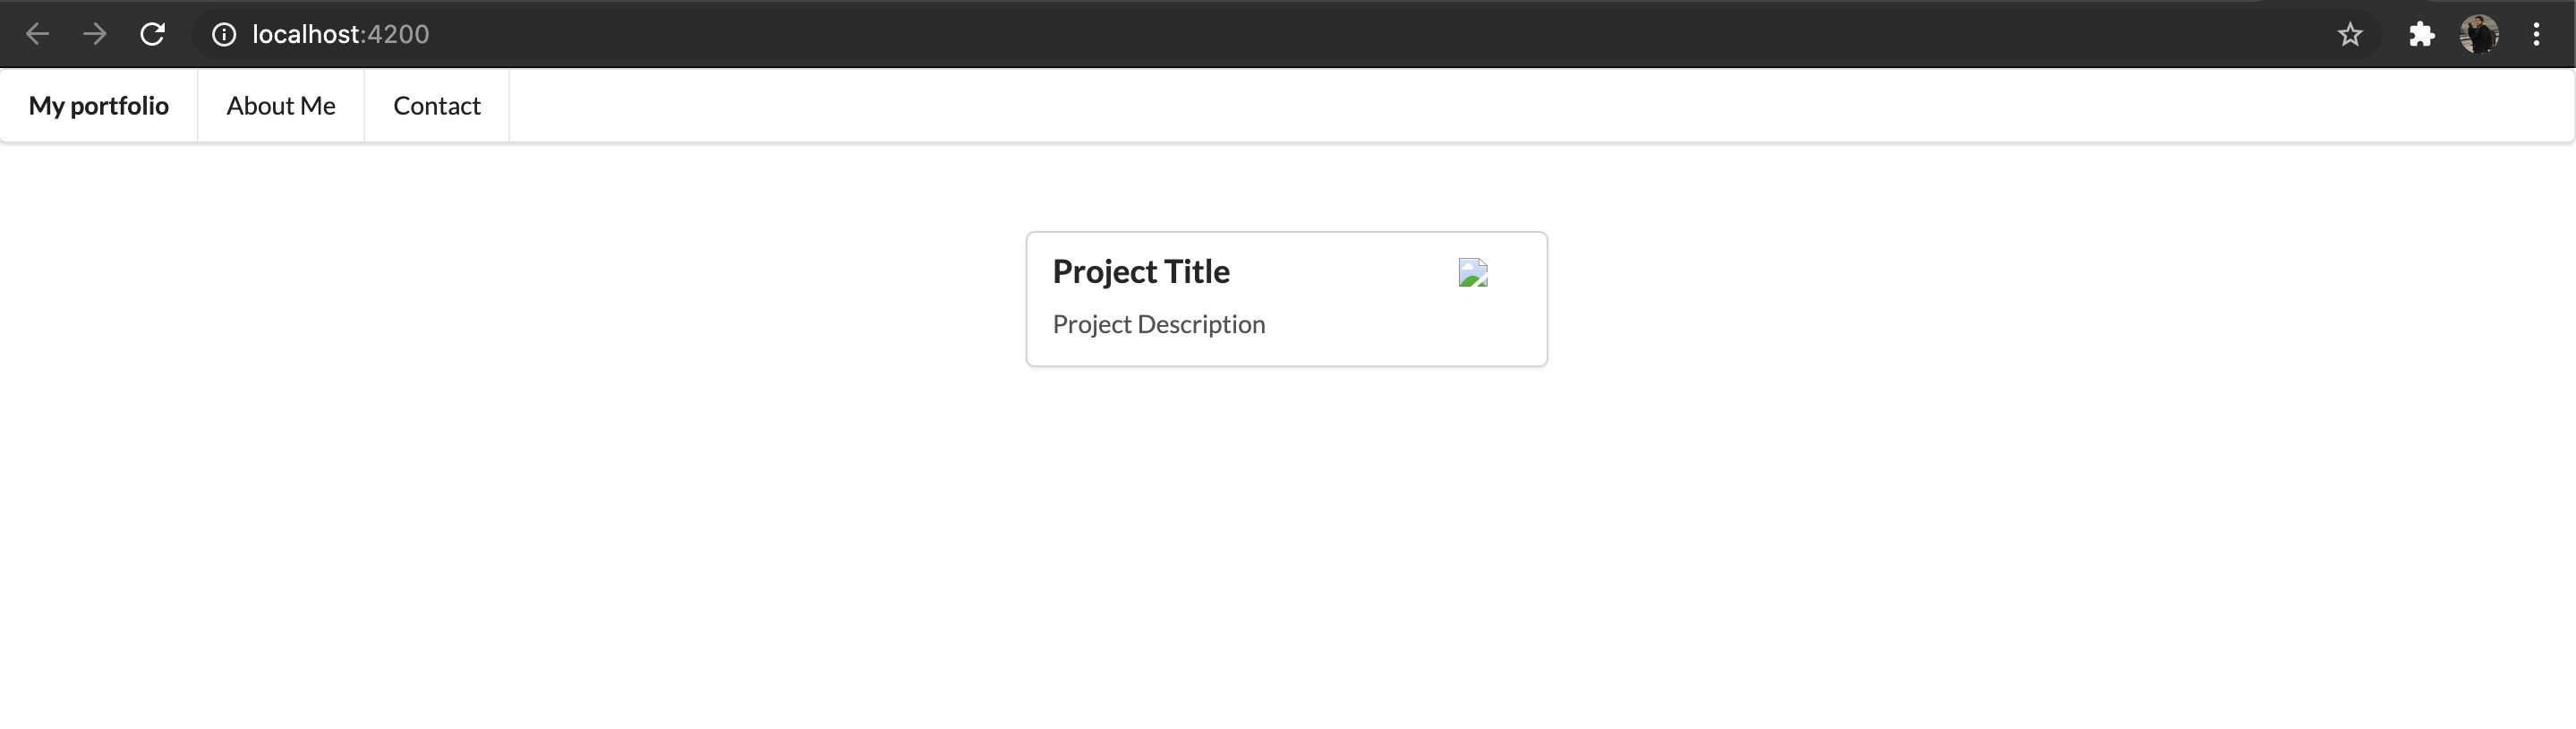
Added some sample html for my header component, using semantic-ui
And I’ll add some sample html to display my projects in my app component.

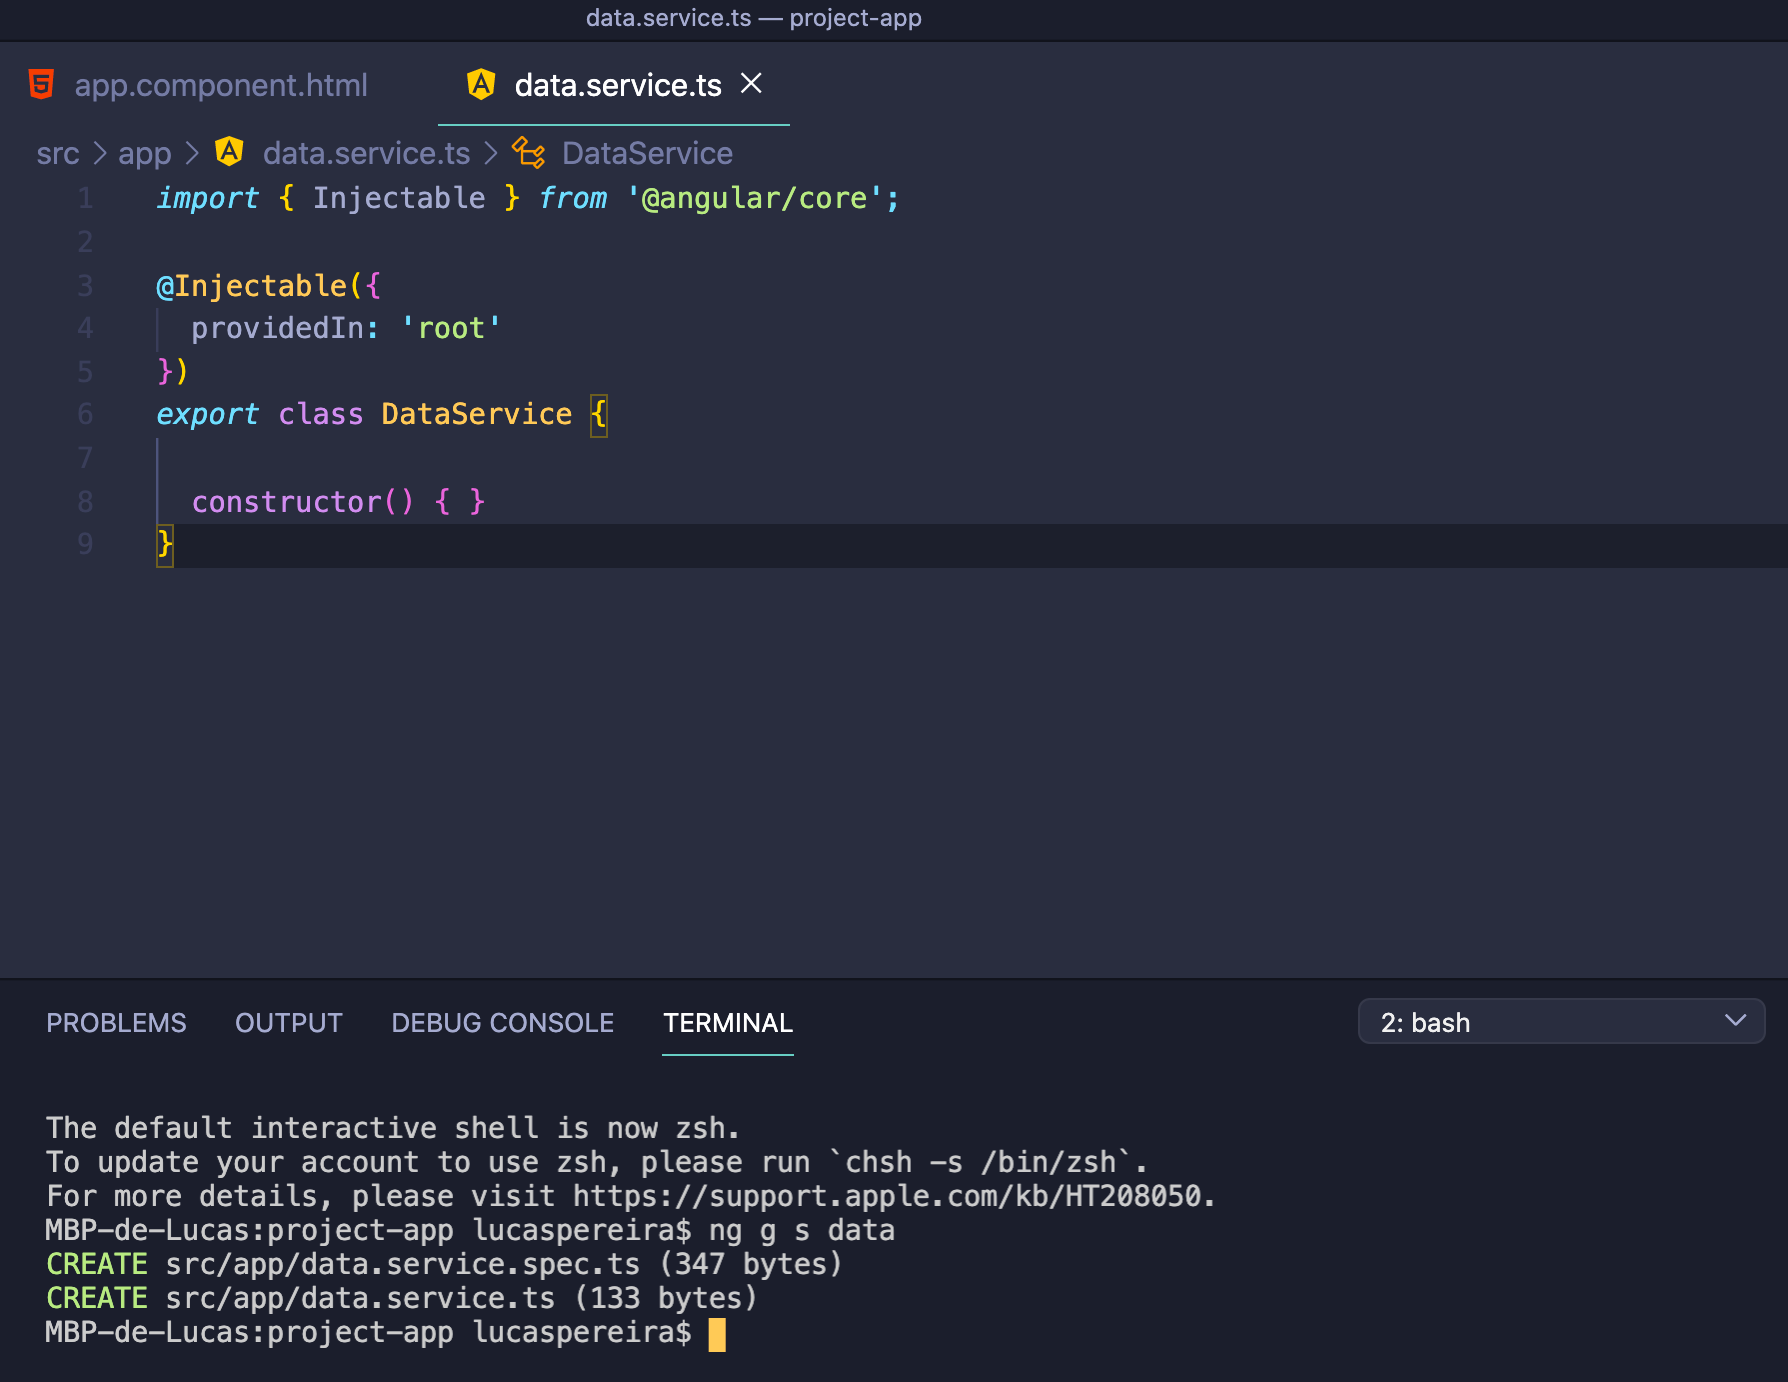
Next step it is to replace our sample content with the projects data of our Strapi API, for that we will generate a service to fetch our data. Once again you can generate this using angular cli by running ng g s data
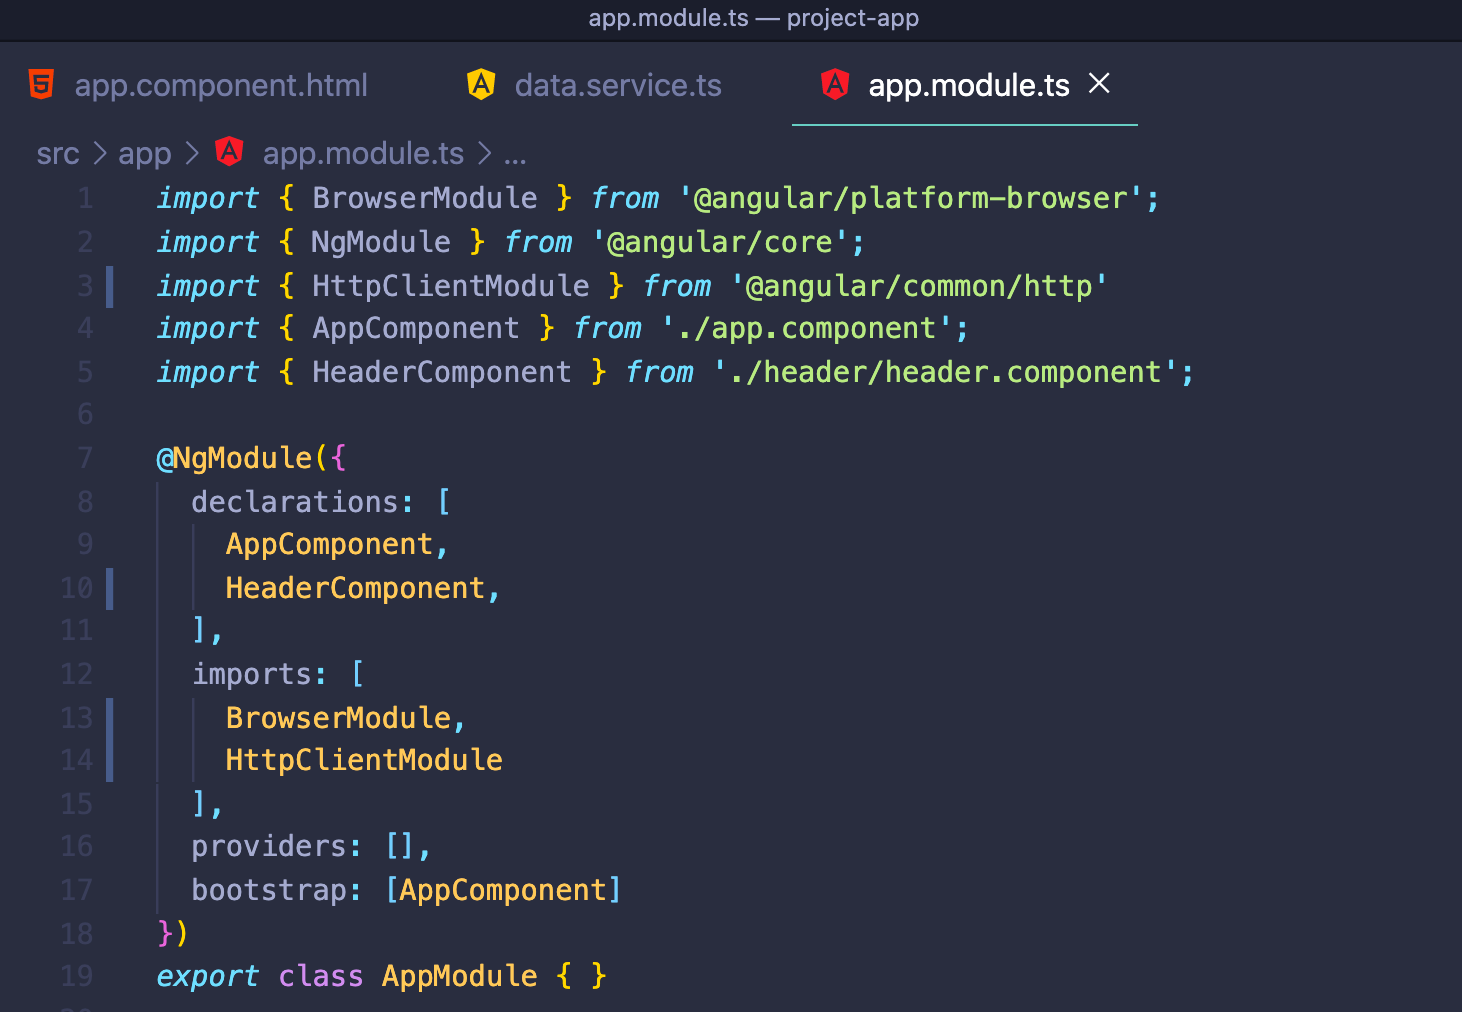
We will use our data service to request the projects data of our Strapi API. To make such request we’ll need to use the HttpClient incorporated in the Angular framework.
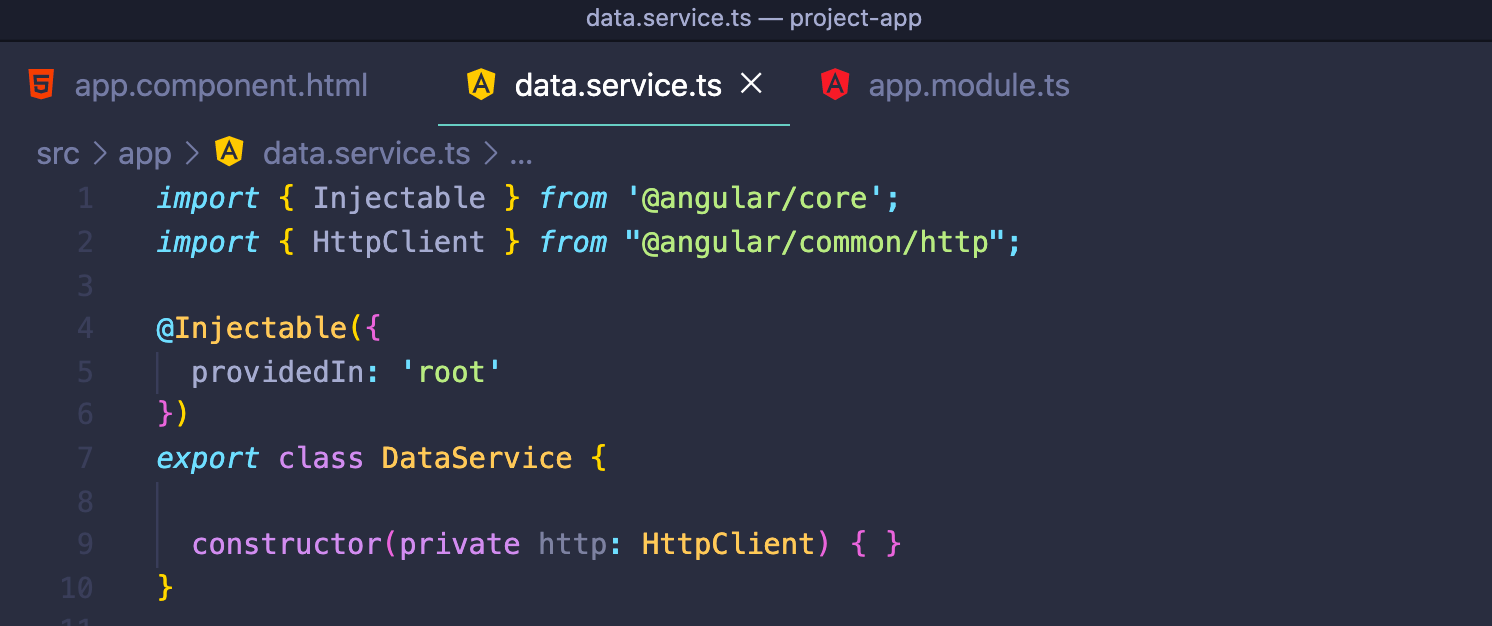
Let’s import the HttpClientModule in our *app.module.ts *and then inject the HttpClient in our service class.
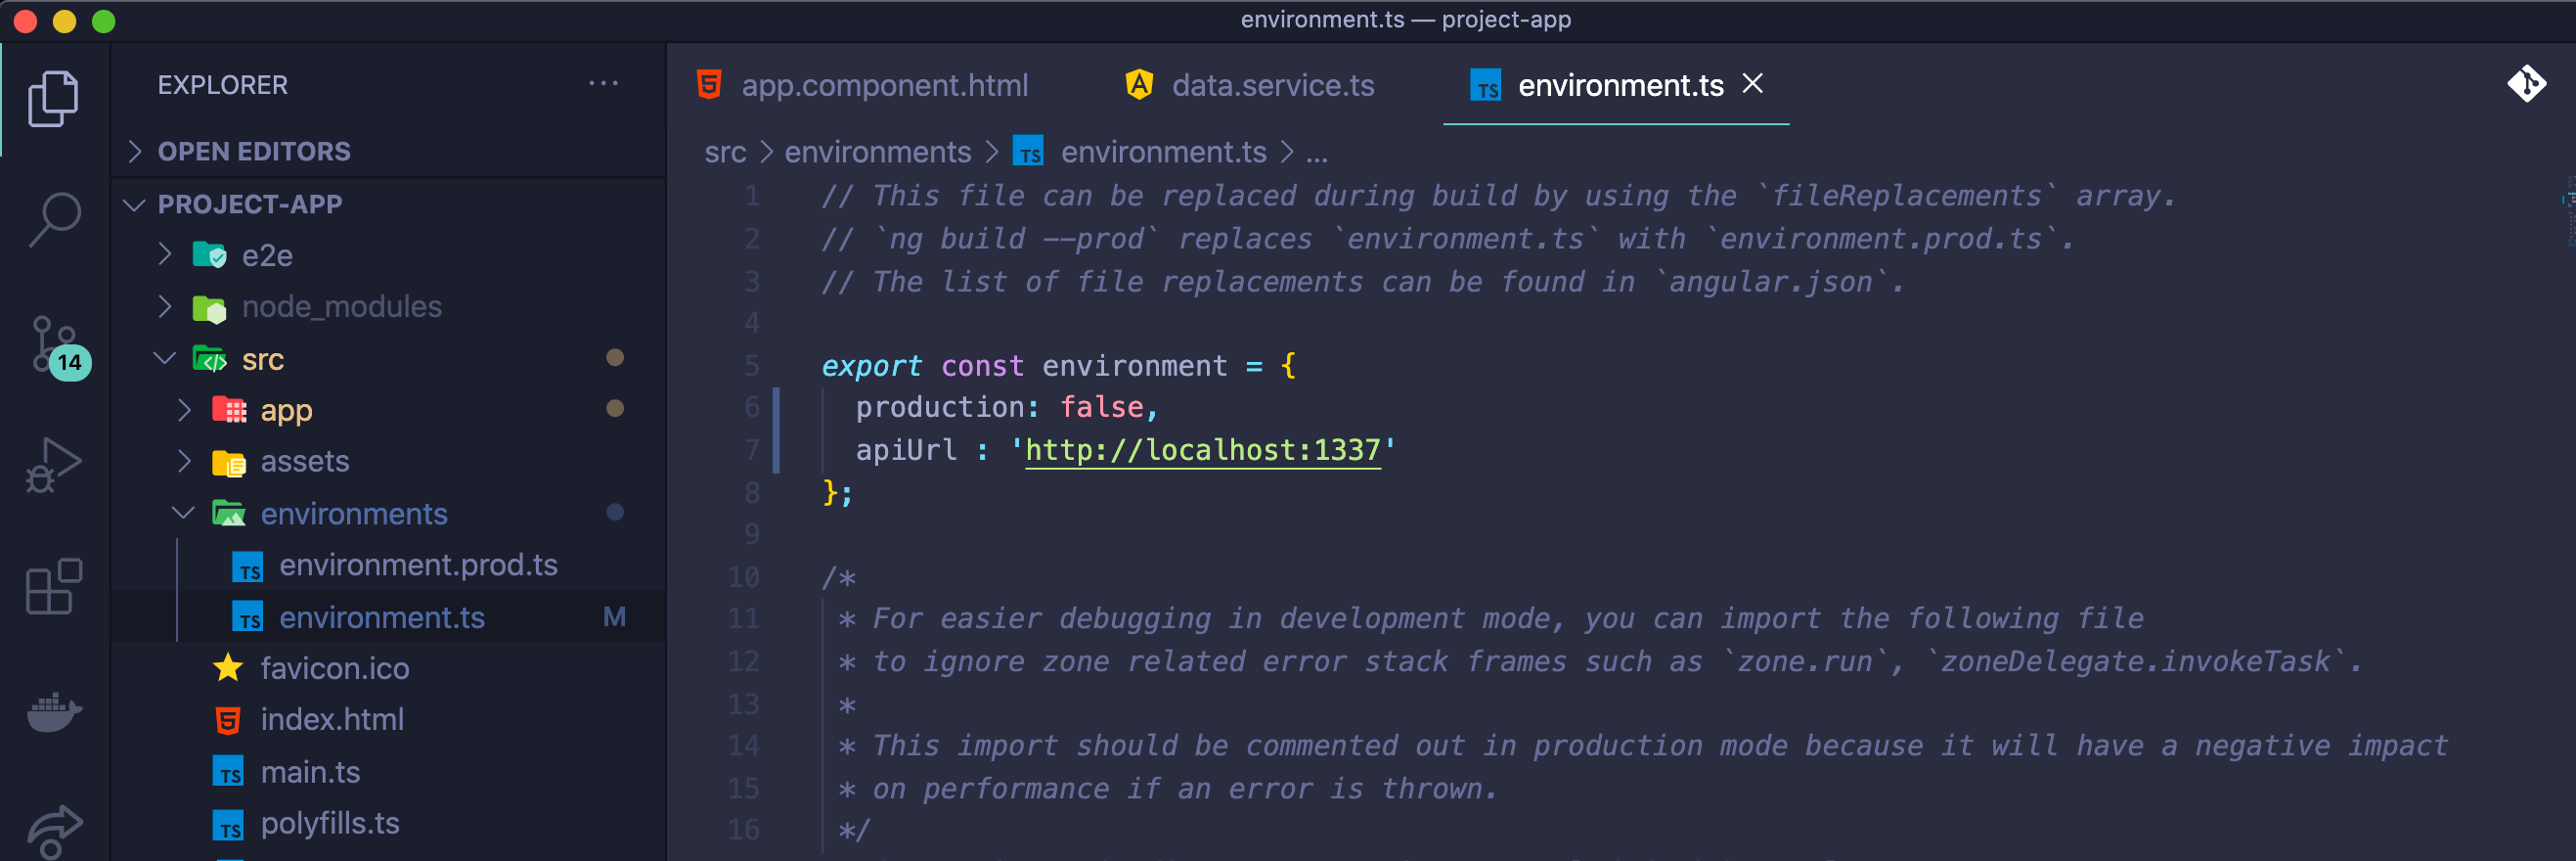
Okay, we’re ready to make a get to request to our API, for that let’s import the API url we are fetching. I like to declare a variable in environment.ts that you can find in the environments folder in the *src *folder of your project. This is a good practice and it’ll be useful later for deployment in production.\
So, _src > environments > environment.ts _, there I’ll declaremy apiUrl and import it in my data service. There I’ll be creating a method called *getAllProjects() *where I’ll make that famous GET request thats gets my projects.
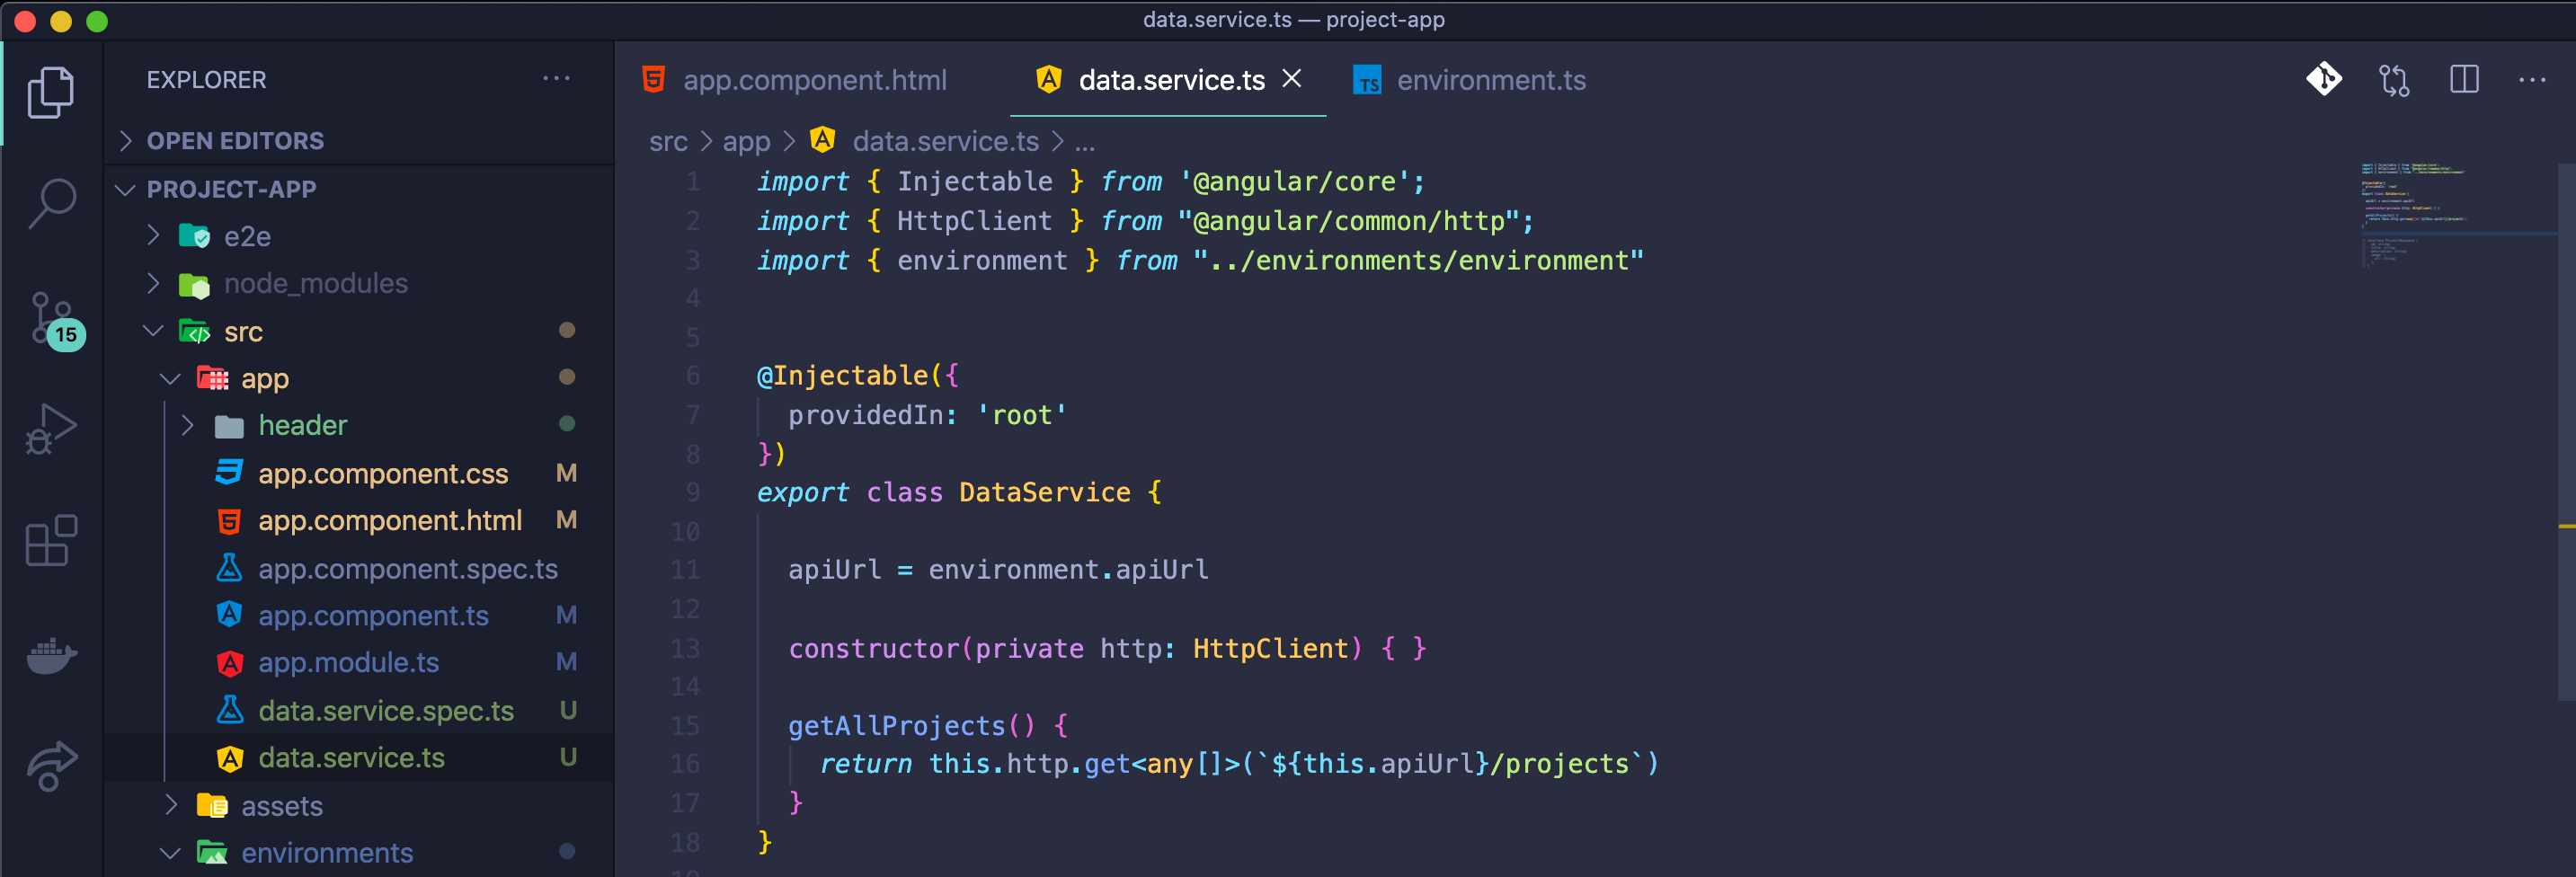
As you can see, my GET request here is waiting of type *any. *This is not a good practice in TypeScript and Angular. It’s better if we define an interface to say exactly the type of data we are waiting for. I’ll create an interface called *ProjectsResponse. *I’ll use the data we’ve seen before to help me build that interface.
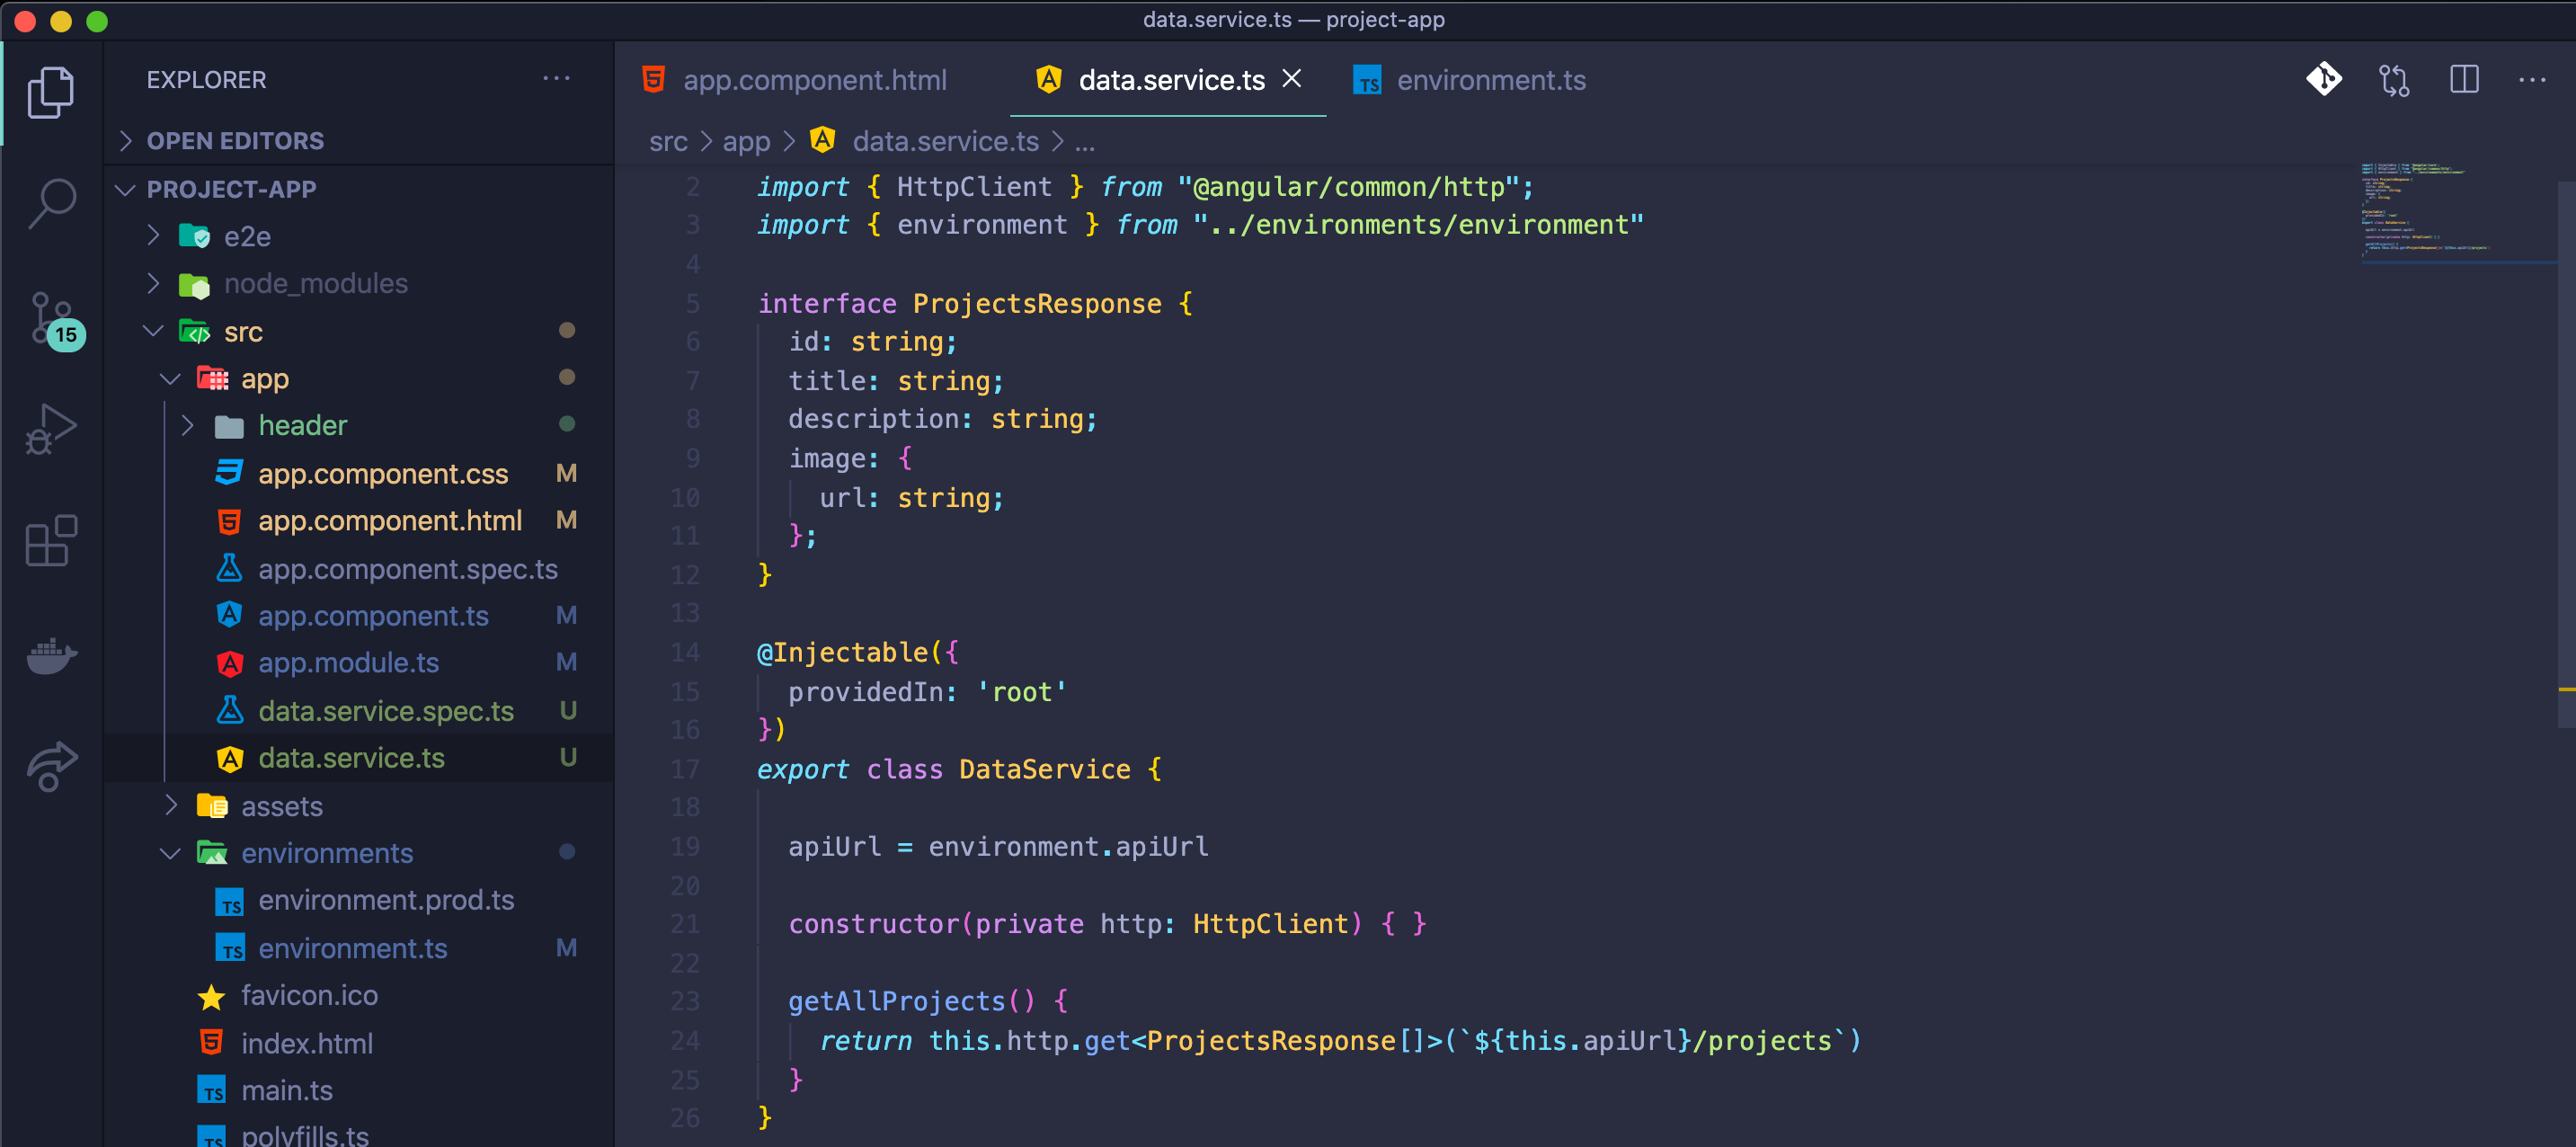
Okay, this is better, I am saying that I’m waiting an array of ProjectsResponse for my GET request.
We are almost there, now that we can make the request we want well to display the response we are getting, we have to import the data service in our app component and then subscribe to the response or the data we are getting from getAllProjects() method. Then that response will be assigned to an empty array defined in our component 🙂.
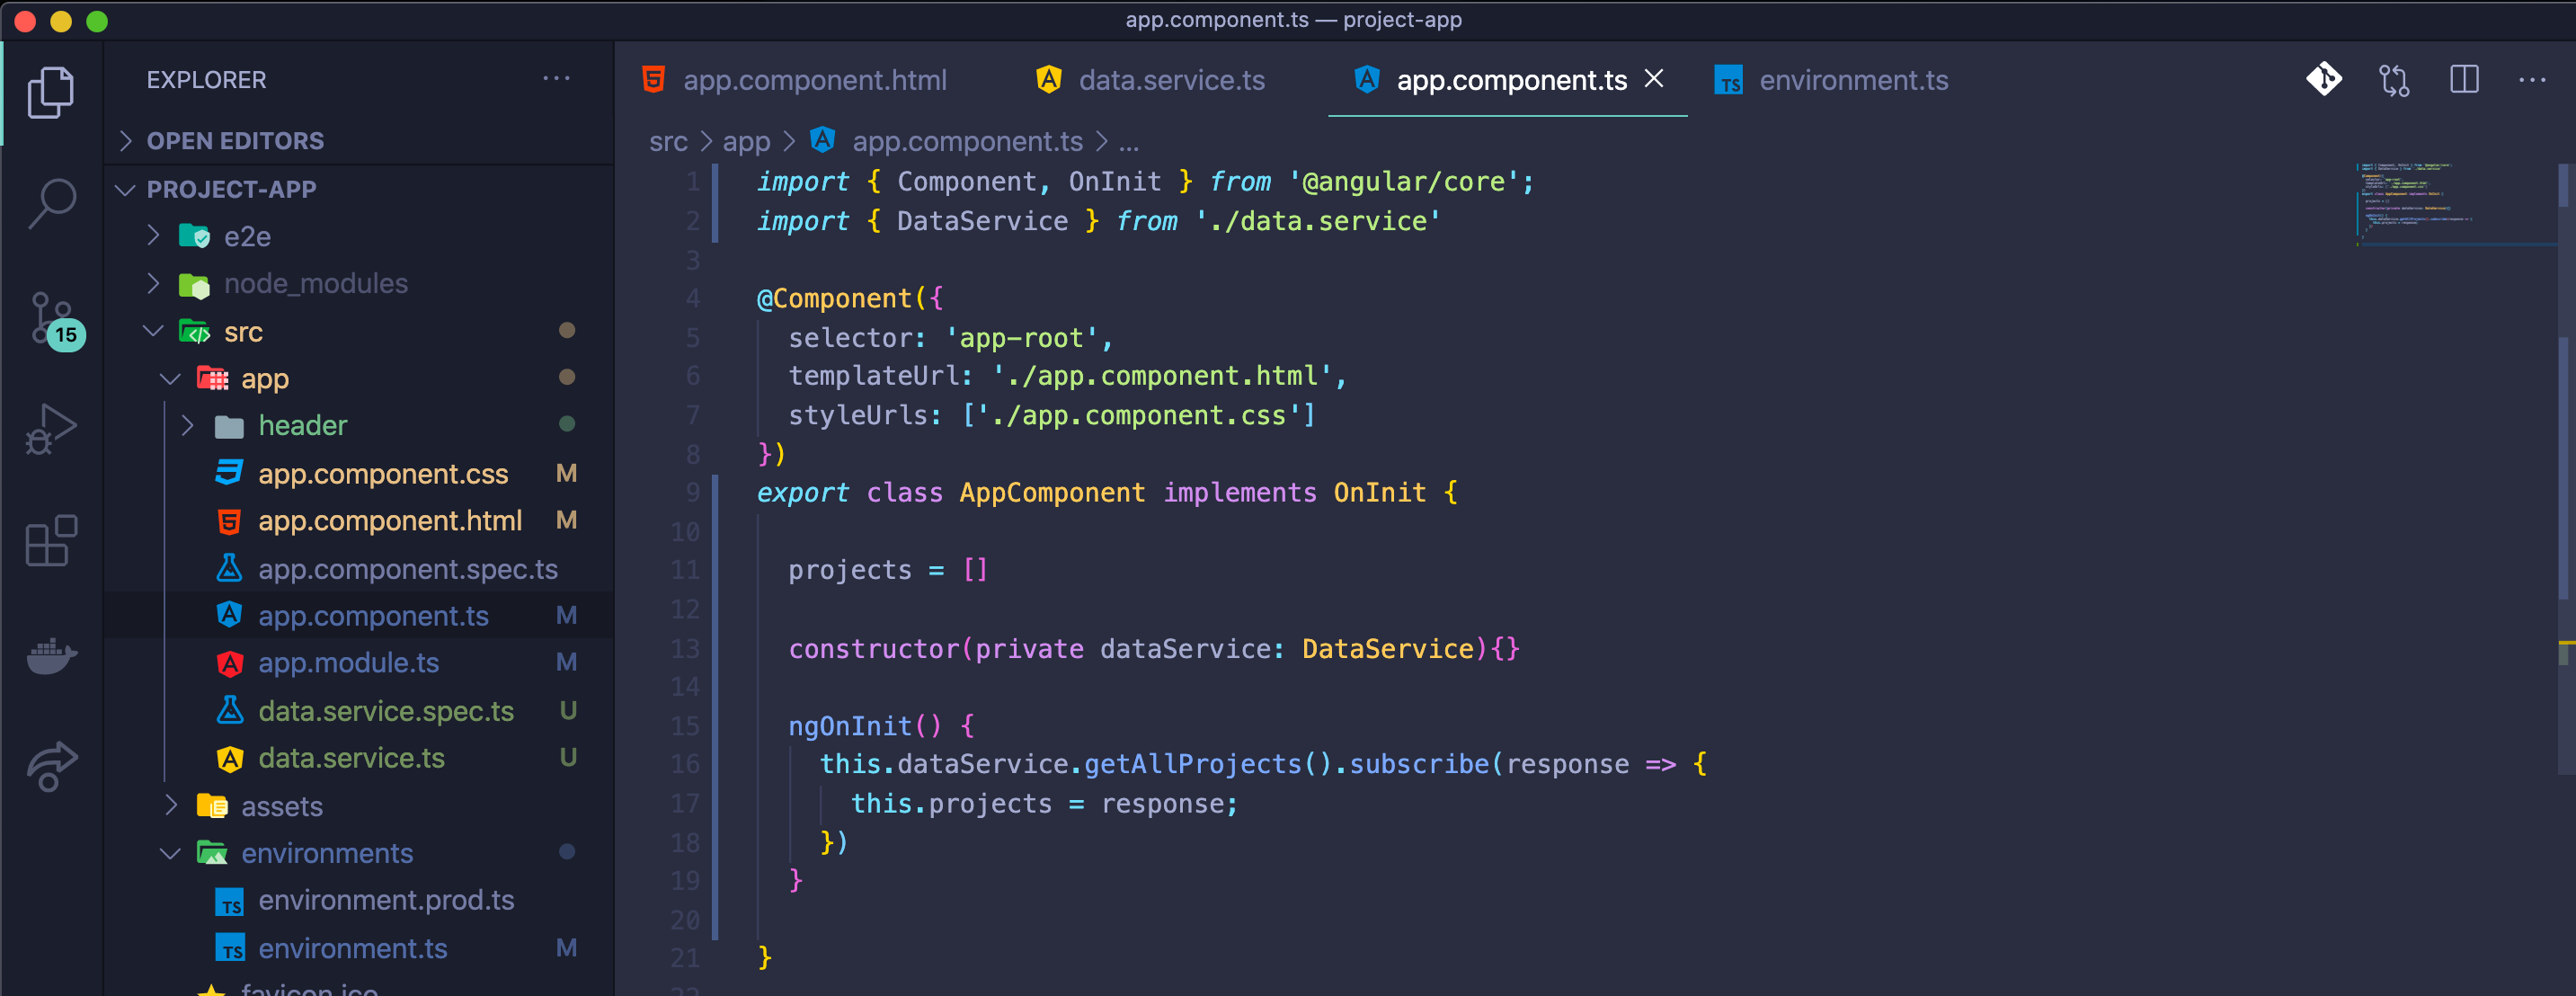
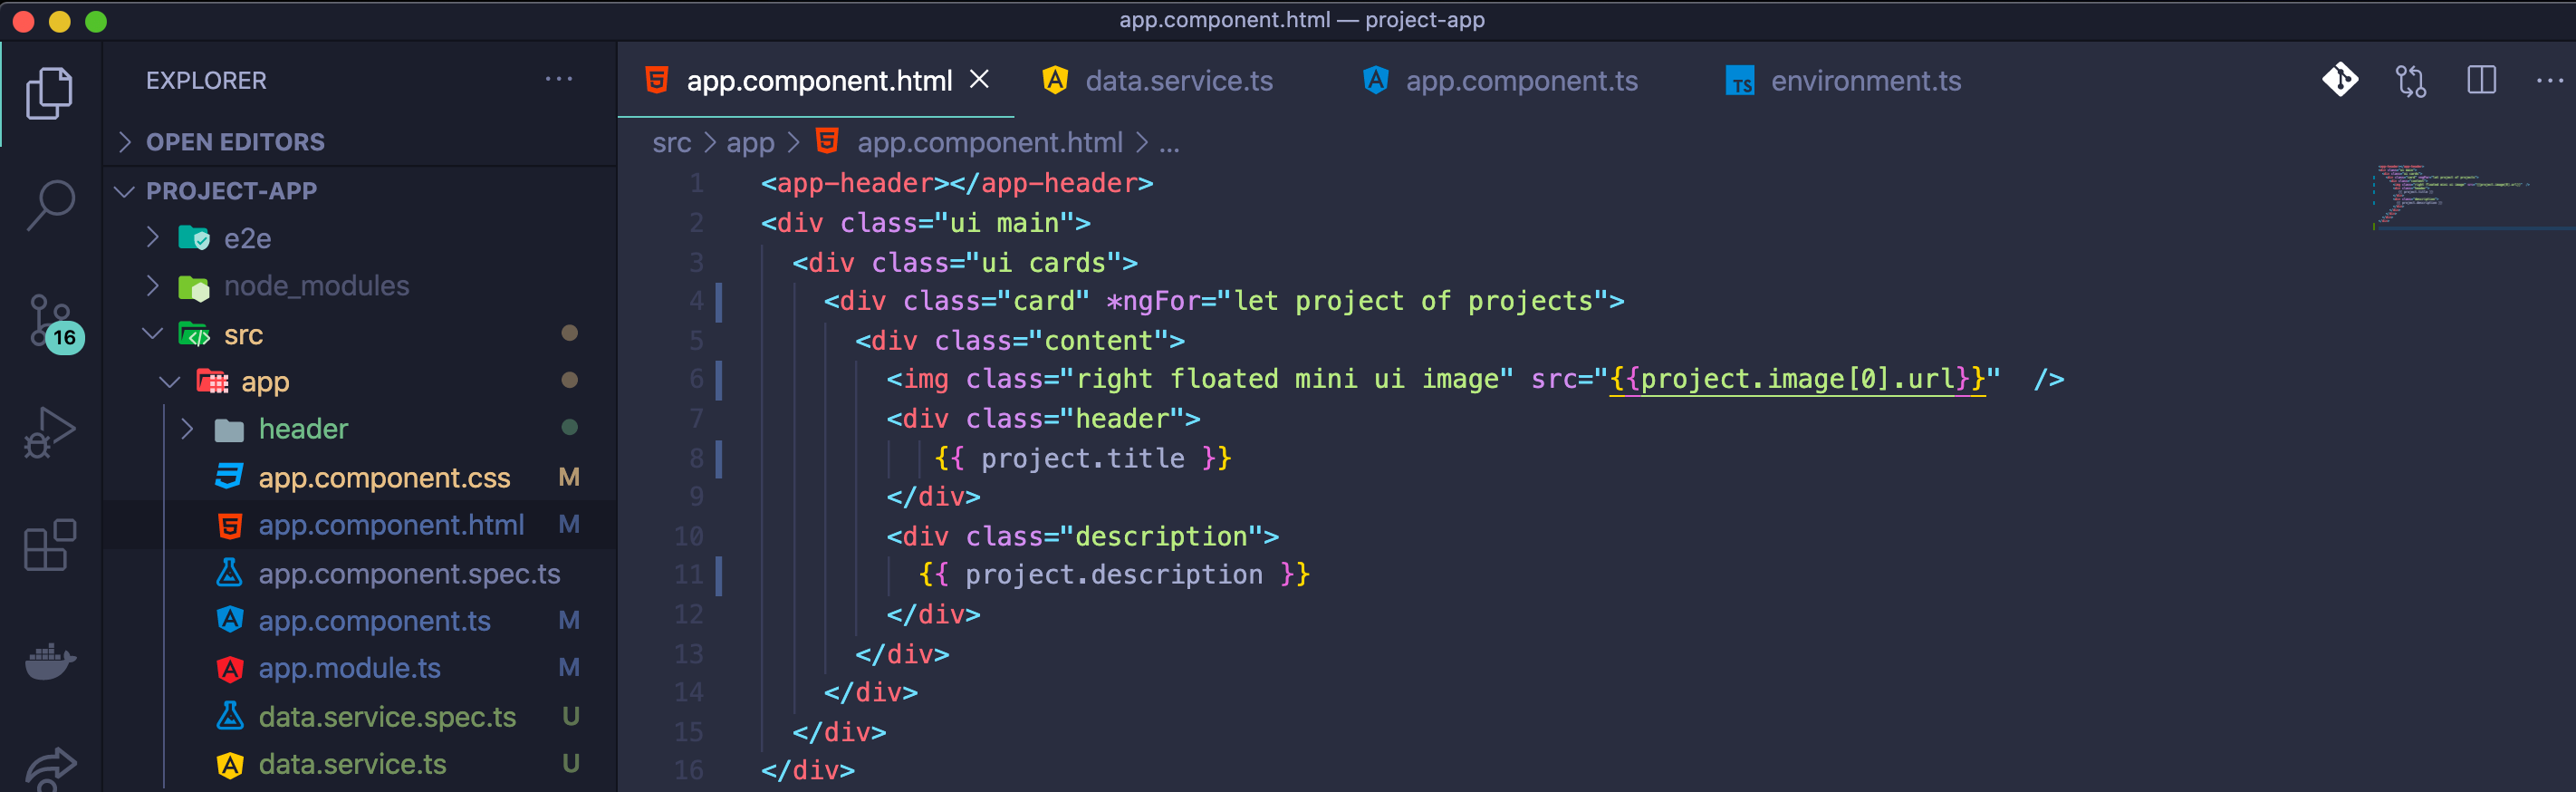
Cool, finally we can replace that sample data in our html template, we use ngFor to iterate our projects array that has now the data from our Strapi API 😀
Before showing how this is looking, there is something else I would like to show you. Right now the image.url of our project is being stored locally. So to access it we would actually need to fetch http:localhost:1337/uploads/ourprojectimageurl
I would like to change that and use an AWS service called S3. And for that strapi give us a provider to help us. Let me show how to set this up.
Add AWS S3 Provider to Strapi API
Let’s briefly open our project-api in our code editor.
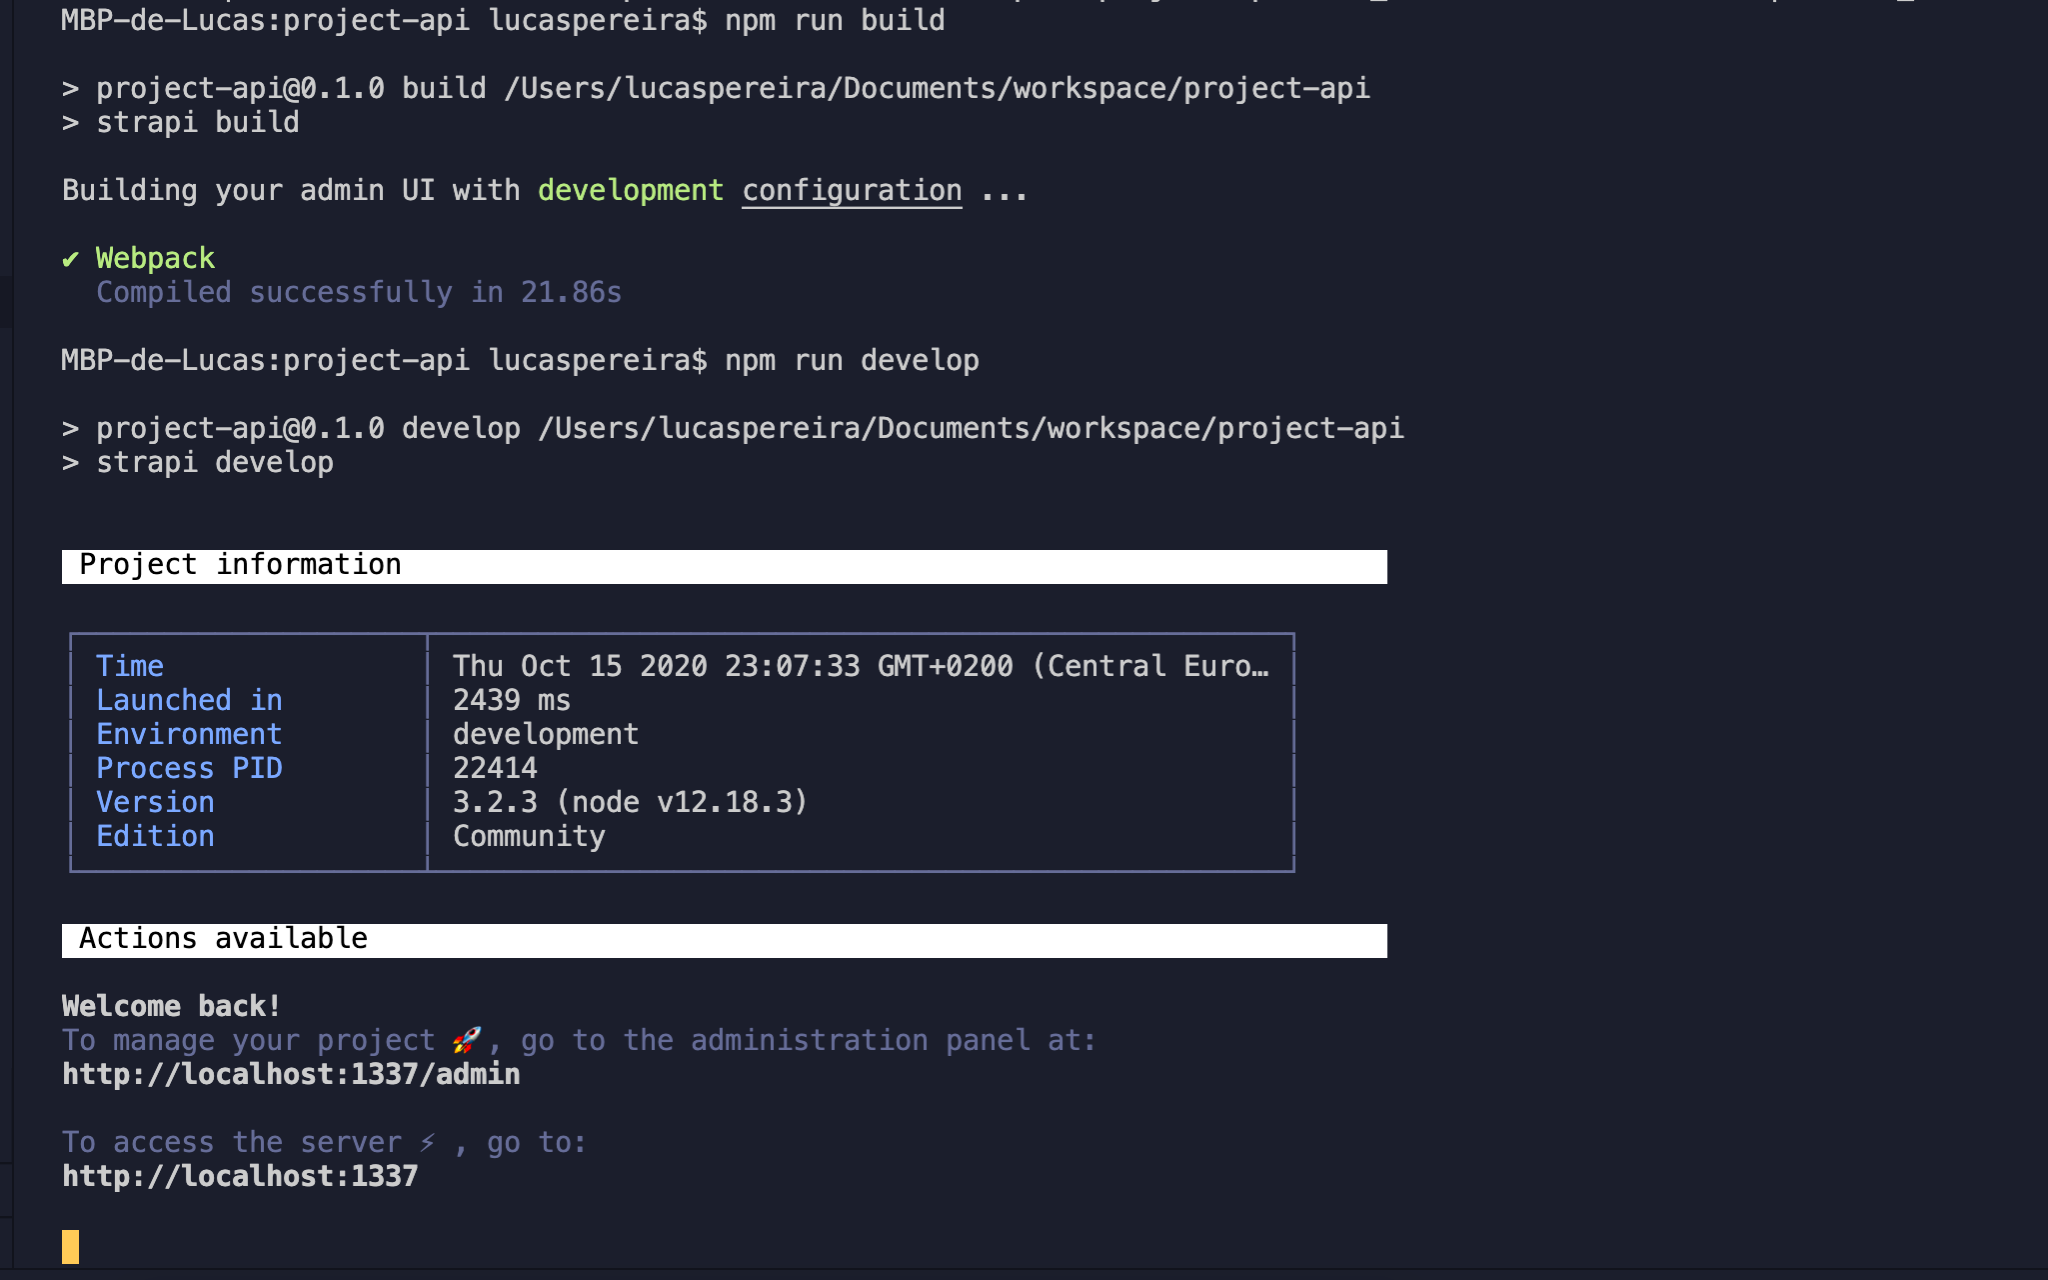
Tip: If you ever run into any problem or if you accidentally quit your terminal, you can run
npm run buildto build up project again andnpm run developto run the project again.
Okay, start by install the provider for AWS S3 by running the following command npm i strapi-provider-upload-aws-s3

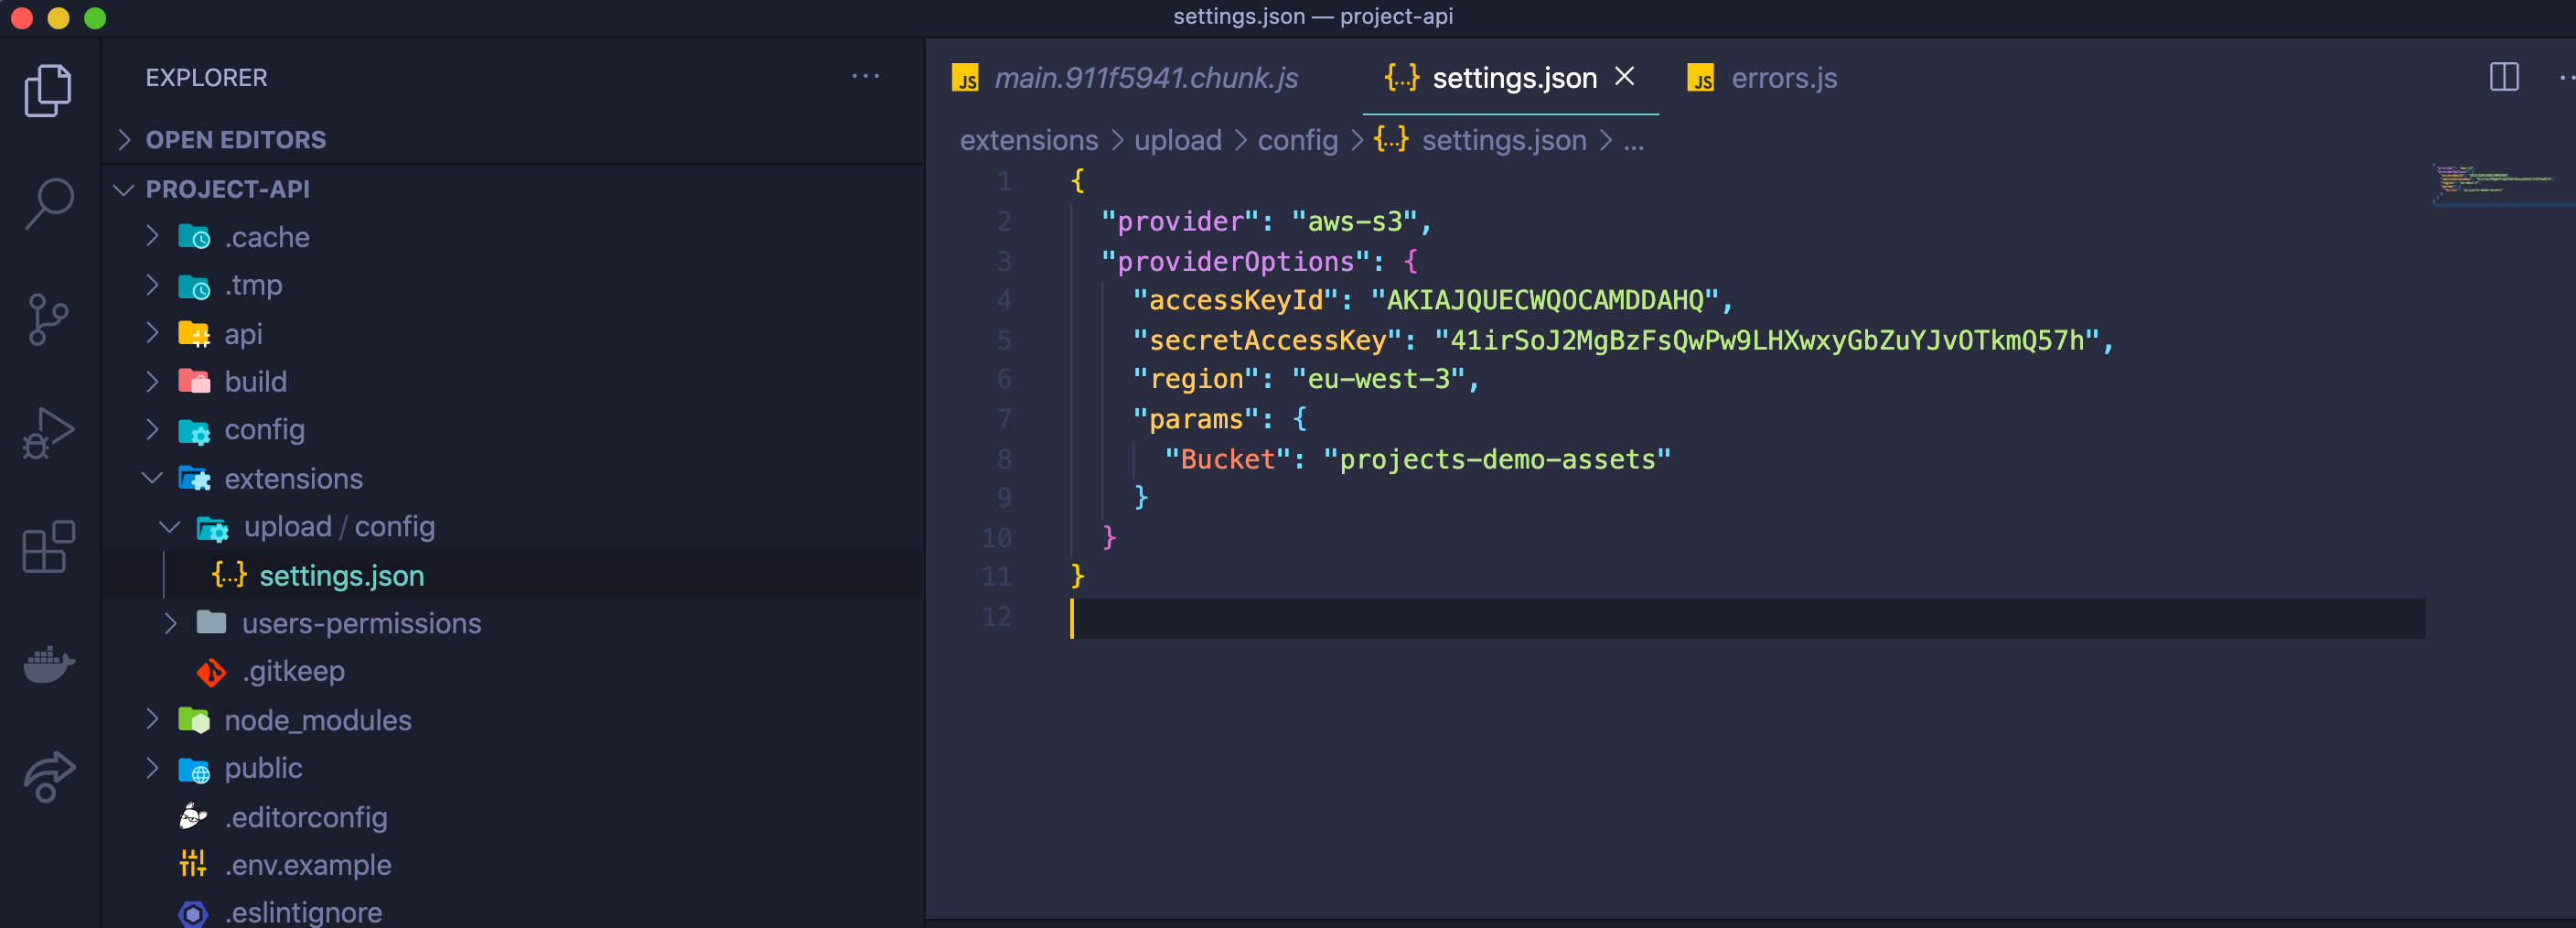
Now in your project, you have an extensions folder that it’s currently empty. There we are going to create a folder upload and another sub-folder config with a settings.json file inside of it. There you are going to write the following object with our provider options.
You can find this information in strapi documentation about upload
https://strapi.io/documentation/3.0.0-beta.x/plugins/upload.html#using-a-provider
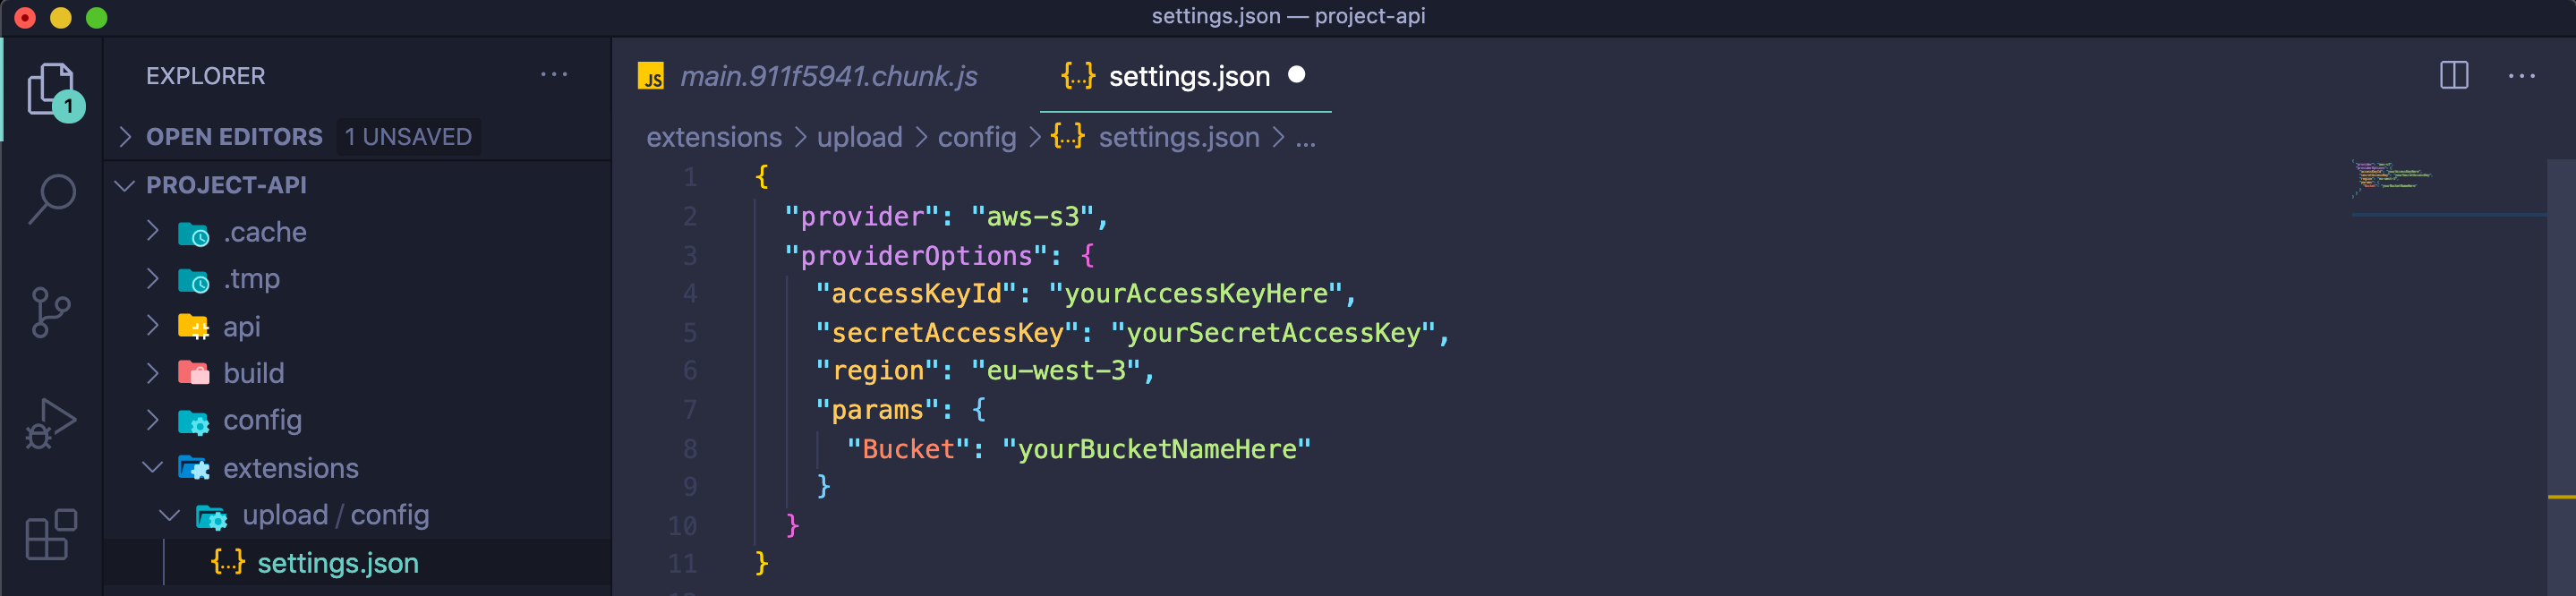
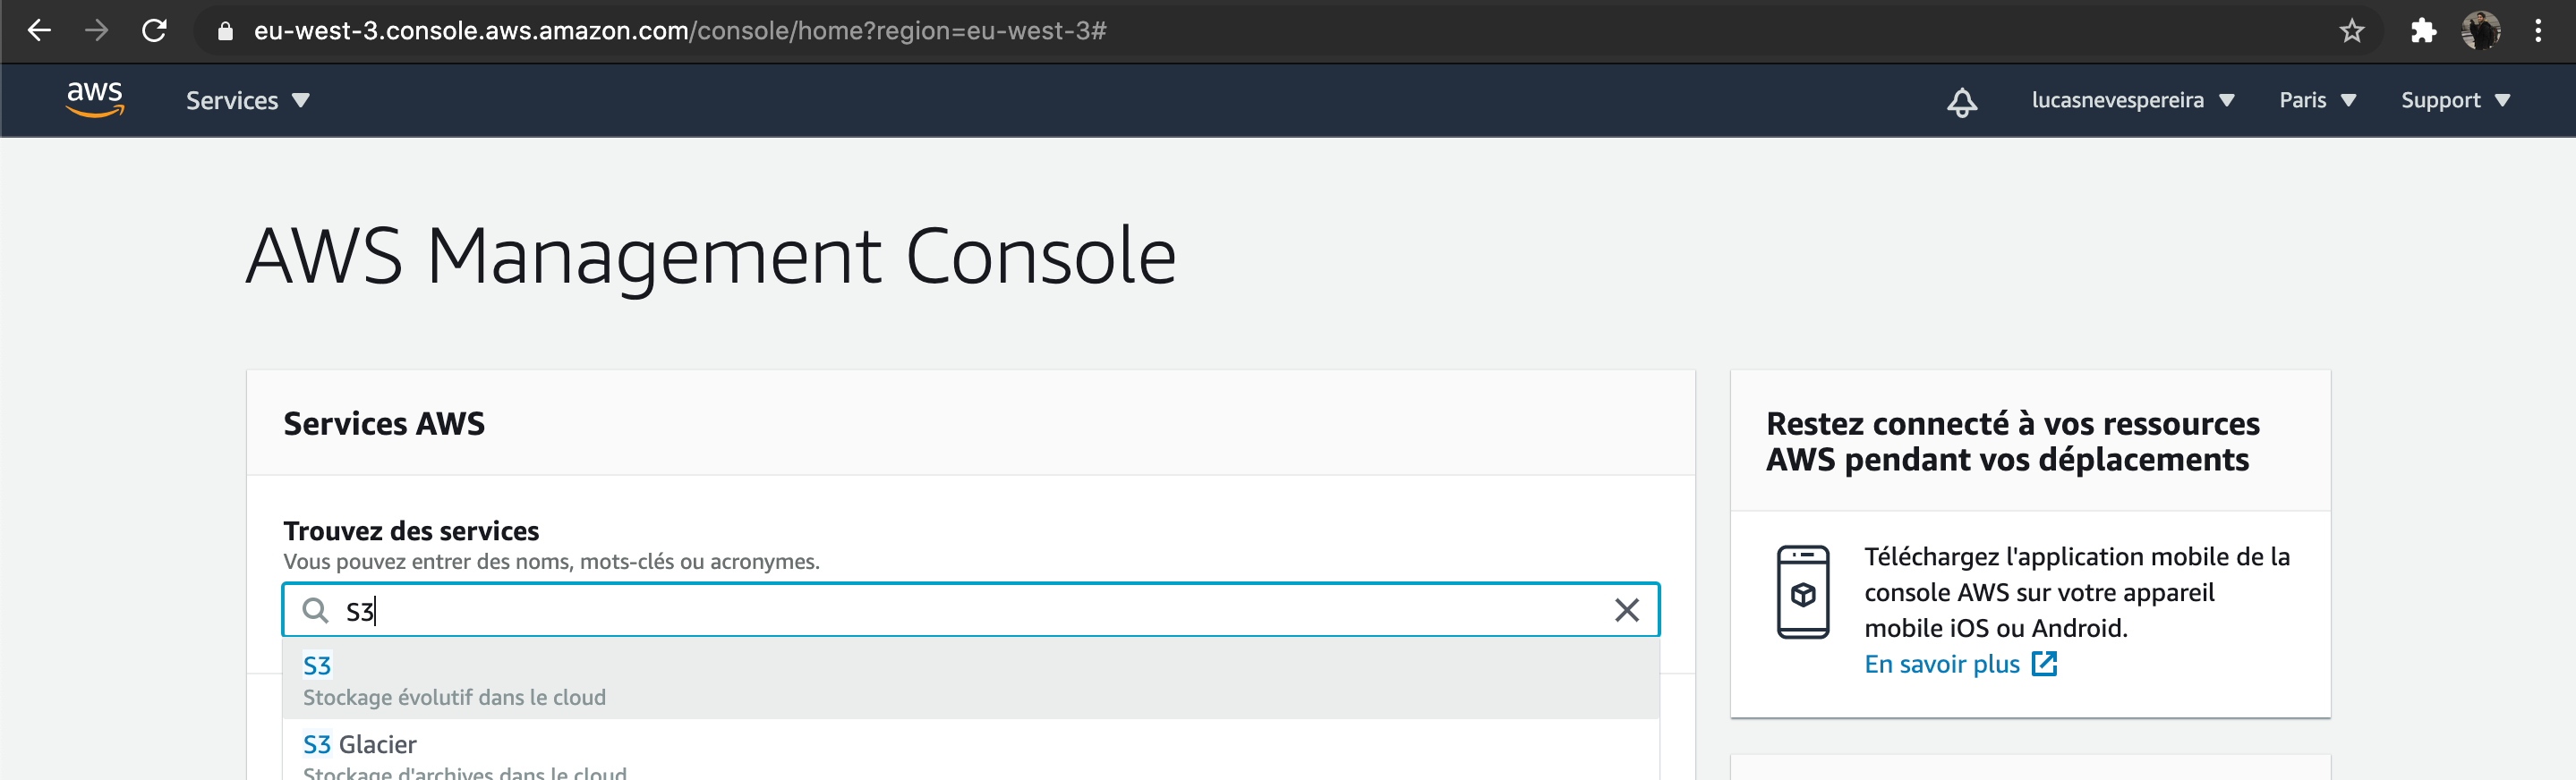
In this object we need to enter some access keys, region and name of our S3 Bucket. For that of course you need to create an AWS account if you don’t have one an in you AWS Management Console go to *S3 *to create a new bucket.
https://s3.console.aws.amazon.com/s3
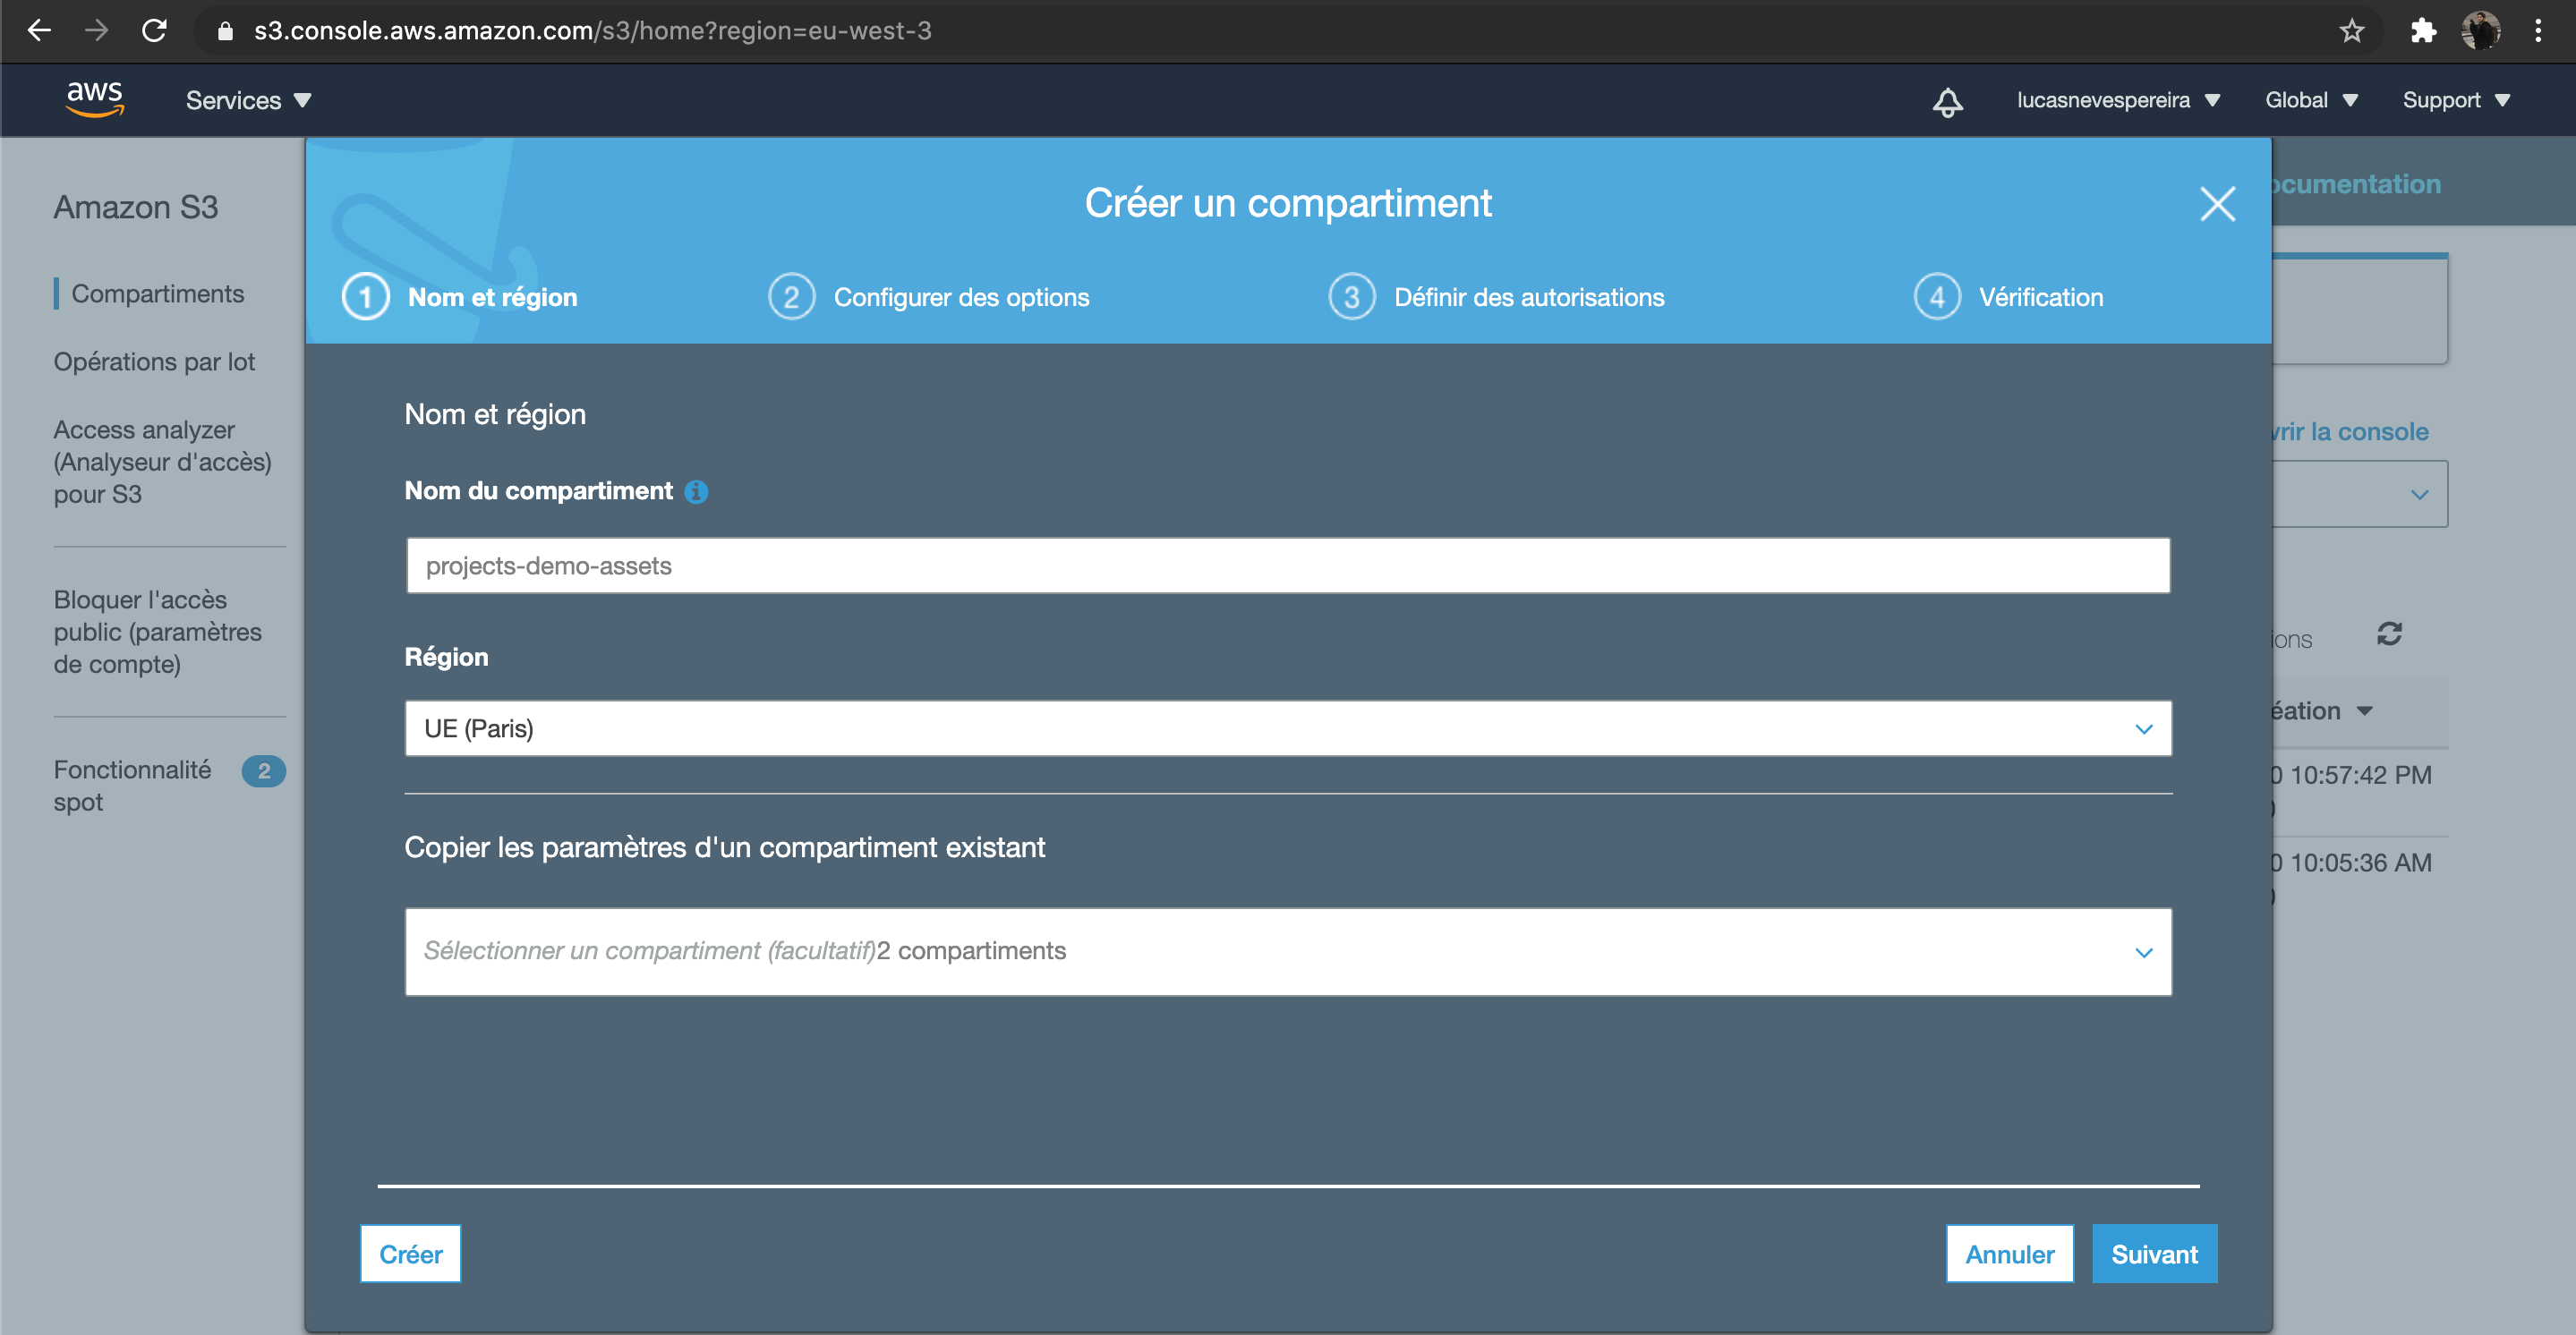
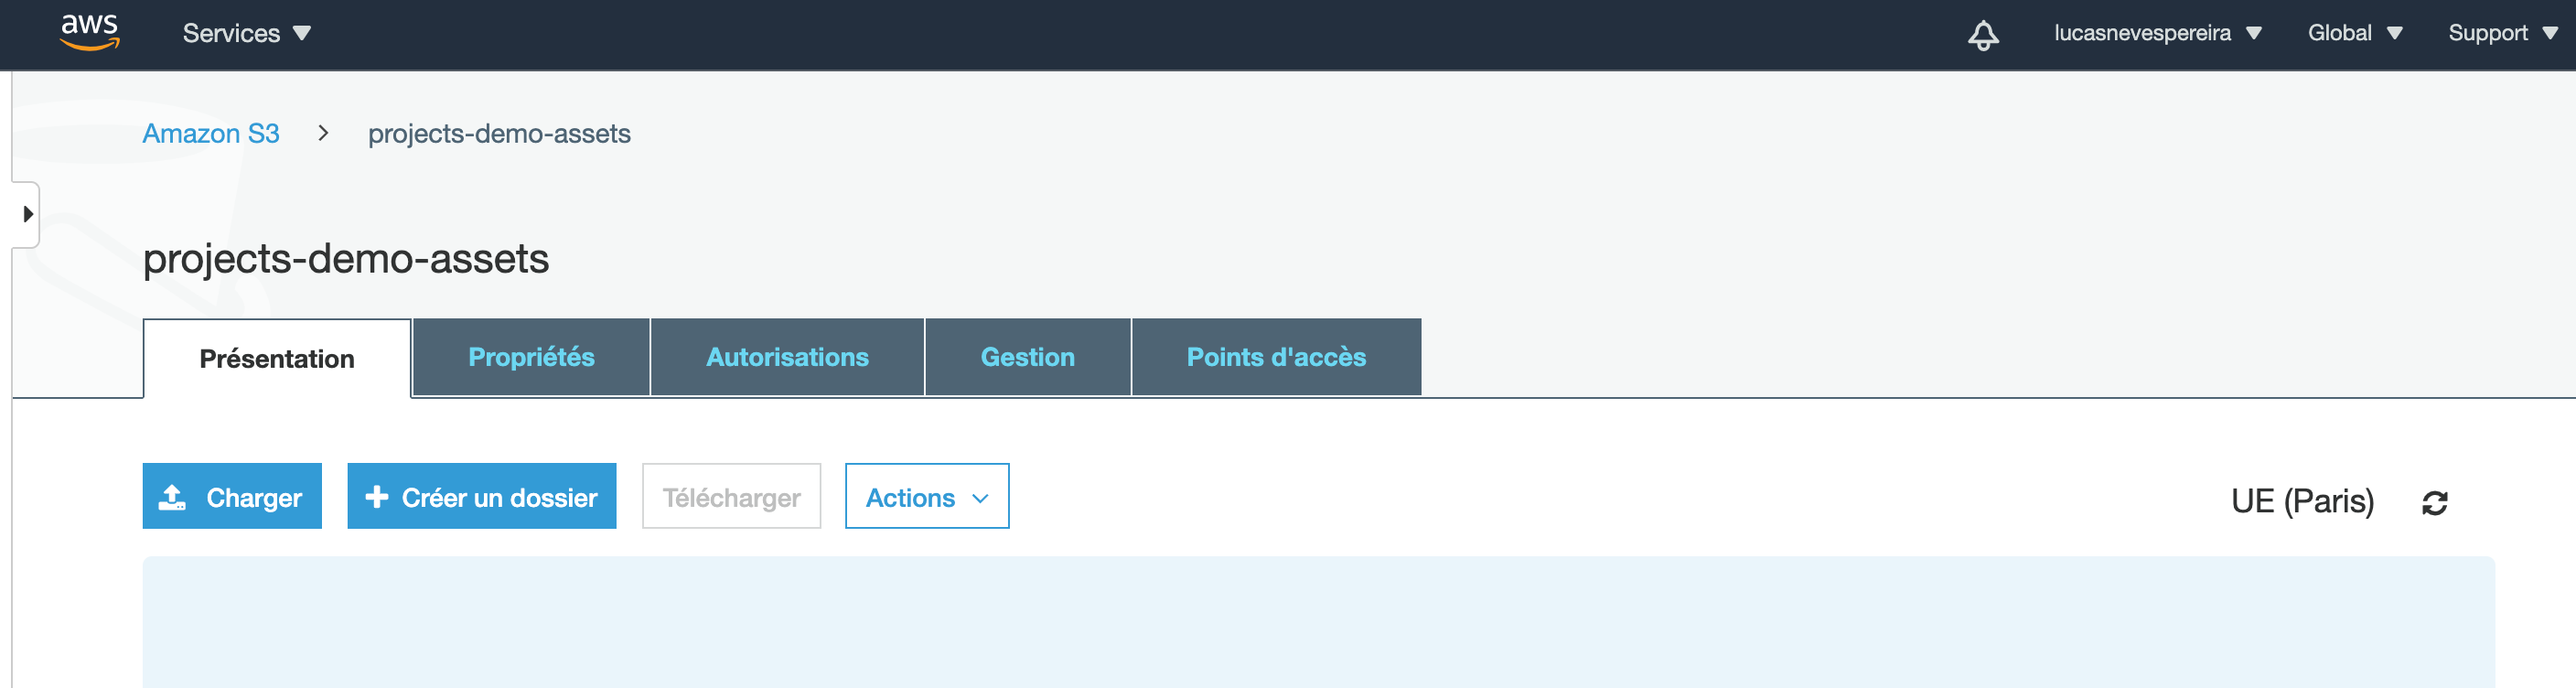
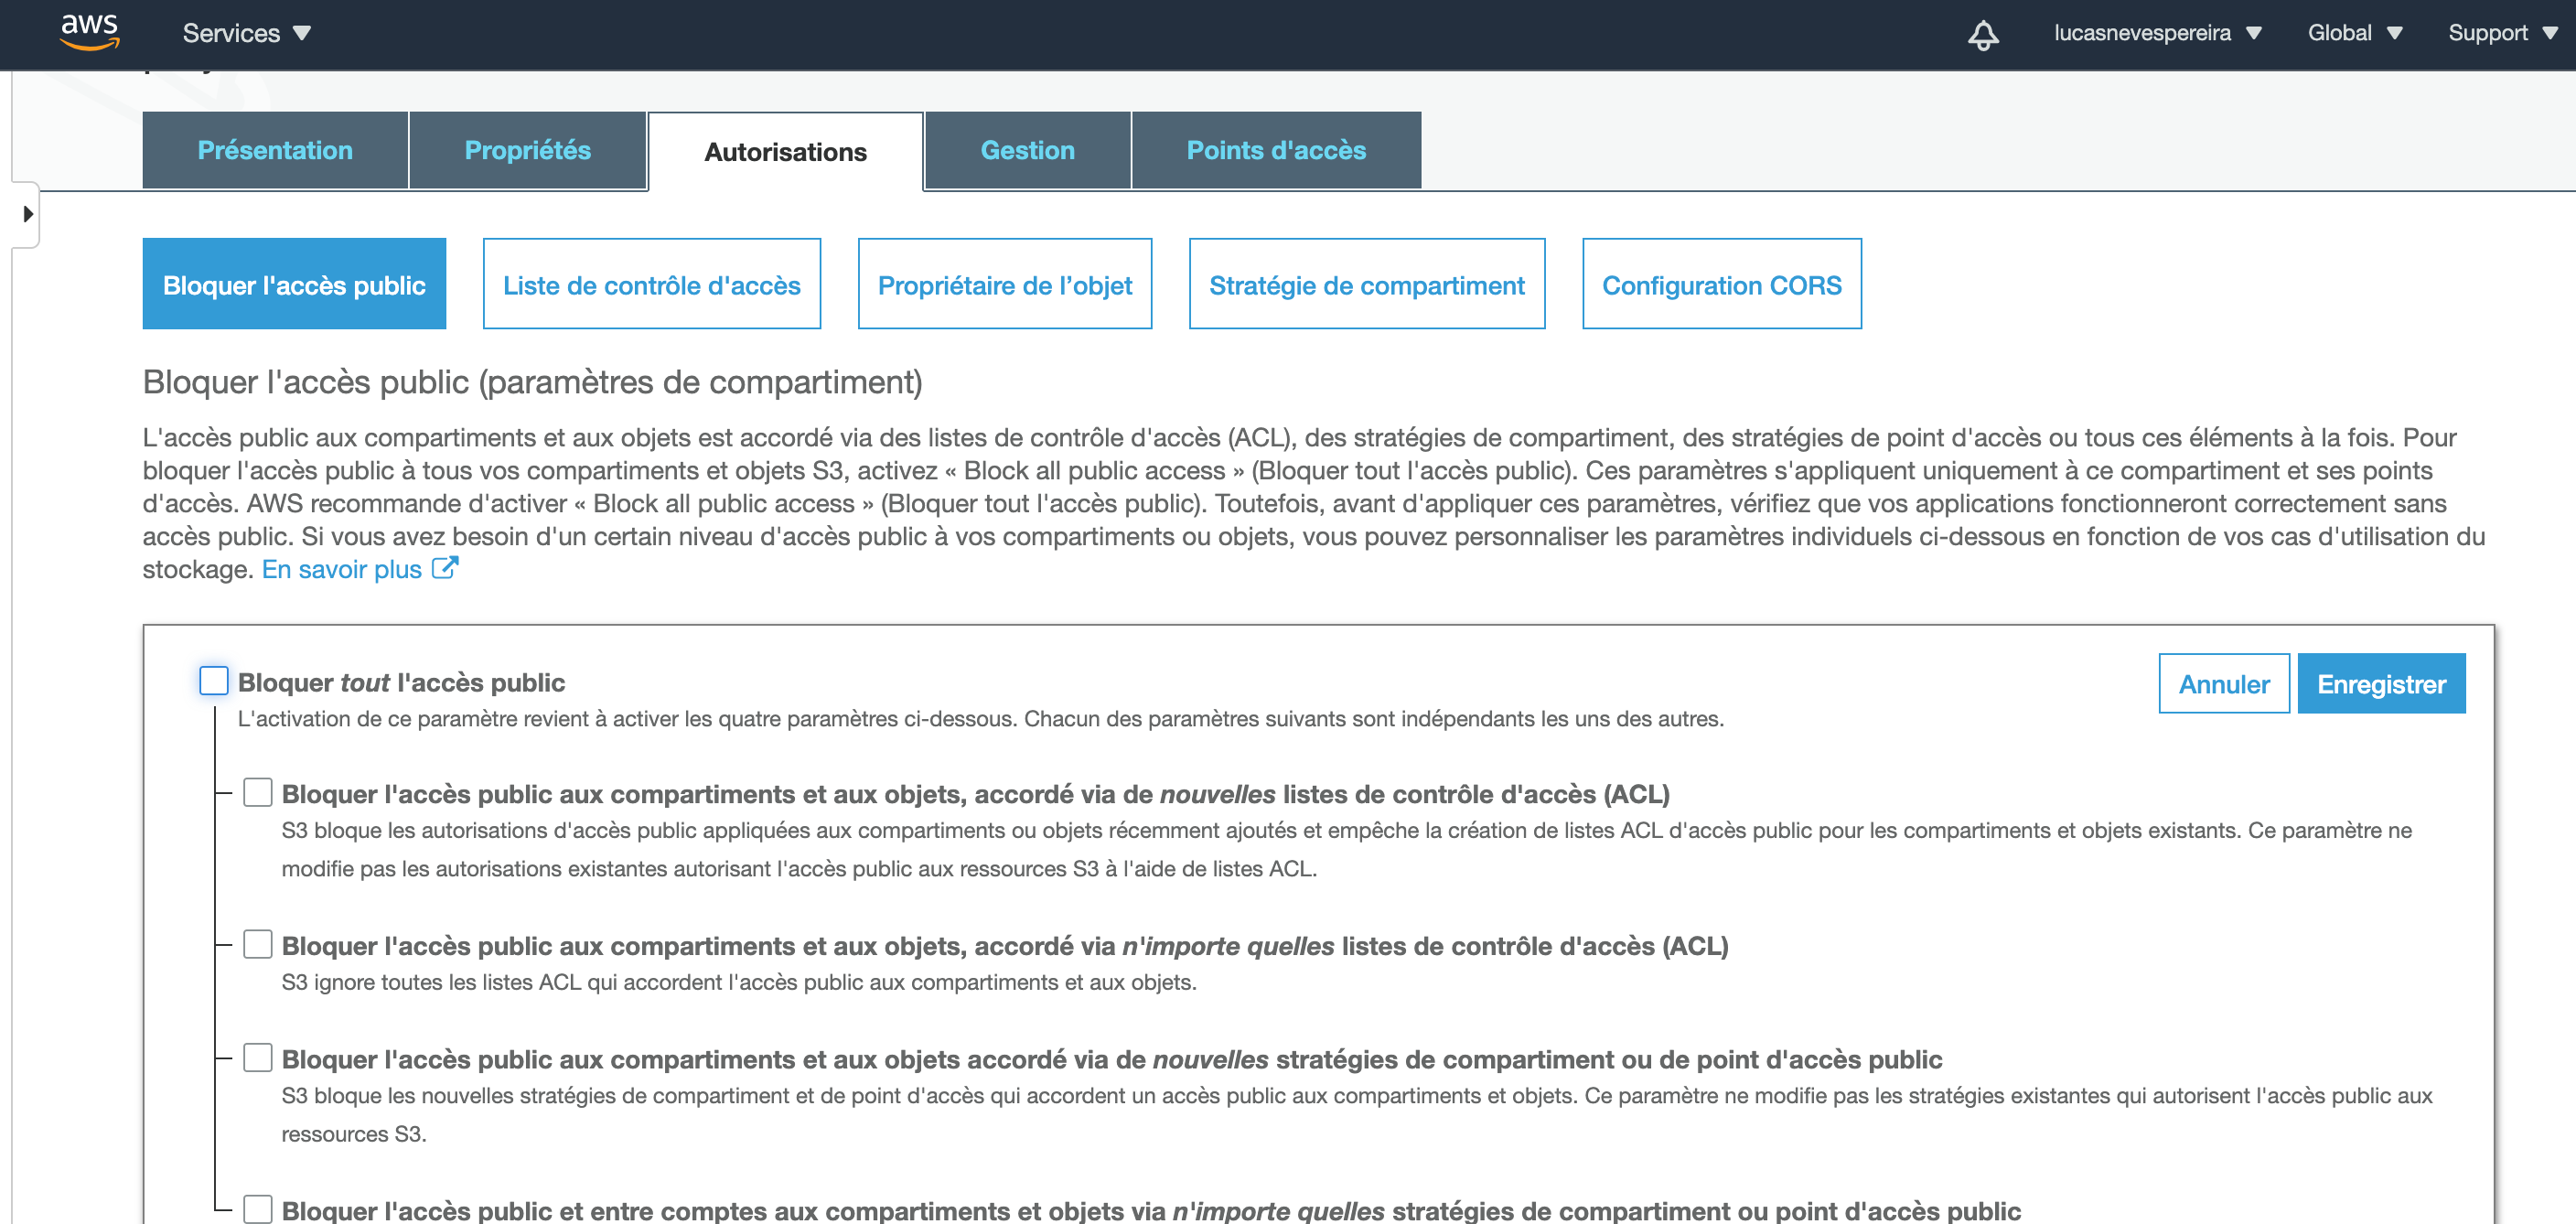
After enter the name and the region of your bucket hit create. Perfect! You have created your bucket. Now make sure you go to Authorizations and unchecked Block Access to Public.
To find the code for the region you have selected you can google AWS region code or search directly in AWS Documentation.
[
Regions and Zones
Amazon EC2 is hosted in multiple locations world-wide. These locations are composed of Regions, Availability Zones…
docs.aws.amazon.com
](https://docs.aws.amazon.com/en_en/AWSEC2/latest/UserGuide/using-regions-availability-zones.html)
Last important information we need it’s our pair of keys: the access key and the secret key.
To find that information, go to you *account > credentials *and there you can generate a new pair of keys.
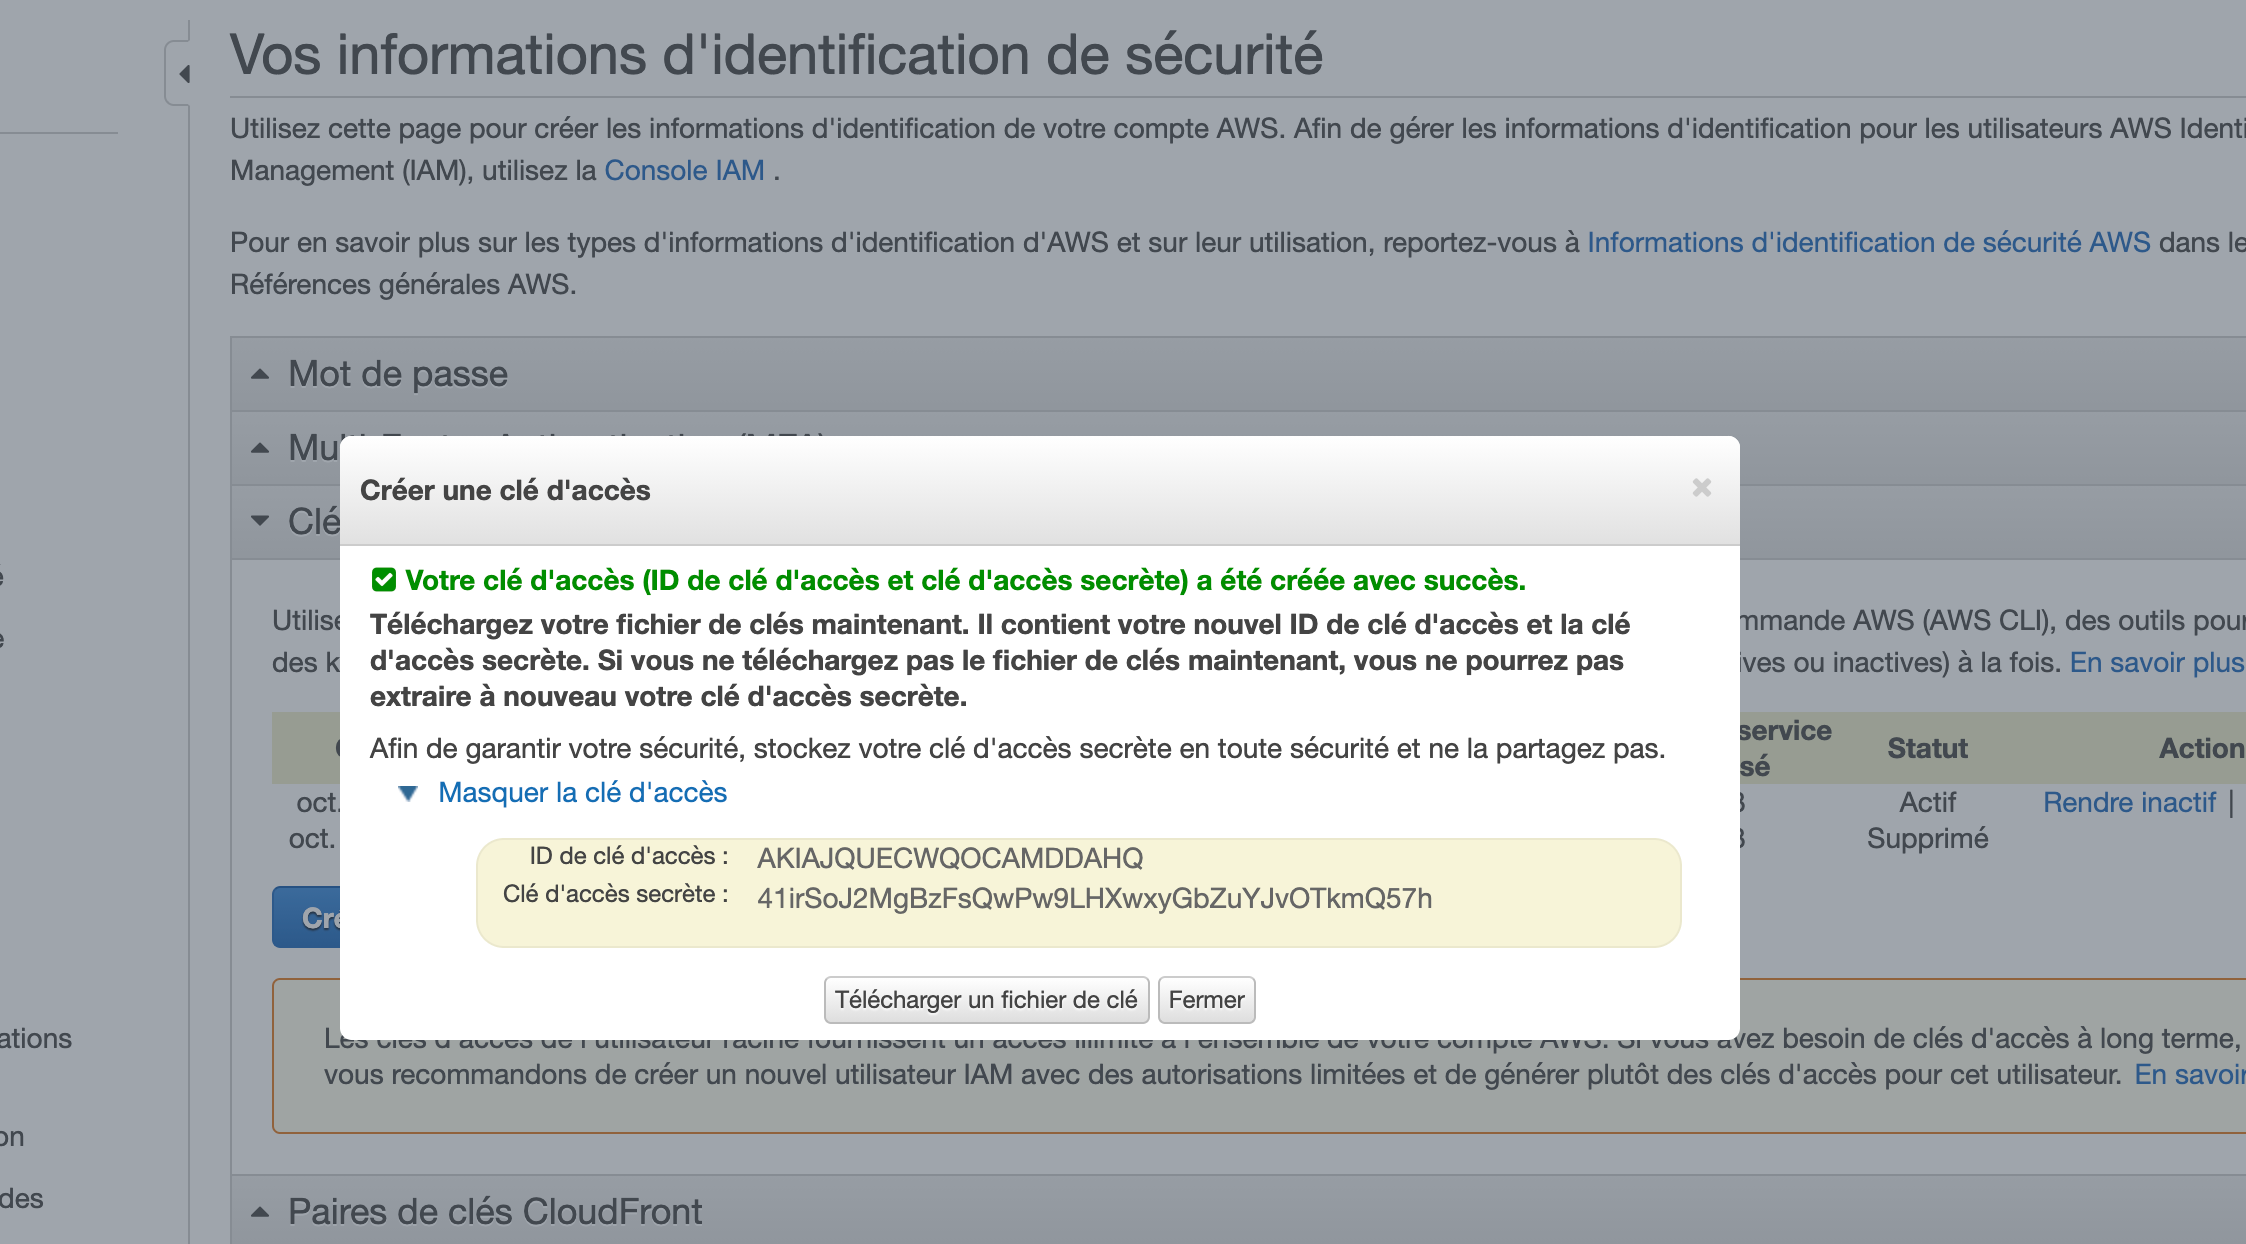
I’ll be changing mine after this tutorial, so these won’t work :)
Let’s go back to our settings.json and enter the informations.
Our provider it is all setup, you can stop your server if you want, hit a npm run build and npm run develop just to be sure.
Now in your admin panel in http://localhost:1337/admin login again and then re-upload your project image or create a new one as you want 🙂
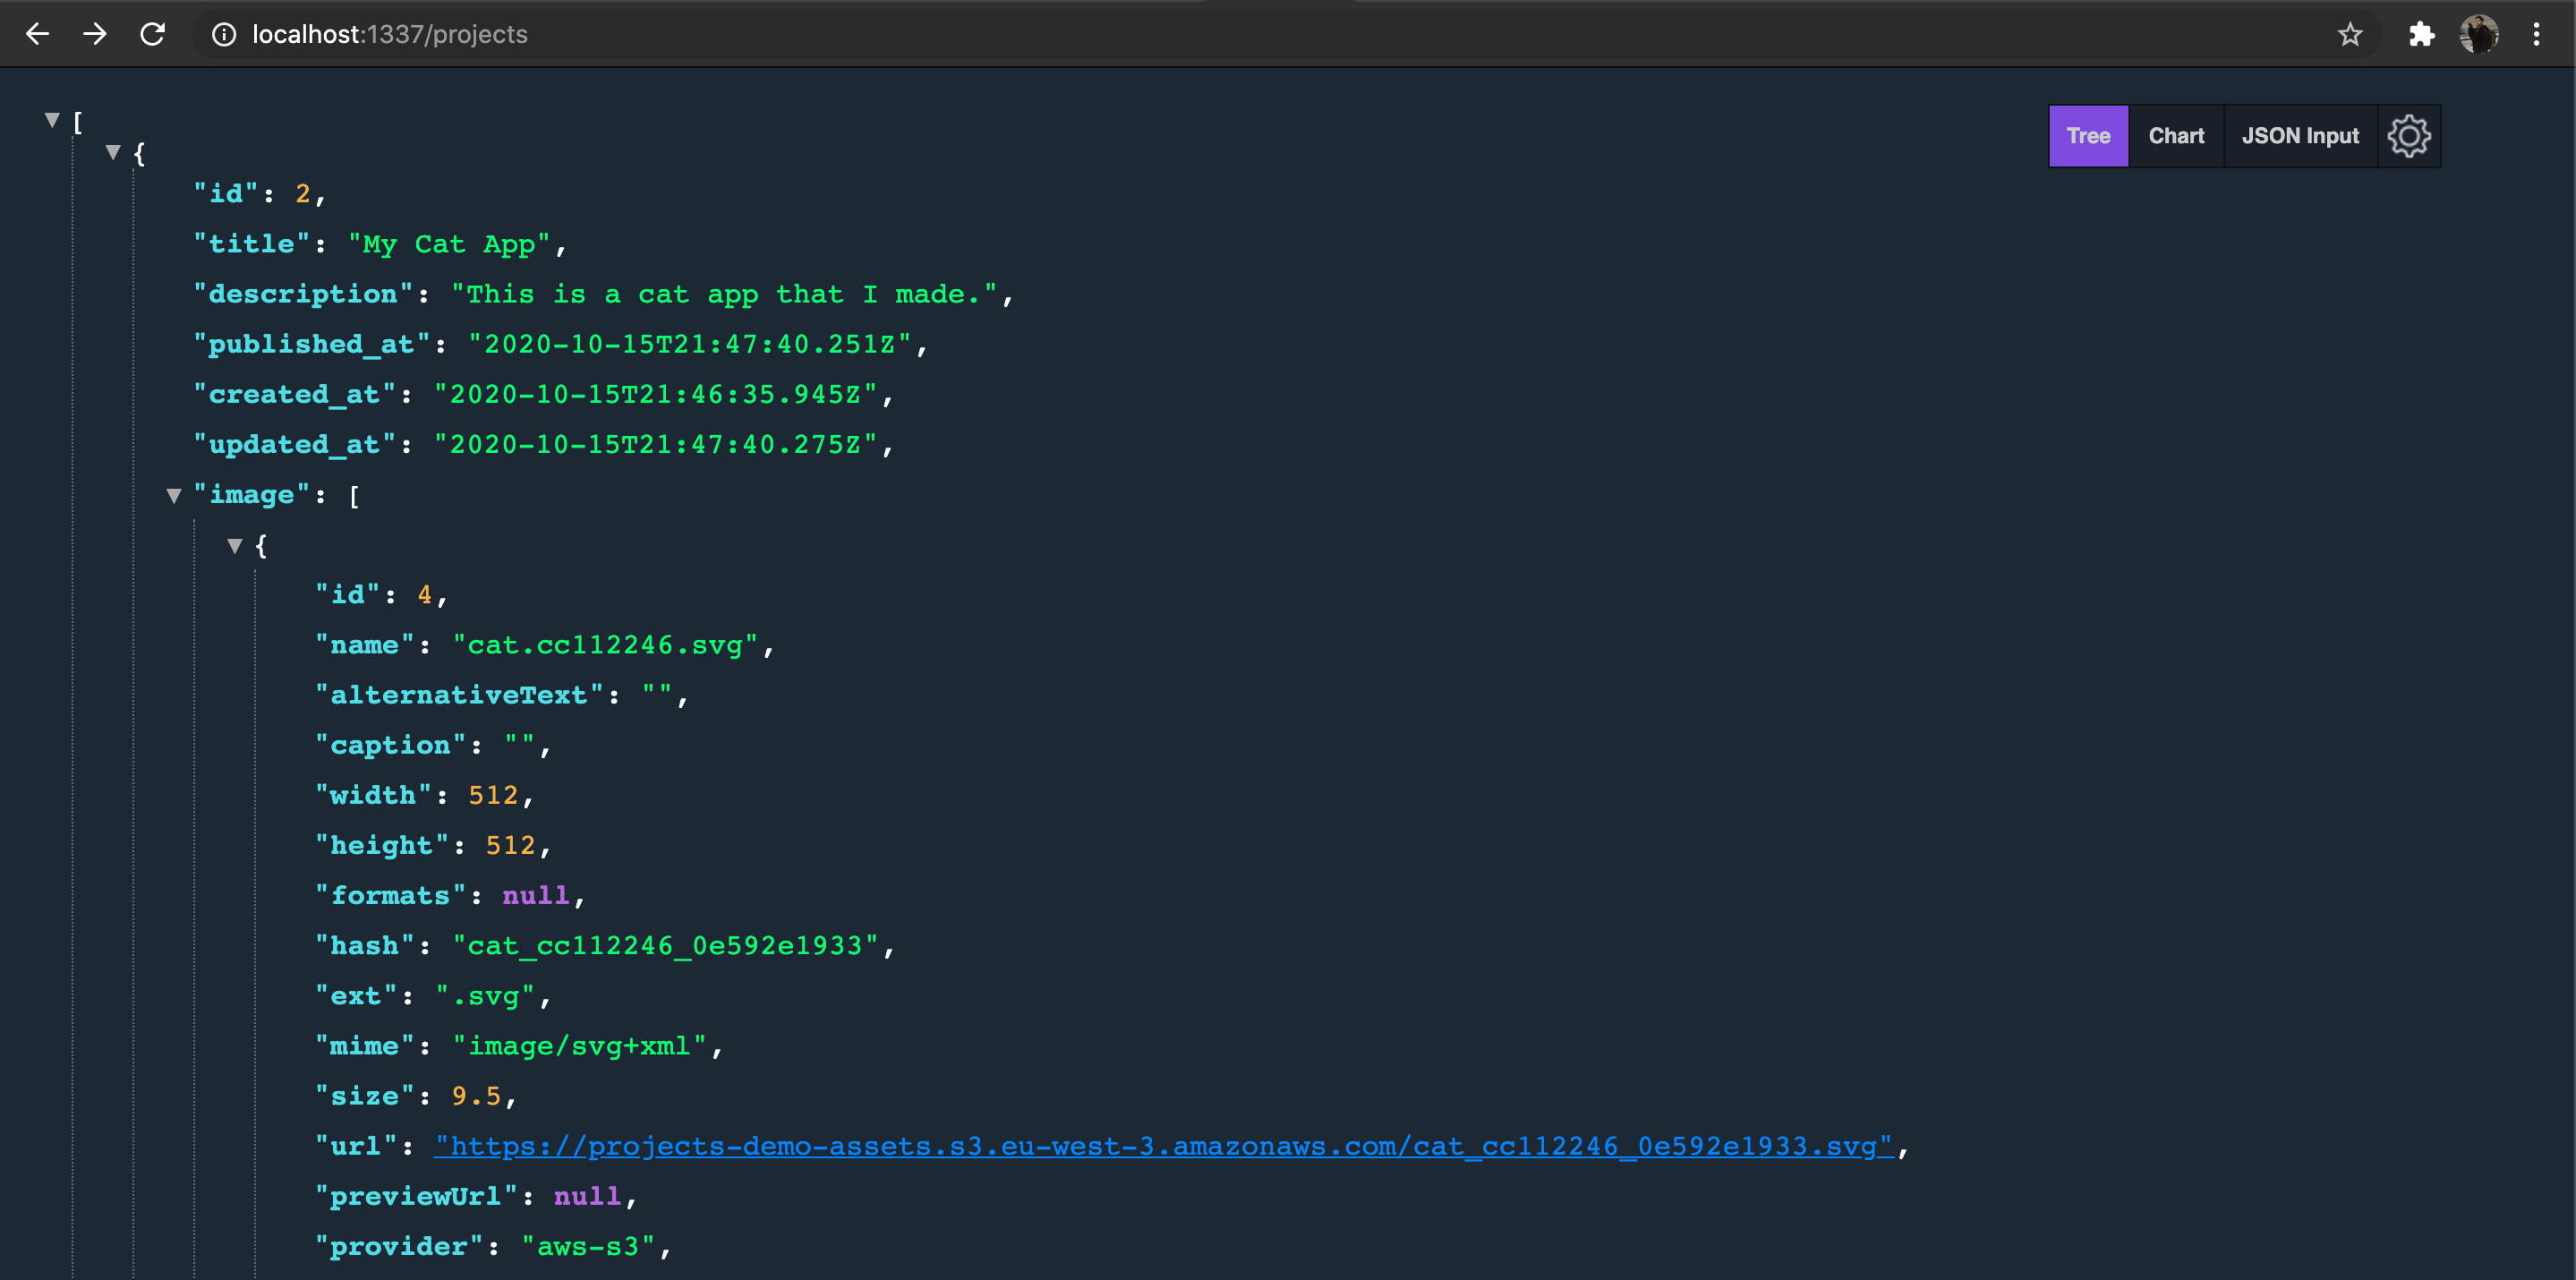
If we go back to http://localhost:1337/projects we can see that we now have an S3 url instead of upload/ourimage in image > url
Final Tests
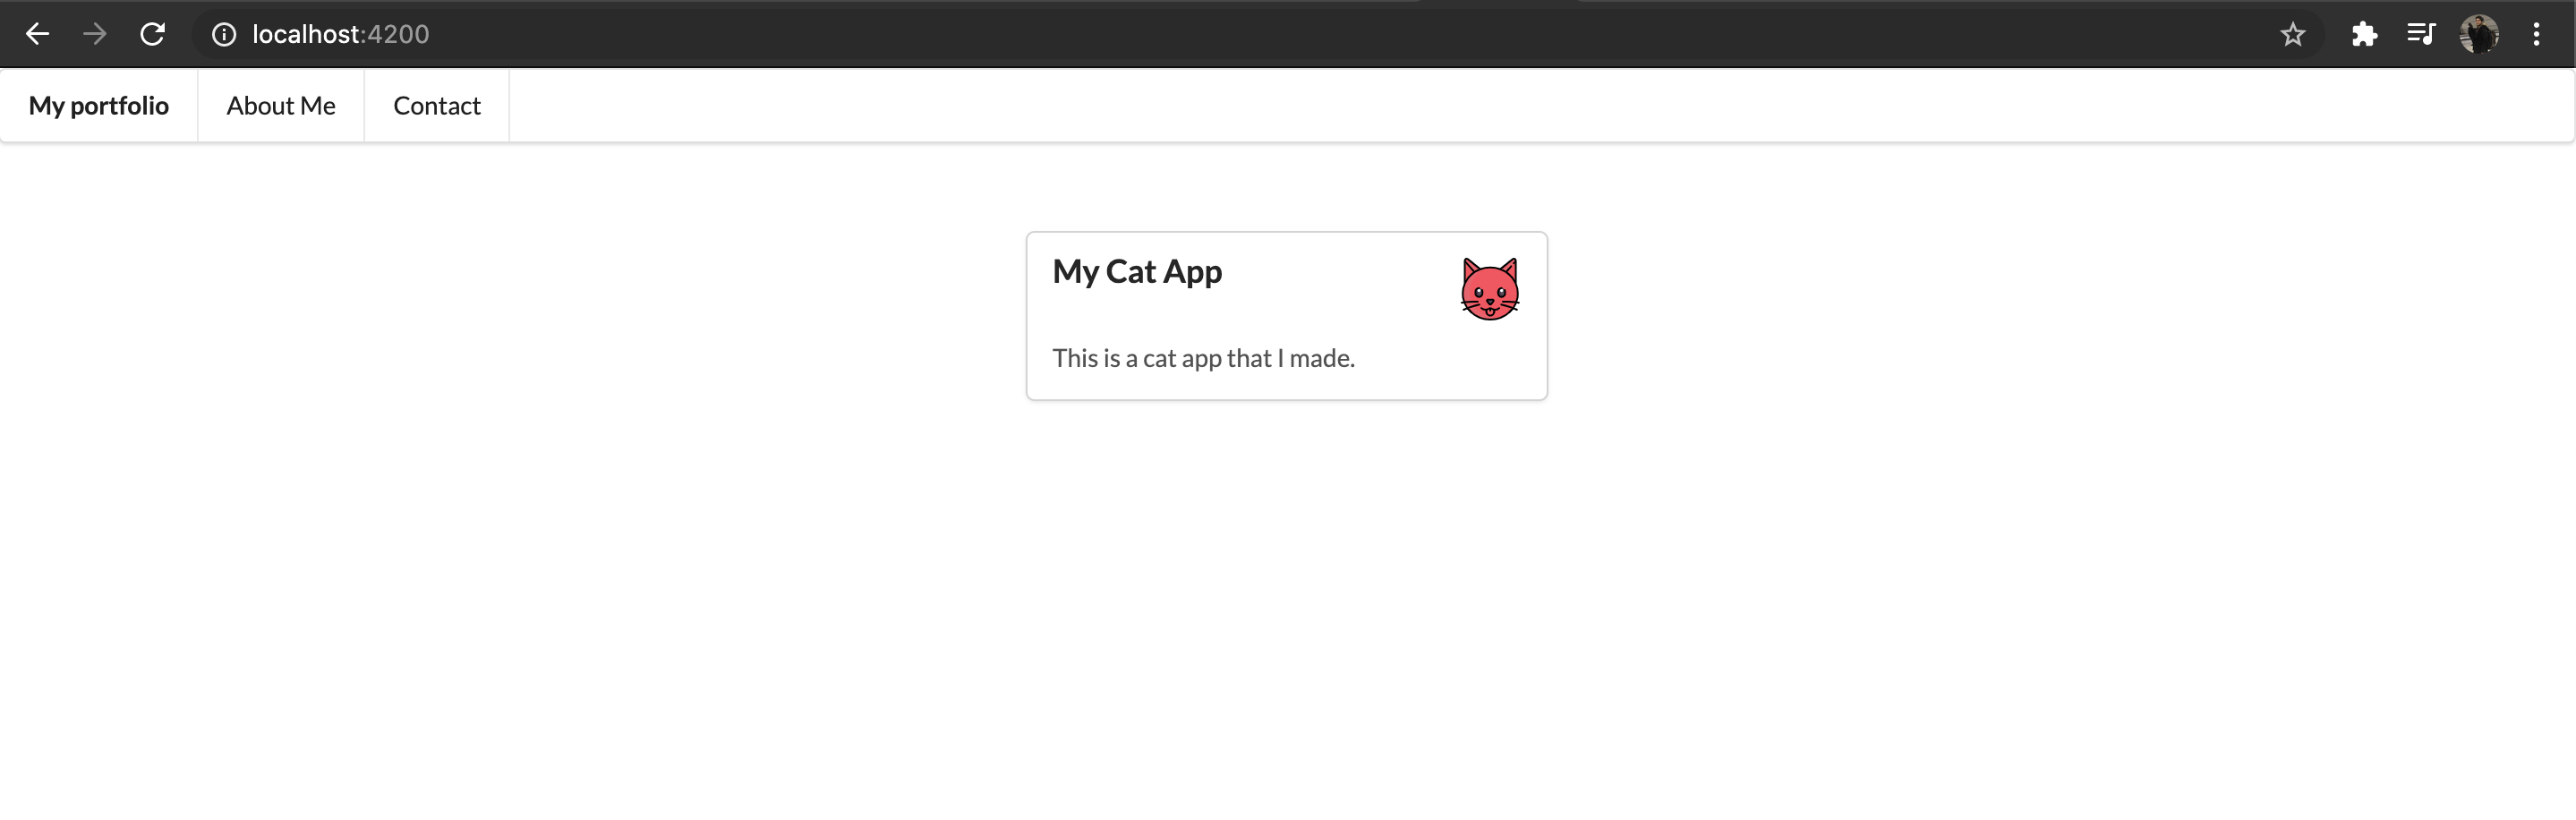
Let’s do our final tests, go back to the angular app, run it again if you need to and we can see our project being displayed. We made it !!! 😀
Just to be sure everything it’s working let’s go back to our Strapi Admin panel and add a new project.
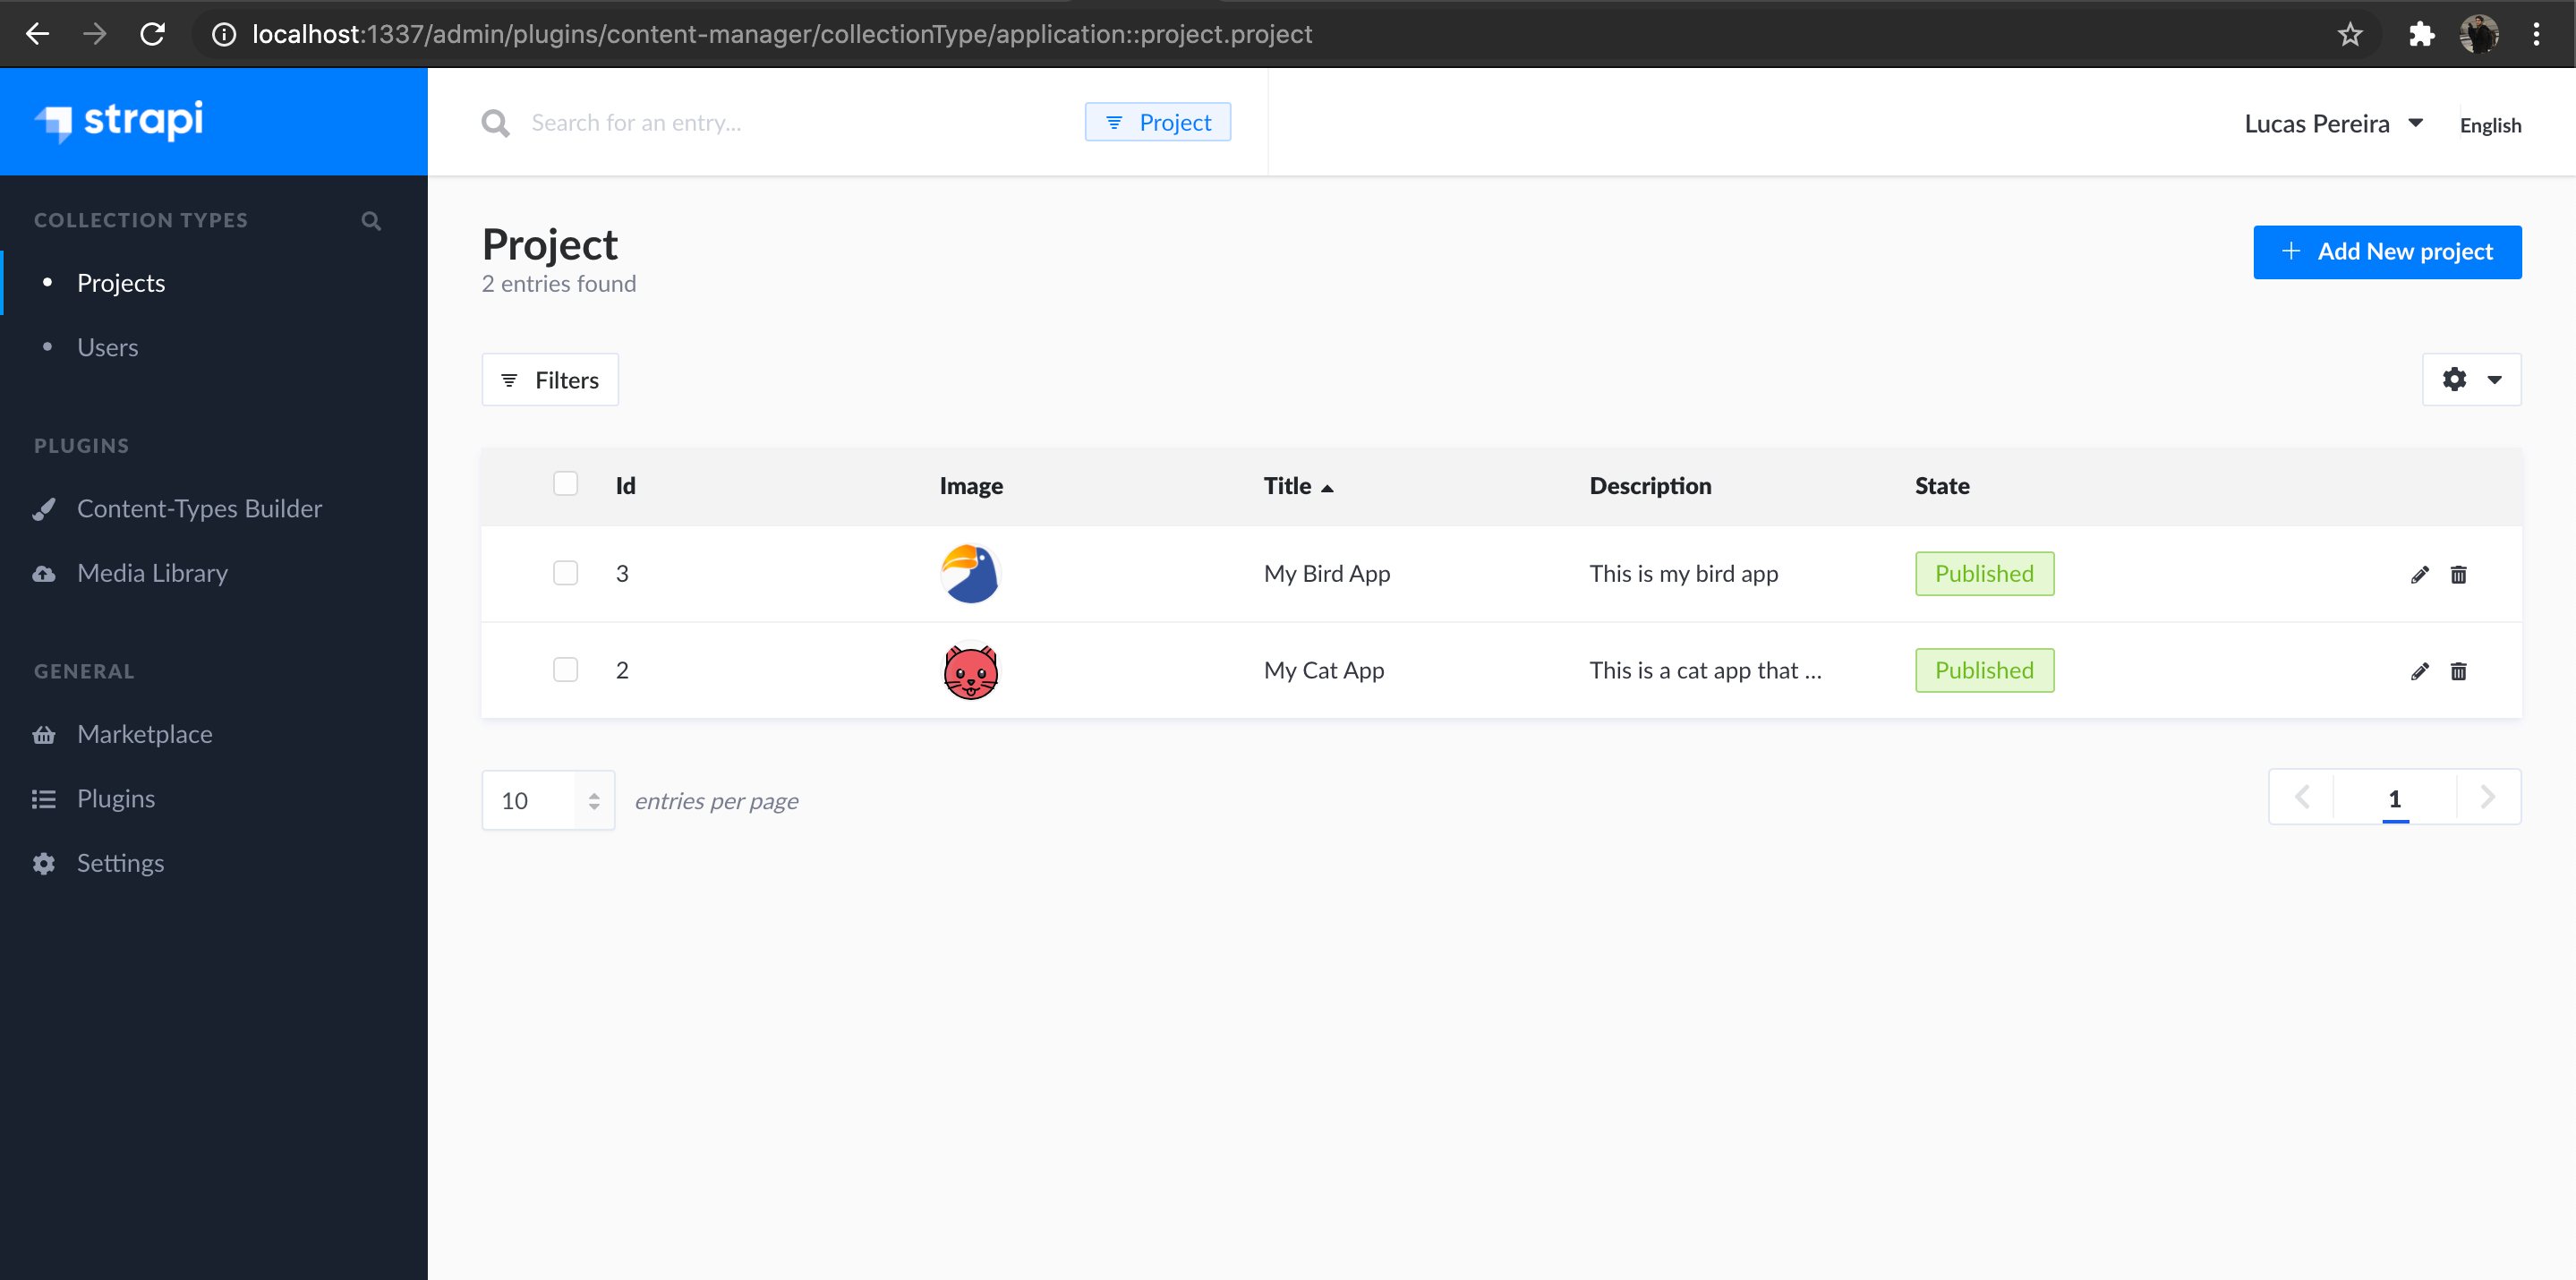
Looking good, now we have 2 projects. Time to see if everything worked fine in our front end (Angular).

Yes! It is working 🙂. We are officially done.
I hope you have liked this article, don’t hesitate to contact me if you have any feedbacks or questions. I’ll be glad to talk to you.
I’ve written another article to continue this one where I talk about how to deploy this to production.
https://pereiraneveslucas.medium.com/deploy-custom-strapi-api-connected-to-an-angular-app-7bc8c216e59b
See you soon !!! 😀